一、配置极光开发者
1.注册极光开发者
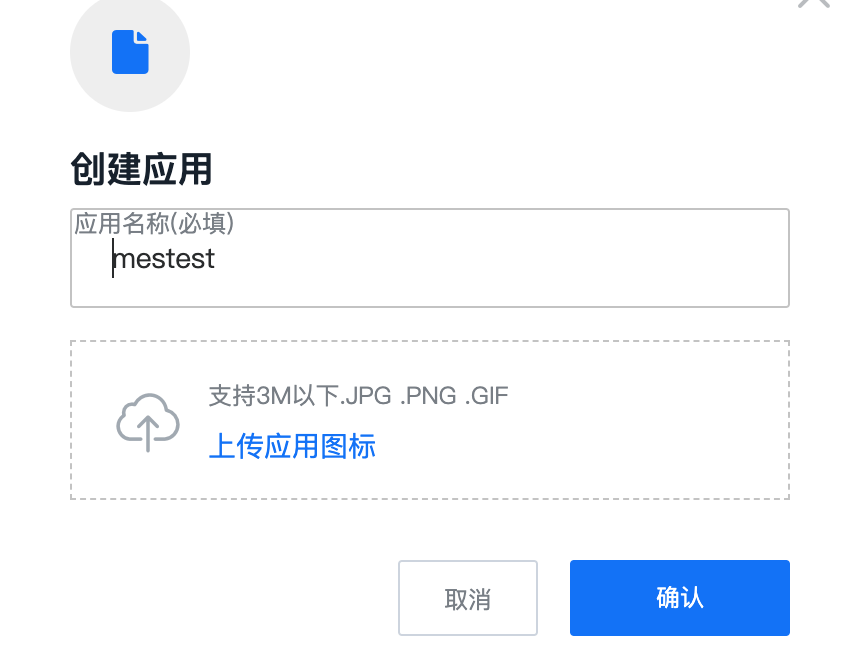
2.创建应用
(1)
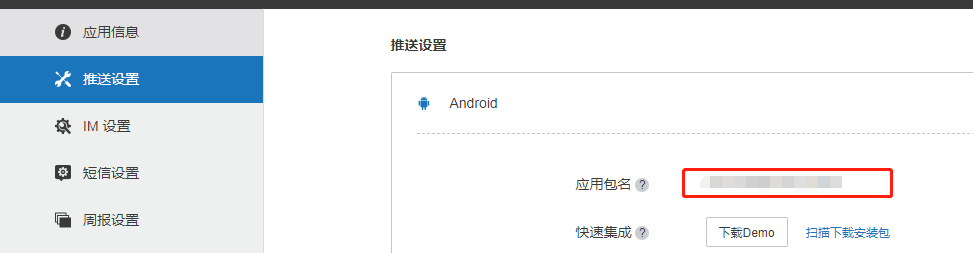
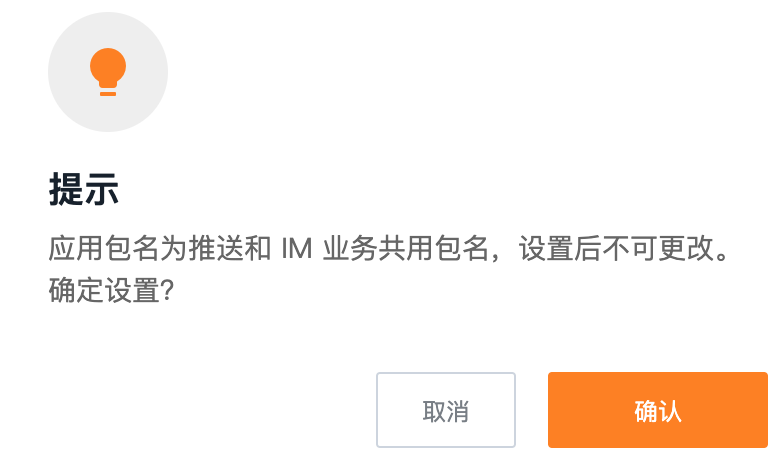
(2)android设置包名

当前台注册好后就可以推送了
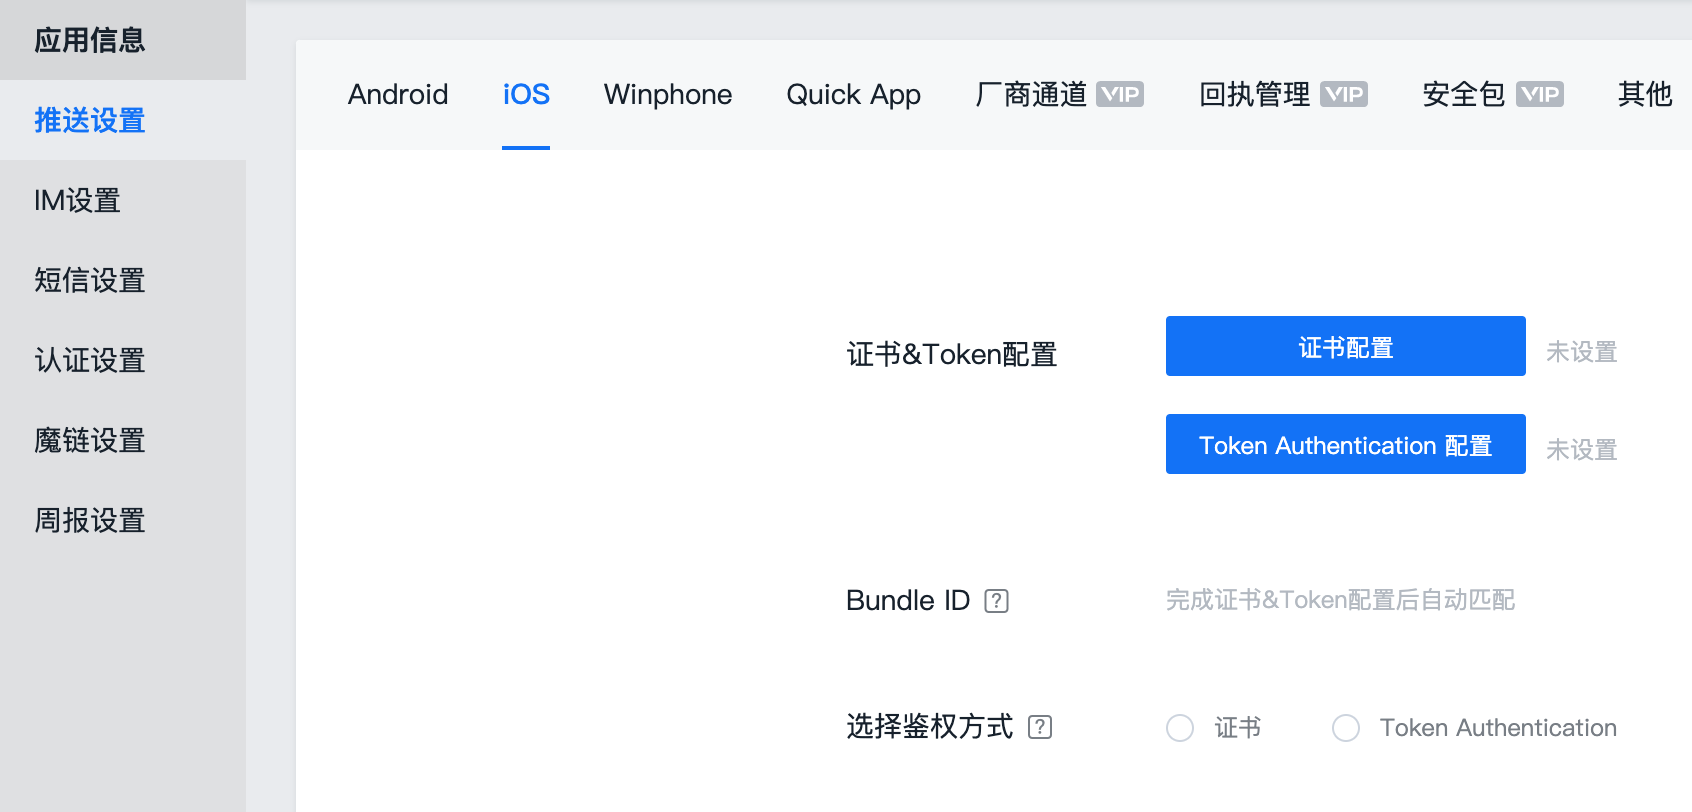
(3)IOS设置
二、创建APP
1.添加依赖
pubspec.yaml 添加: flutter_jpush: ^0.0.4
2.android 专属配置
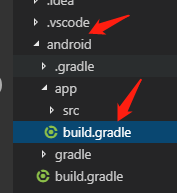
    defaultConfig {
        // TODO: Specify your own unique Application ID (https://developer.android.com/studio/build/application-id.html).
        applicationId "xxx"
        minSdkVersion 16
        targetSdkVersion 28
        versionCode flutterVersionCode.toInteger()
        versionName flutterVersionName
        testInstrumentationRunner "android.support.test.runner.AndroidJUnitRunner"

        ndk {
            //选择要添加的对应 cpu 类型的 .so 库。
            abiFilters 'armeabi', 'armeabi-v7a', 'x86', 'x86_64', 'mips', 'mips64' // 'arm64-v8a',
        }
        manifestPlaceholders = [
            JPUSH_PKGNAME : applicationId,
            JPUSH_APPKEY : "123", //JPush上注册的包名对应的appkey.
            JPUSH_CHANNEL : "developer-default",//你的推送渠道,如果不知道填写developer-default即可
        ]
    }
3.编写代码
import 'package:flutter/material.dart';
import 'package:flutter_jpush/flutter_jpush.dart';

void main() => runApp(MyApp());

class MyApp extends StatefulWidget {
  @override
  _MyAppState createState() => _MyAppState();
}

class _MyAppState extends State<MyApp> {

  void initState(){
    super.initState();
    _initJPush();
    _initNotification();
  }
  @override
  Widget build(BuildContext context) {
    return MaterialApp(
      home: Scaffold(
          appBar: AppBar(
            title: Text("测试"),
          ),
          body: Center(
            child: Text('data'),
          )),
    );
  }


  //初始化
  void _initJPush() async {
    await FlutterJPush.startup();
    print("初始化jpush成功");

    // 获取 registrationID
    var registrationID = await FlutterJPush.getRegistrationID();
    print(registrationID);

    // 注册接收和打开 Notification()
    _initNotification();
  }
  //初始化
  void _initNotification() async {
    FlutterJPush.addReceiveNotificationListener(
        (JPushNotification notification) {
      print("收到推送提醒: $notification");
    });

    FlutterJPush.addReceiveOpenNotificationListener(
        (JPushNotification notification) {
      print("打开了推送提醒: $notification");
    });
  }
}
测试
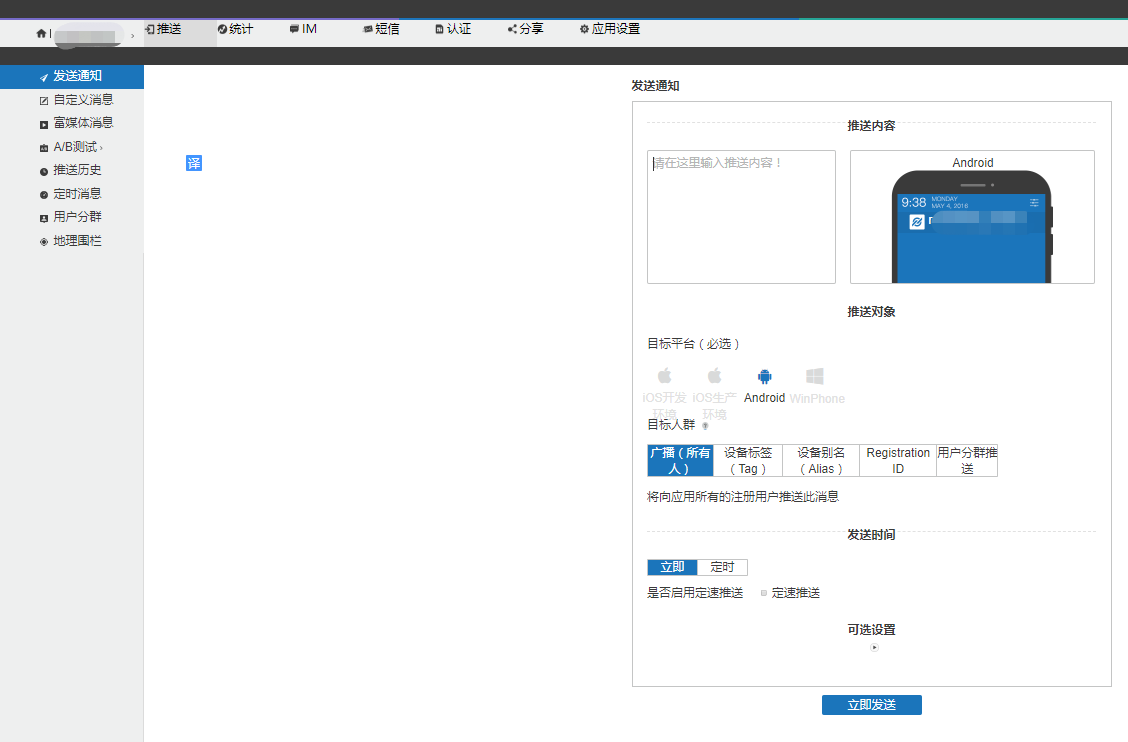
推送通知
注意:android一定要加上包名,而且一旦确认不能更改