maven
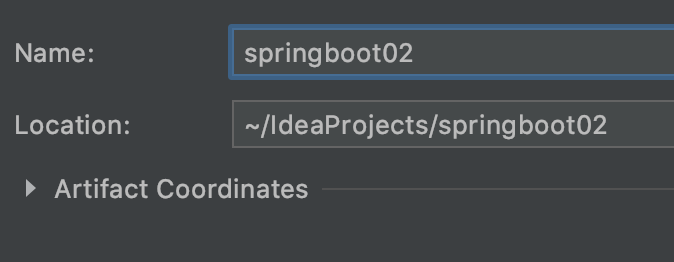
1
2
3导入依赖
pom.xml
<?xml version="1.0" encoding="UTF-8"?>
<project xmlns="http://maven.apache.org/POM/4.0.0" xmlns:xsi="http://www.w3.org/2001/XMLSchema-instance"
         xsi:schemaLocation="http://maven.apache.org/POM/4.0.0 https://maven.apache.org/xsd/maven-4.0.0.xsd">
    <modelVersion>4.0.0</modelVersion>
    <parent>
        <groupId>org.springframework.boot</groupId>
        <artifactId>spring-boot-starter-parent</artifactId>
        <version>2.2.2.RELEASE</version>
        <relativePath/> <!-- lookup parent from repository -->
    </parent>
    <groupId>com.example</groupId>
    <artifactId>spring-boot</artifactId>
    <version>0.0.1-SNAPSHOT</version>
    <name>spring-boot</name>
    <description>Demo project for Spring Boot</description>

    <dependencies>
        <dependency>
            <groupId>org.springframework.boot</groupId>
            <artifactId>spring-boot-starter-web</artifactId>
        </dependency>

        <dependency>
            <groupId>org.springframework.boot</groupId>
            <artifactId>spring-boot-starter-test</artifactId>
            <scope>test</scope>
            <exclusions>
                <exclusion>
                    <groupId>org.junit.vintage</groupId>
                    <artifactId>junit-vintage-engine</artifactId>
                </exclusion>
            </exclusions>
        </dependency>
    </dependencies>

    <build>
        <plugins>
            <plugin>
                <groupId>org.springframework.boot</groupId>
                <artifactId>spring-boot-maven-plugin</artifactId>
            </plugin>
        </plugins>
    </build>

</project>
4.代码
import org.springframework.boot.SpringApplication;
import org.springframework.boot.autoconfigure.EnableAutoConfiguration;
import org.springframework.web.bind.annotation.RestController;
import org.springframework.web.bind.annotation.RequestMapping;

@RestController
@EnableAutoConfiguration
public class Test {

    @RequestMapping("/")
    public String index() {
        return "Greetings from Spring Boot!";
    }

    public static void main(String[] args) {
        SpringApplication.run(Test.class,args);
    }
}
5运行
6.拆分
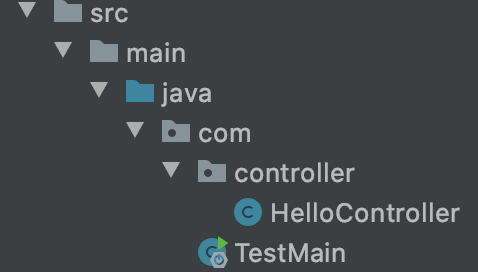
主启动
package com;

import org.springframework.boot.SpringApplication;
import org.springframework.boot.autoconfigure.SpringBootApplication;

@SpringBootApplication
public class TestMain {
    public static void main(String[] args) {
        SpringApplication.run(TestMain.class,args);
    }
}
controller
package com.controller;

import org.springframework.stereotype.Controller;
import org.springframework.web.bind.annotation.RequestMapping;
import org.springframework.web.bind.annotation.ResponseBody;

@Controller
public class HelloController {
    @ResponseBody
    @RequestMapping("/")
    public String index() {
        return "hello!";
    }
}
7.打包
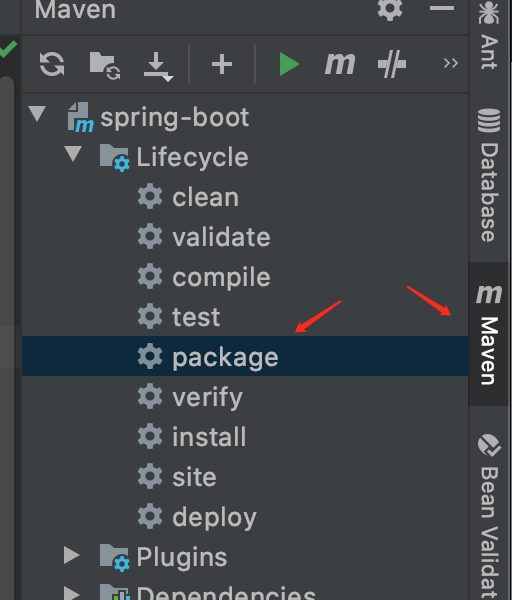
左侧代码栏下方

复制出来
重命名后终端执行 -jar 命令
java -jar test.jar
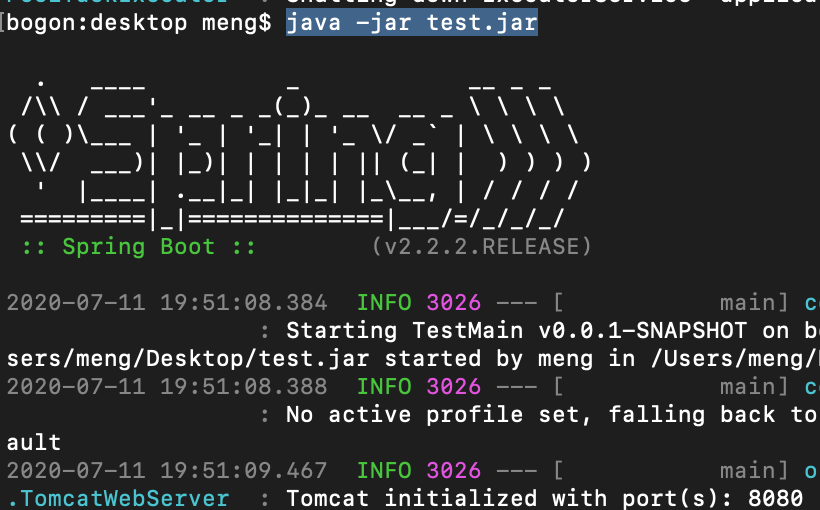
成功!