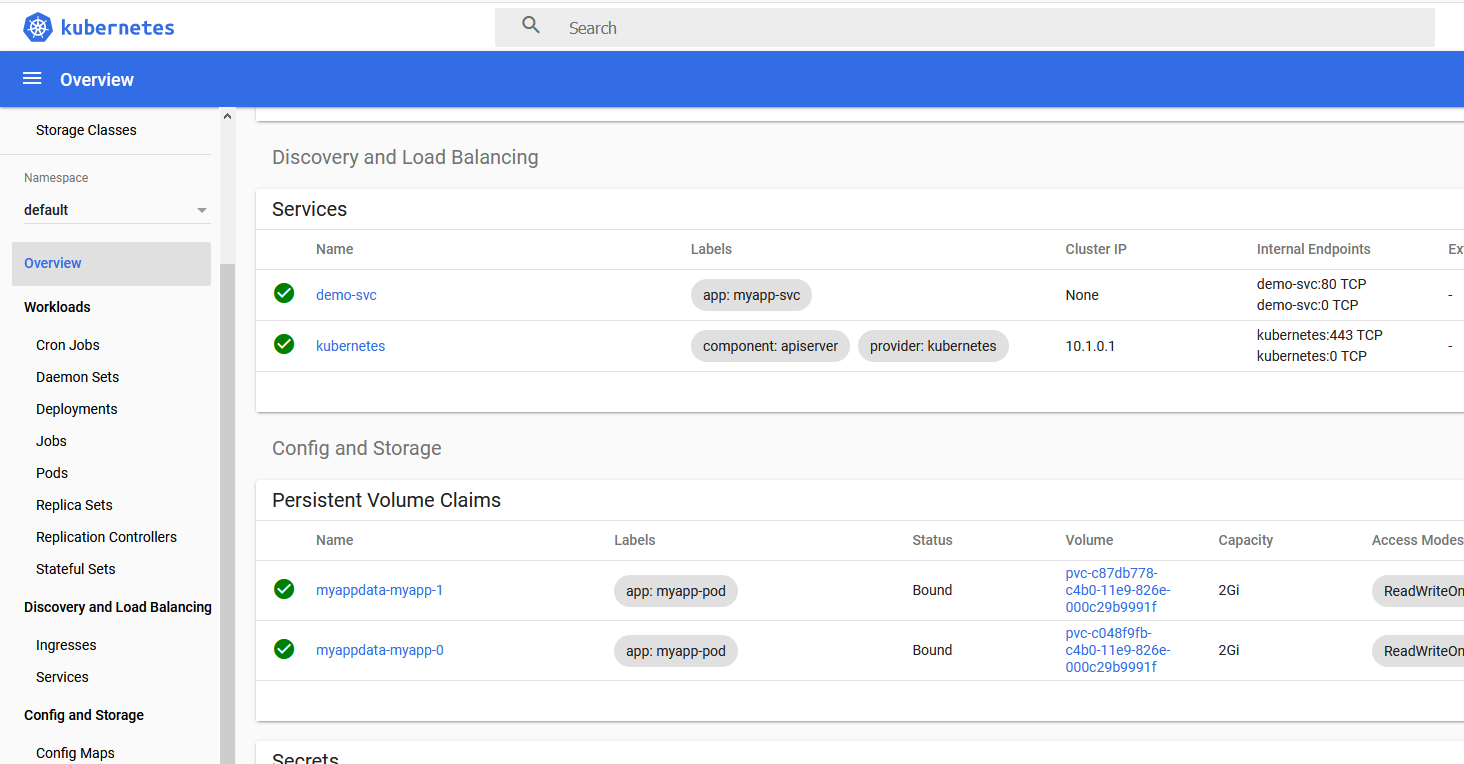
1、获取k8s版本:

2、访问dashboard的github:https://github.com/kubernetes/dashboard/releases,然后找到对应的版本
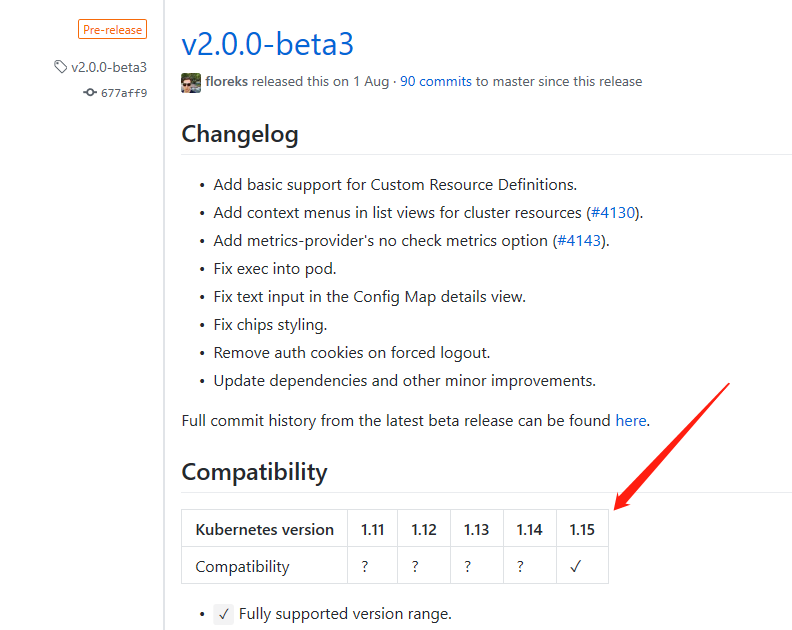
3、然后将yaml文件下载到服务器上:wget https://raw.githubusercontent.com/kubernetes/dashboard/v2.0.0-beta3/aio/deploy/recommended.yaml
4、修改yaml文件,将svc的类型修改为NodePort

5、部署:kubectl apply -f recommended.yaml
6、获取NodePort:

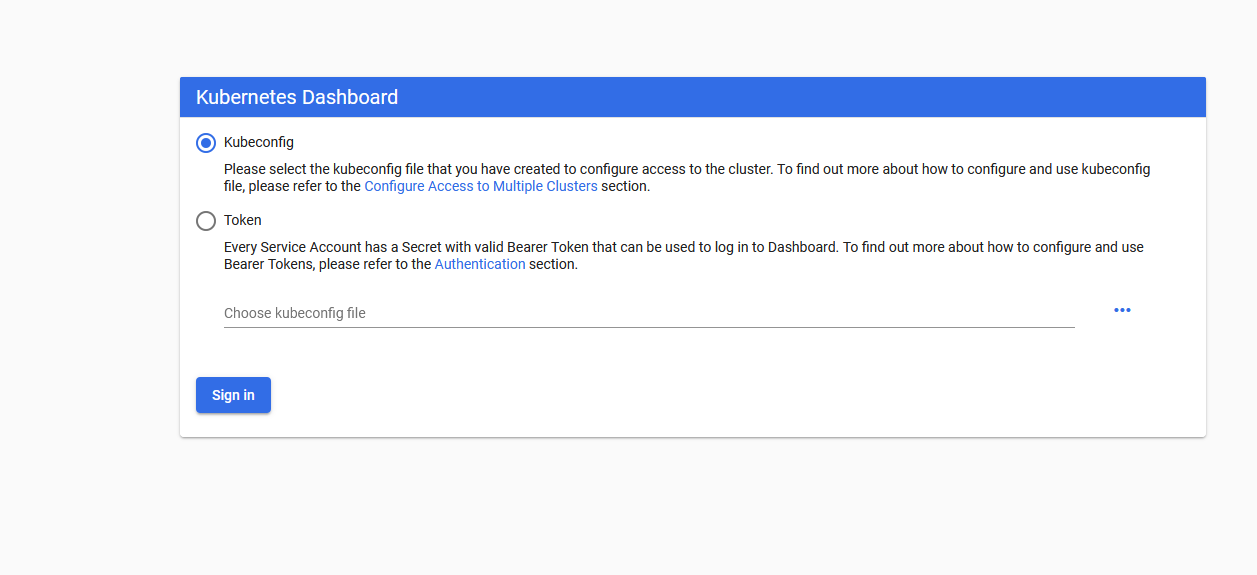
7、后通过https://ip:NodePort的方式访问
8、创建admin-token:
kind: ClusterRoleBinding
apiVersion: rbac.authorization.k8s.io/v1beta1
metadata:
  name: admin
  annotations:
    rbac.authorization.kubernetes.io/autoupdate: "true"
roleRef:
  kind: ClusterRole
  name: cluster-admin
  apiGroup: rbac.authorization.k8s.io
subjects:
- kind: ServiceAccount
  name: admin
  namespace: kubernetes-dashboard
---
apiVersion: v1
kind: ServiceAccount
metadata:
  name: admin
  namespace: kubernetes-dashboard
  labels:
    kubernetes.io/cluster-service: "true"
    addonmanager.kubernetes.io/mode: Reconcile
然后部署:kubectl create -f admin-token.yaml
9、获取token信息:
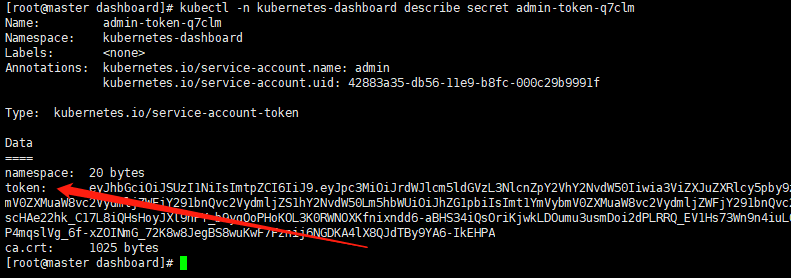
复制token信息,粘贴到ui端的token处即可,注意token复制的时候不要有空格,否则认证失败