1.把demo和lib复制出来,并且创建一个test文件夹作为工作的目录
如图所示:

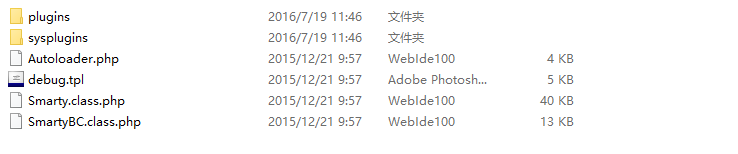
2.这是libs里面的内容,其中smarty.class.php包含了smarty各种方法和功能,需要实例化它还工作,而smartyBC.class.php是兼容文件
3.在test文件目录下面新建test.php文件,并且编写
<?php
require('../libs/Smarty.class.php');
$smarty = new Smarty();
//五配置两方法
$smarty->left_delimiter = "{";//左定界符
$smarty->right_delimiter = "}";//右定界符
$smarty->setTemplateDir("tpl");//html模板的地址
$smarty->setCompileDir("template_c");//模板编译生成的文件
$smarty->setCacheDir("cache");//缓存
//开启缓存的机制,通常不用
$smarty->caching = true;//开启缓存
$smarty->cache_lifetime = 120;//缓存生存时间
$smarty->assign("articleTitle","title");//在html模板里面赋值变量
$smarty->display('article.tpl');//显示模板
?>
4.建立三个文件夹分别是tpl,template_c,cache,目录如下

在tpl文件夹下面新建html模板article.tpl
内容为
{$articleTitle}
意思是显示变量$articleTitle的内容,这是之前在test.php里面赋值的
5.将上述的smarty工程部署到php环境中,运行得出

注意:可能运行会出现warning,要求设置时区,添加一句即可
date_default_timezone_set('PRC');意思是设置时区是中华人民共和国