jsapi有提供popup功能,但缺点很多,例如地图上只能同时显示一个popup,popup内容有限制等
本文提供另一个方法,原理不用jsapi,在地图外用一个普通的div放在地图上面,再监听地图的鼠标移动等时间控制这div跟着地图联动
本文代码可能存在跟框架的css等绑定,不一定能直接运行,在此只提供实现思路
本文代码用到vue的绑定
初始化,写入popup的数据也在此
        popupInit: function () {
            //popup初始化

            //填入popup的数据
            this.popupInfos = [];

            this.popupInfos.push({
                //地图坐标
                x: 113.566806,
                y: 22.22445,
                //popup内容的文字,只是个示范,当然格式不限
                text: "我是第一个",
                //是否显示,不是必须的
                show: true,
                //样式
                style: {
                    //div的位置,单位是屏幕坐标
                    top: "-1000px",
                    left: "-1000px",
                },
            });

            this.popupInfos.push({
                x: 113.57418,
                y: 22.2234205,
                text: "我是第2222个",
                show: true,
                style: {
                    top: "-1000px",
                    left: "-1000px",
                },
            });

            this.popupInfos.push({
                x: 113.5928,
                y: 22.226853,
                text: "我不显示的",
                show: false,
                style: {
                    top: "-1000px",
                    left: "-1000px",
                },
            });
        },
移动popup位置的方法
        //移动popup位置
        relocatePopup: function () {
            for (let i = 0; i < this.popupInfos.length; i++) {
                let popupInfo = this.popupInfos[i];

                //把popup所在的地图坐标转为屏幕坐标
                let point = mapUtil.geometry.xyToPoint(this.apiInstance, popupInfo.x, popupInfo.y, this.mapView.spatialReference);
                let screenPoint = this.mapView.toScreen(point);

                let x = screenPoint.x;
                let y = screenPoint.y;
                //重新设置popup的div的位置
                popupInfo.style.top = y - 114 + 'px';
                popupInfo.style.left = x - 100 + 'px';
            }
        },
监听地图事件以实现popup和地图位置联动,这段代码通常在map加载完成时执行
                    //地图弹窗移动的实现
                    //由于popup只是一个在jsapi外部的一般的div,因此这div的移动要自行编码实现
                    //原理是监听地图所有的会改变地图显示范围的事件(也就是popup需要移动的事件),然后根据地图坐标转换为屏幕坐标,最终重新设置div的位置
                    //地图拖动事件
                    this.mapView.on('drag', function (e) {
                        this.relocatePopup();
                    }.bind(this));
                    //滚轮事件
                    this.mapView.on('mouse-wheel', function (e) {
                        this.relocatePopup();
                    }.bind(this));
html部分,地图和popup的代码截取,用了vue和element-ui实现绑定
<div style="height: 100%;">
    <el-row style="height: 100%;">
        <el-col :span="20" style="height: 100%;">
            <el-row style="height: 100%;overflow: hidden;">
                <!--地图的div-->
                <div class="mapContainer" id="mapDemo1"></div>
                <!--地图弹窗的html部分-->
                <!--popupInfos是弹窗的数据源,其他跟一般的div没区别-->
                <!--PS:注意,要使popup不会超出地图以外是通过父级div的overflow: hidden来实现-->
                <div class="infoWindowItem" v-for="(popupInfo,index) in popupInfos" :style="popupInfo.style"
                     v-show="popupInfo.show">
                    <div class="item">
                        <span class="content">{{popupInfo.text}}</span>
                    </div>
                </div>
            </el-row>
        </el-col>
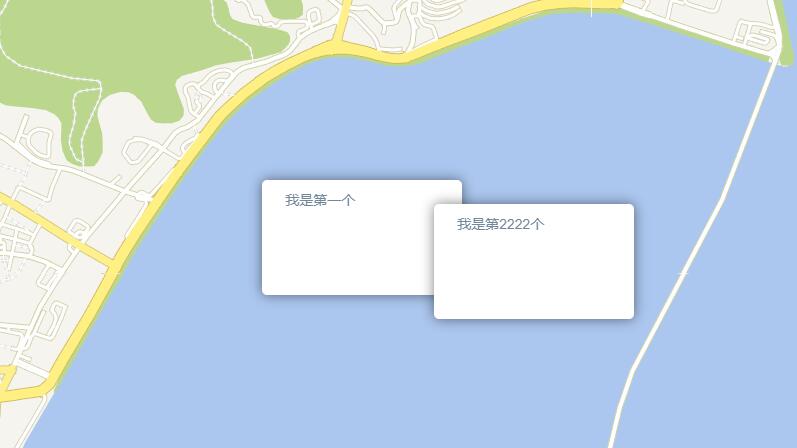
实现效果,底图是天地图