1.图像的数组表示:
from PIL import Image
from pylab import *
from numpy import *
im = array(Image.open('E:Pythonmeinv.jpg'))
print(im.shape,im.dtype)

im = array(Image.open('E:Pythonmeinv.jpg').convert('L'),'f')
print(im.shape,im.dtype)
运行结果:
(272, 480, 3) uint8        #第一个元组中数据表示图像的行,列,颜色通道数 紧接着的字符
                                     #串表示元素的数据类型
(272, 480) float32
2.灰度变换
from PIL import Image
from pylab import *
from numpy import *
im = array(Image.open('E:Pythonmeinv.jpg'))
print(im.shape,im.dtype)

im = array(Image.open('E:Pythonmeinv.jpg').convert('L'),'f')
print(im.shape,im.dtype)

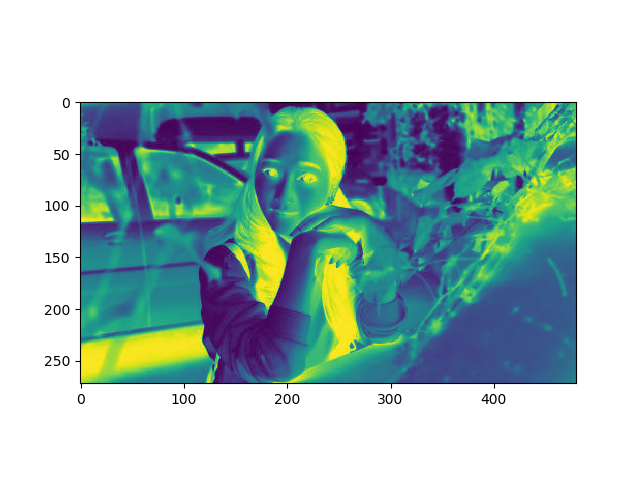
im2 = 255 - im       #对图像进行反相处理
figure()
imshow(im2)

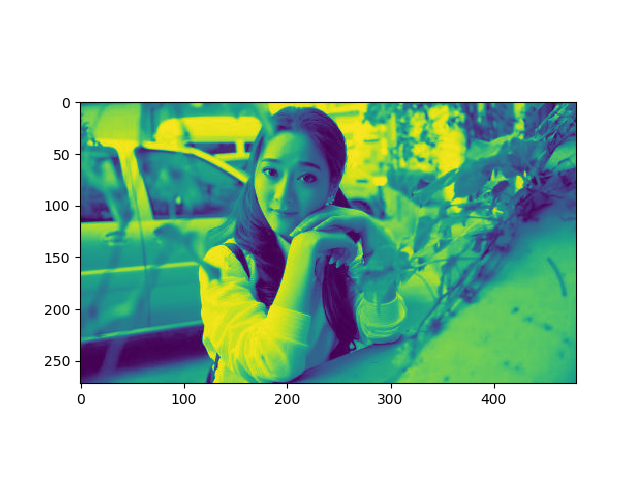
im3 = (100.0/255)*im +100      #将图像像素值变换到100——200区间
figure()
imshow(im3)

im4 = 255.0*(im/255.0)**2         #对图像的像素值求平方后得到的图像
figure()
imshow(im4)

print(int(im4.min()),int(im4.max()))    #输出像素的最大和最小值

show()
图1:图像的反相

图2:像素值变到100——200

图3:像素值的平方
