Ribbon 是 Netflix 发布的开源项目,主要功能是为 REST 客户端实现负载均衡。它主要包括六个组件:
- ServerList,负载均衡使用的服务器列表。这个列表会缓存在负载均衡器中,并定期更新。当 Ribbon 与 Eureka 结合使用时,ServerList 的实现类就是 DiscoveryEnabledNIWSServerList,它会保存 Eureka Server 中注册的服务实例表。
- ServerListFilter,服务器列表过滤器。这是一个接口,主要用于对 Service Consumer 获取到的服务器列表进行预过滤,过滤的结果也是 ServerList。Ribbon 提供了多种过滤器的实现。
- IPing,探测服务实例是否存活的策略。
- IRule,负载均衡策略,其实现类表述的策略包括:轮询、随机、根据响应时间加权等,我们也可以自己定义负载均衡策略,比如我们就利用自己实现的策略,实现了服务的版本控制和直连配置。实现好之后,将实现类重新注入到 Ribbon 中即可。
- ILoadBalancer,负载均衡器。这也是一个接口,Ribbon 为其提供了多个实现,比如 ZoneAwareLoadBalancer。而上层代码通过调用其 API 进行服务调用的负载均衡选择。一般 ILoadBalancer 的实现类中会引用一个 IRule。
- RestClient,服务调用器。顾名思义,这就是负载均衡后,Ribbon 向 Service Provider 发起 REST 请求的工具。
Ribbon 工作时会做四件事情:
- 优先选择在同一个 Zone 且负载较少的 Eureka Server;
- 定期从 Eureka 更新并过滤服务实例列表;
- 根据用户指定的策略,在从 Server 取到的服务注册列表中选择一个实例的地址;
- 通过 RestClient 进行服务调用。
服务提供者
创建一个Spring Starter Project,命名service-producer,添加依赖
 1 <dependencies>
 2   <dependency>
 3     <groupId>org.springframework.boot</groupId>
 4     <artifactId>spring-boot-starter-web</artifactId>
 5   </dependency>
 6   <dependency>
 7     <groupId>org.springframework.cloud</groupId>
 8     <artifactId>spring-cloud-starter-netflix-eureka-client</artifactId>
 9   </dependency>
10 </dependencies>
配置属性(application.yml)
server:
  port: 8080  #启动其他实例时需要修改端口号
spring:
  application:
    name: service-producer
eureka:
  client:
    serviceUrl:
      defaultZone: http://admin:123456@localhost:8761/eureka/
控制层创建一个controller,对外提供一个接口(这里比较简单就只返回服务的端口号)
 1 package com.carry.springcloud.controller;
 2
 3 import org.springframework.beans.factory.annotation.Value;
 4 import org.springframework.web.bind.annotation.GetMapping;
 5 import org.springframework.web.bind.annotation.RestController;
 6
 7 @RestController
 8 public class ProducerController {
 9
10     @Value("${server.port}")
11     String serverPort;
12
13     @GetMapping("/getPortInfo")
14     public String produce() {
15         return "调用服务的端口号为:" + serverPort;
16     }
17 }
启动类加上@EnableEurekaClient注解即可
 1 package com.carry.springcloud;
 2
 3 import org.springframework.boot.SpringApplication;
 4 import org.springframework.boot.autoconfigure.SpringBootApplication;
 5 import org.springframework.cloud.netflix.eureka.EnableEurekaClient;
 6
 7 @EnableEurekaClient
 8 @SpringBootApplication
 9 public class ServiceProducerApplication {
10
11     public static void main(String[] args) {
12         SpringApplication.run(ServiceProducerApplication.class, args);
13     }
14 }
测试
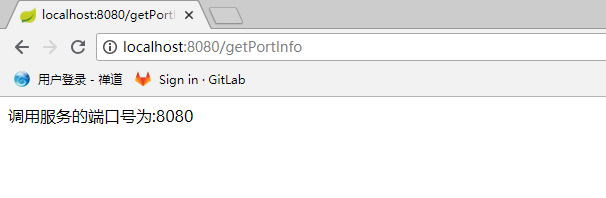
打开浏览器访问localhost:8080/getPortInfo,出现以下结果说明是OK的
服务消费者(Ribbon)
创建一个Spring Starter Project,命名service-consumer-ribbon,添加依赖
 1 <dependencies>
 2    <dependency>
 3       <groupId>org.springframework.boot</groupId>
 4       <artifactId>spring-boot-starter-web</artifactId>
 5    </dependency>
 6    <dependency>
 7       <groupId>org.springframework.cloud</groupId>
 8       <artifactId>spring-cloud-starter-netflix-eureka-client</artifactId>
 9    </dependency>
10    <dependency>
11       <groupId>org.springframework.cloud</groupId>
12       <artifactId>spring-cloud-starter-netflix-ribbon</artifactId>
13    </dependency>
14 </dependencies>
配置属性(application.yml)
server:
  port: 8082
spring:
  application:
    name: service-consumer-ribbon
eureka:
  client:
    serviceUrl:
      defaultZone: http://admin:123456@localhost:8761/eureka/
在启动类中@Bean 将 restTemplate注入到ioc容器, 并使用@LoadBalanced 注解声明开启 负载均衡
 1 package com.carry.springcloud;
 2
 3 import org.springframework.boot.SpringApplication;
 4 import org.springframework.boot.autoconfigure.SpringBootApplication;
 5 import org.springframework.cloud.client.loadbalancer.LoadBalanced;
 6 import org.springframework.cloud.netflix.eureka.EnableEurekaClient;
 7 import org.springframework.context.annotation.Bean;
 8 import org.springframework.web.client.RestTemplate;
 9
10 @EnableEurekaClient
11 @SpringBootApplication
12 public class ServiceConsumerRibbonApplication {
13
14     public static void main(String[] args) {
15         SpringApplication.run(ServiceConsumerRibbonApplication.class, args);
16     }
17
18     @Bean
19     @LoadBalanced
20     RestTemplate restTemplate() {
21         return new RestTemplate();
22     }
23 }
编写一个controller,注入RestTemplate用其调用服务提供者接口
 1 package com.carry.springcloud.controller;
 2
 3 import org.springframework.beans.factory.annotation.Autowired;
 4 import org.springframework.web.bind.annotation.GetMapping;
 5 import org.springframework.web.bind.annotation.RestController;
 6 import org.springframework.web.client.RestTemplate;
 7
 8 @RestController
 9 public class RibbonController {
10
11     @Autowired
12     RestTemplate restTemplate;
13
14     @GetMapping("/getPoducerInfo")
15     public String getPoducerInfo() {
16         String result = this.restTemplate.getForObject("http://service-producer/getPortInfo", String.class);
17         return result;
18     }
19 }
注:上面代码中restTemplate.getForObject第一个参数url规则为:协议http+服务名(即application.yml配置spring.application.name的值)+接口值
测试
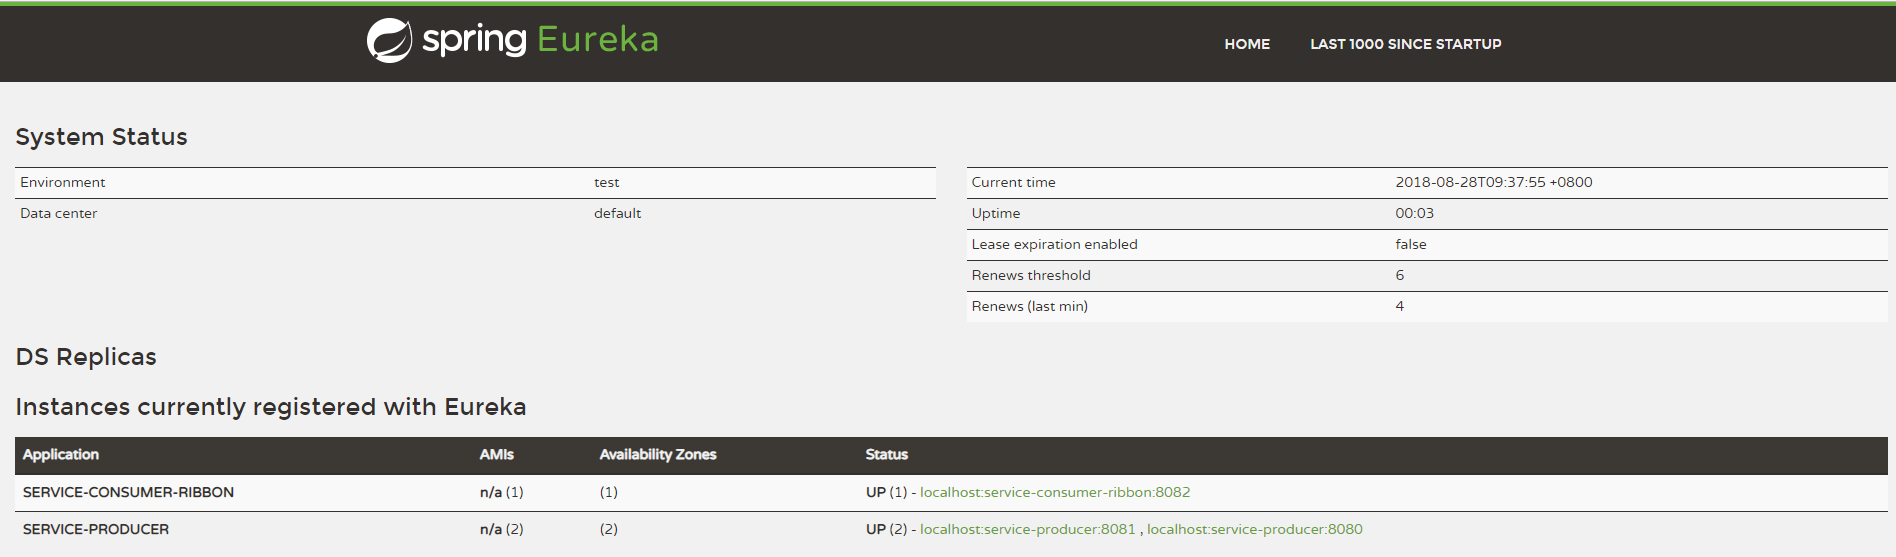
1、启动Eureka服务
2、启动两个服务提供者service-producer实例,端口分别为8080和8081
3、启动服务消费者service-consumer-ribbon
4、浏览器中访问 localhost:8761,注册成功
5、访问服务消费者localhost:8082/getPoducerInfo

再次访问
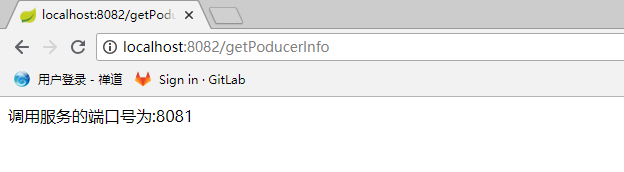
结果显示是轮询调用两个服务提供者实例,这是因为默认的负载均衡算法是轮询,也可自行修改负载均衡算法,例如:随机算法,权重,只需要在application.yml里配置即可。