1。上传
需要导入文件等依赖
<!--文件上传-->
        <dependency>
            <groupId>commons-fileupload</groupId>
            <artifactId>commons-fileupload</artifactId>
            <version>1.3.3</version>
        </dependency>
        <!--servlet-api导入高版本的-->
        <dependency>
            <groupId>javax.servlet</groupId>
            <artifactId>javax.servlet-api</artifactId>
            <version>4.0.1</version>
        </dependency>
在前端需要以特殊的type接受post表单 类型为
enctype="multipart/form-data"
 <form action="${pageContext.request.contextPath}/upload" enctype="multipart/form-data" method="post">
    <input type="file" name="file"/>
    <input type="submit" value="upload">
  </form>
文件上传需要在spring配置
multipartResolver
<!--文件上传配置-->
    <bean id="multipartResolver"  class="org.springframework.web.multipart.commons.CommonsMultipartResolver">
        <!-- 请求的编码格式,必须和jSP的pageEncoding属性一致,以便正确读取表单的内容,默认为ISO-8859-1 -->
        <property name="defaultEncoding" value="utf-8"/>
        <!-- 上传文件大小上限,单位为字节(10485760=10M) -->
        <property name="maxUploadSize" value="10485760"/>
        <property name="maxInMemorySize" value="40960"/>
    </bean>
@RestController
public class FileController {
    //@RequestParam("file") 将name=file控件得到的文件封装成CommonsMultipartFile 对象
    //批量上传CommonsMultipartFile则为数组即可
    @RequestMapping("/upload")
    public String fileUpload(@RequestParam("file") CommonsMultipartFile file , HttpServletRequest request) throws IOException {

        //1.获取文件名 : file.getOriginalFilename();
        String uploadFileName = file.getOriginalFilename();

        //如果文件名为空,直接回到首页!
        if ("".equals(uploadFileName)){
            return "redirect:/index.jsp";
        }
        System.out.println("上传文件名 : "+uploadFileName);

        //2.上传路径保存设置
        String path = request.getSession().getServletContext().getRealPath("/upload");
        //如果路径不存在,创建一个
        File realPath = new File(path);
        if (!realPath.exists()){
            realPath.mkdir();
        }
        System.out.println("上传文件保存地址:"+realPath);

        InputStream is = file.getInputStream(); //文件输入流
        OutputStream os = new FileOutputStream(new File(realPath,uploadFileName)); //文件输出流

        //3.读取写出
        int len=0;
        byte[] buffer = new byte[1024];
        while ((len=is.read(buffer))!=-1){
            os.write(buffer,0,len);
            os.flush();
        }
        os.close();
        is.close();
        return "redirect:/index.jsp";
    }
按照逻辑来说,我们一般只会使用上传或者下载其中一个。
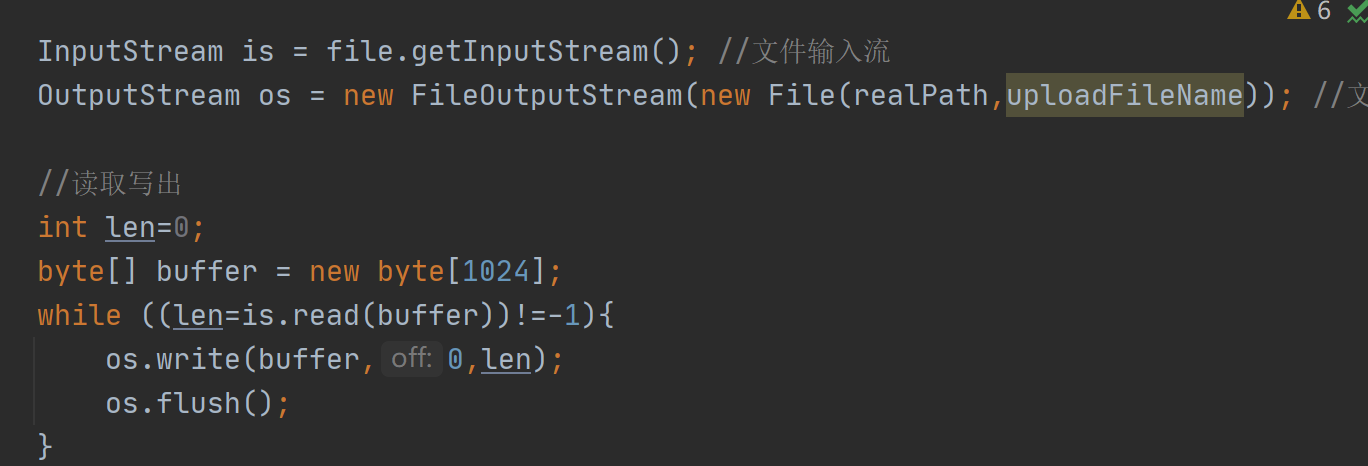
我们上传的操作是:先讲上传文件从本地电脑打开建立输入流,我们的程序作为中间站
,然后建立一个输出流 利用循环 边读输入流边用输出流进行输出。
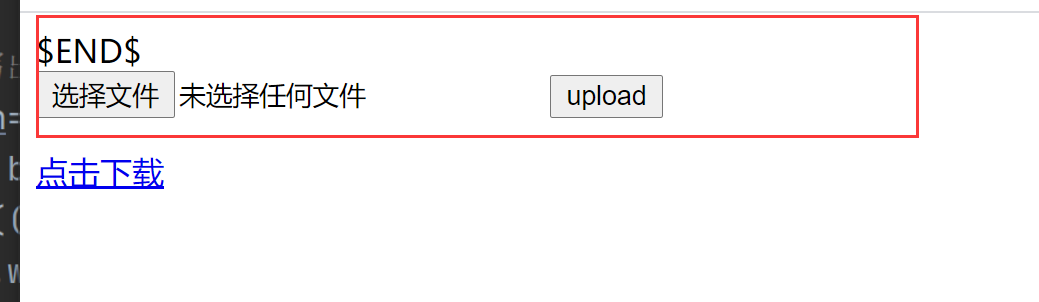
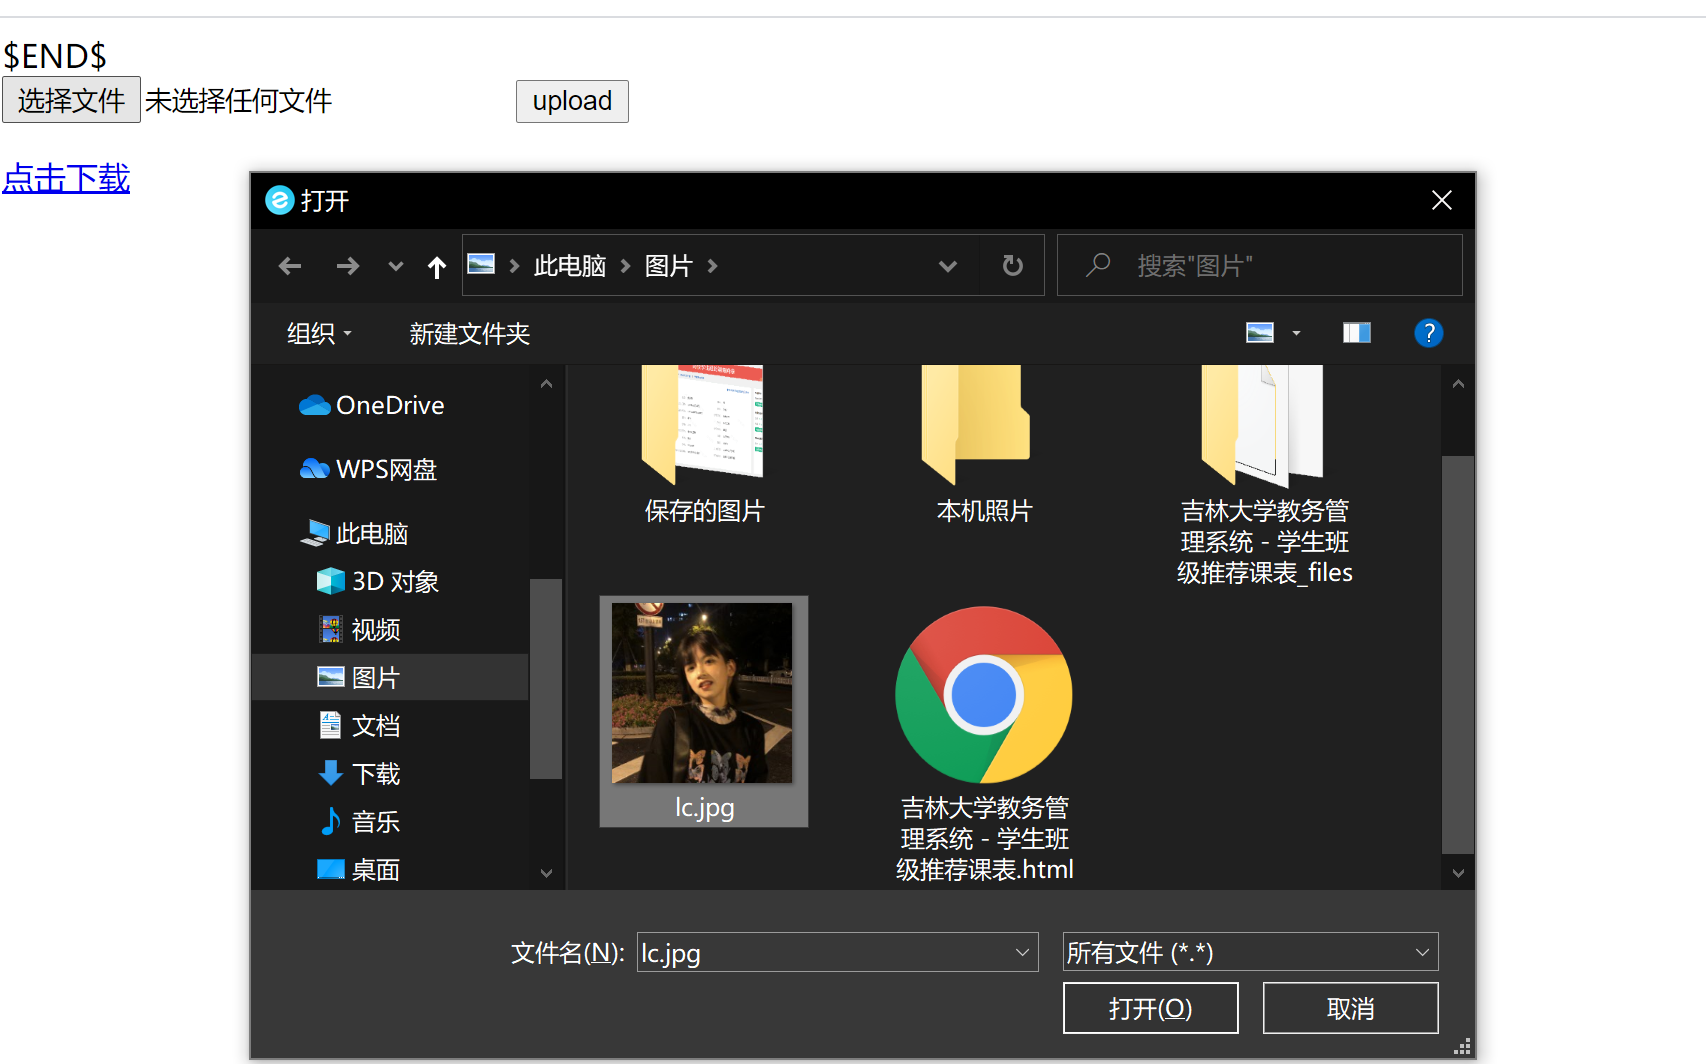
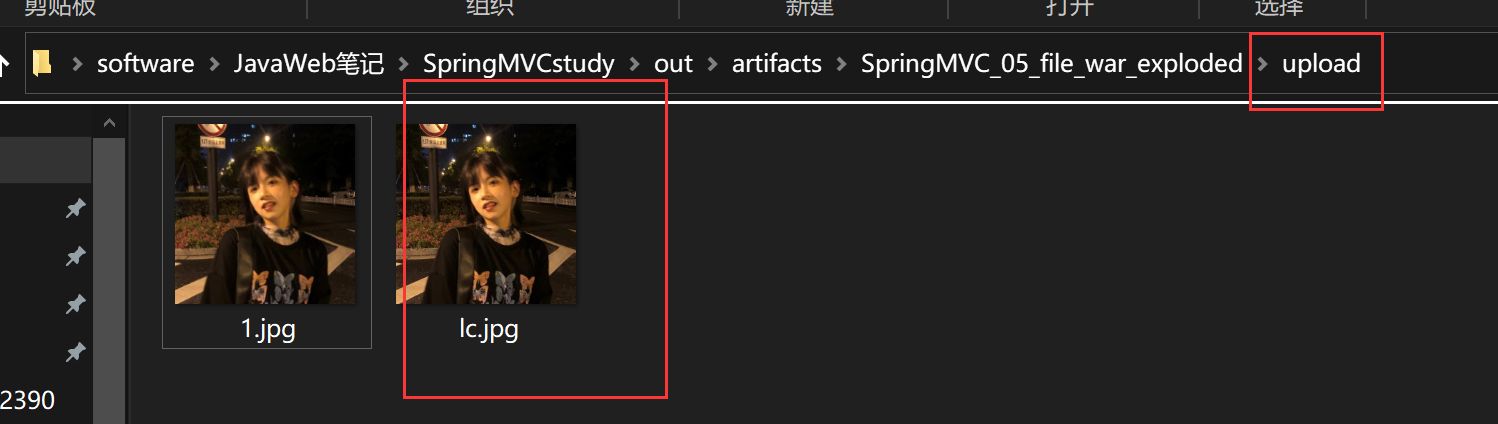
演示:
2.下载
下载不需要配置spring。需要导入刚才的依赖。
html也非常简单 直接使用超链接指向controller就可以了


@RequestMapping("/download")
public String downloads(HttpServletResponse response , HttpServletRequest request) throws Exception{
//要下载的图片地址
String path = request.getSession().getServletContext().getRealPath("/upload");
String fileName = "1.jpg";
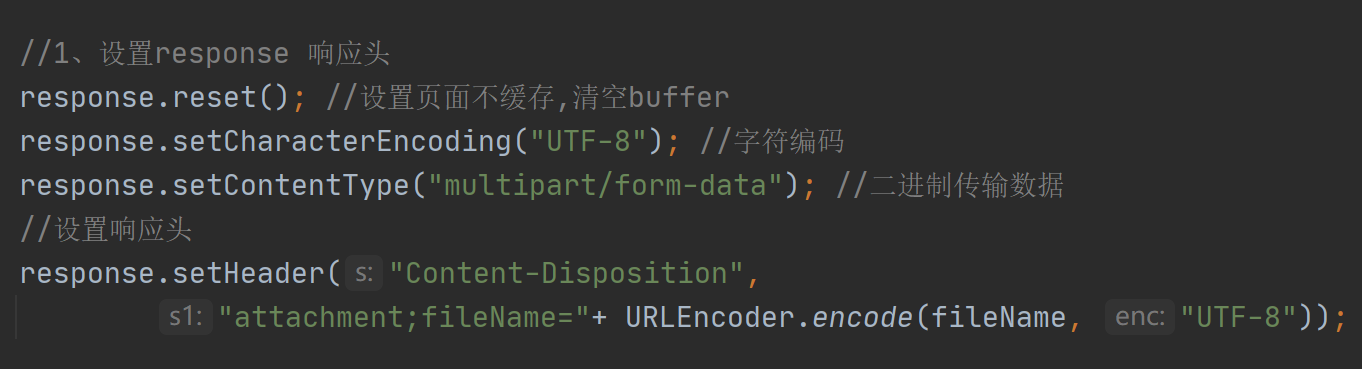
//1、设置response 响应头
response.reset(); //设置页面不缓存,清空buffer
response.setCharacterEncoding("UTF-8"); //字符编码
response.setContentType("multipart/form-data"); //二进制传输数据
//设置响应头
response.setHeader("Content-Disposition",
"attachment;fileName="+ URLEncoder.encode(fileName, "UTF-8"));
File file = new File(path,fileName);
//2、 读取文件--输入流
InputStream input=new FileInputStream(file);
//3、 写出文件--输出流
OutputStream out = response.getOutputStream();
byte[] buff =new byte[1024];
int index=0;
//4、执行 写出操作
while((index= input.read(buff))!= -1){
out.write(buff, 0, index);
out.flush();
}
out.close();
input.close();
return "OK";
}
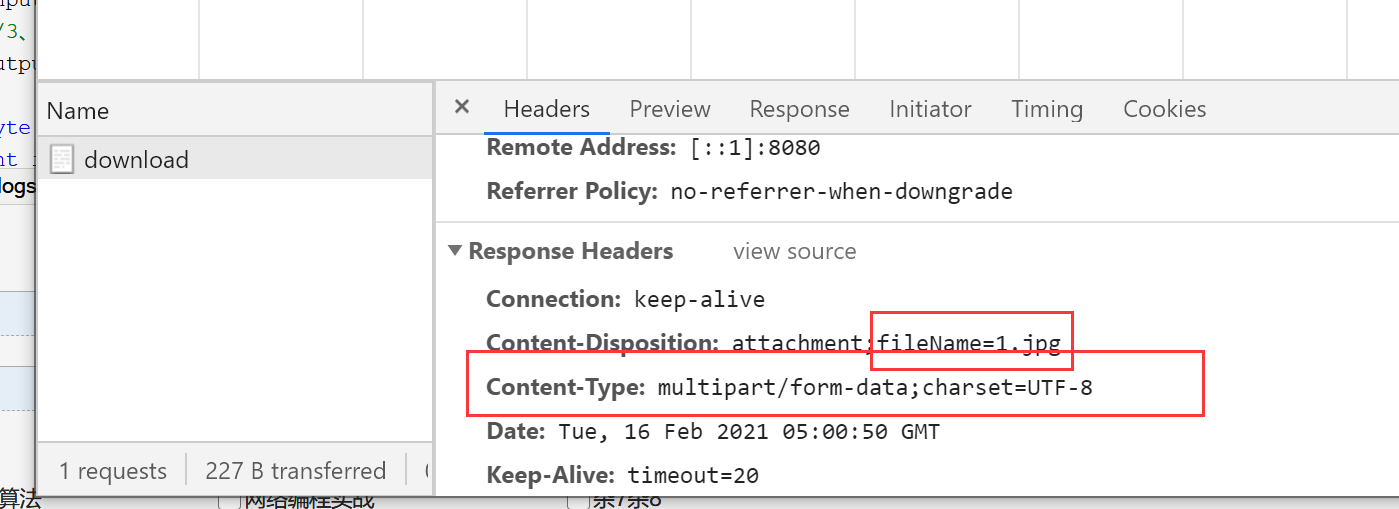
设置返回的response响应头