一、安装mininet
我直接用了老师已经安装好mininet的系统,并对其进行了检测。


二、用字符命令生成拓扑,并测试连接性
1.生成拓扑:
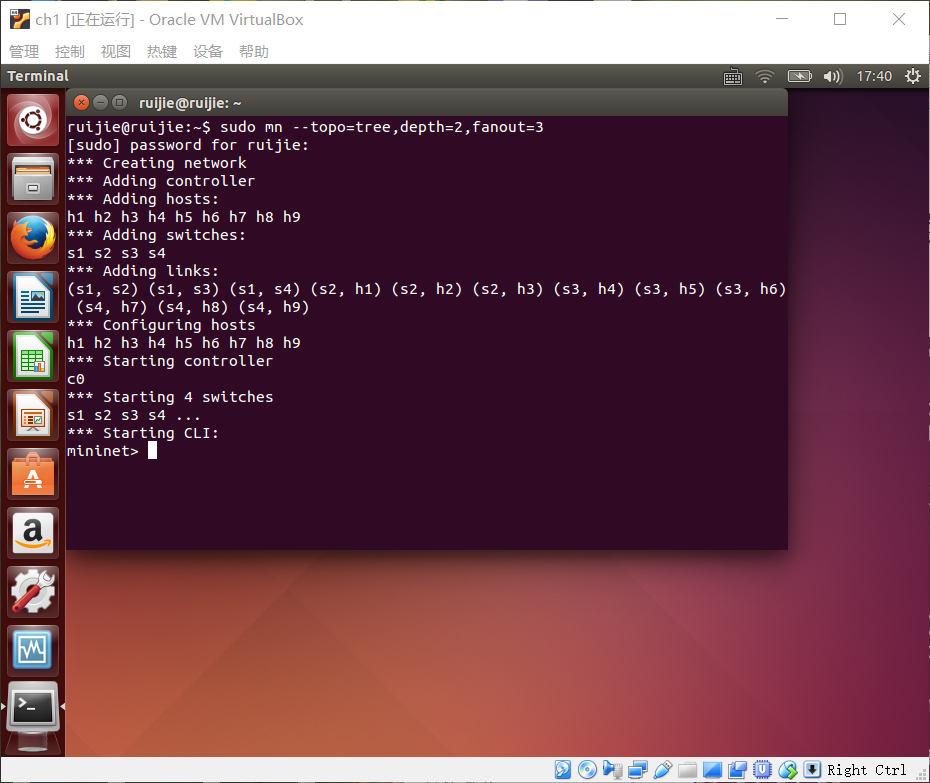
2.测试连接性:
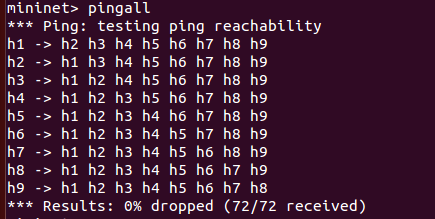
三、mininet可视化拓扑建立:
1.进入examples目录并执行./miniedit.py

2.出现界面:

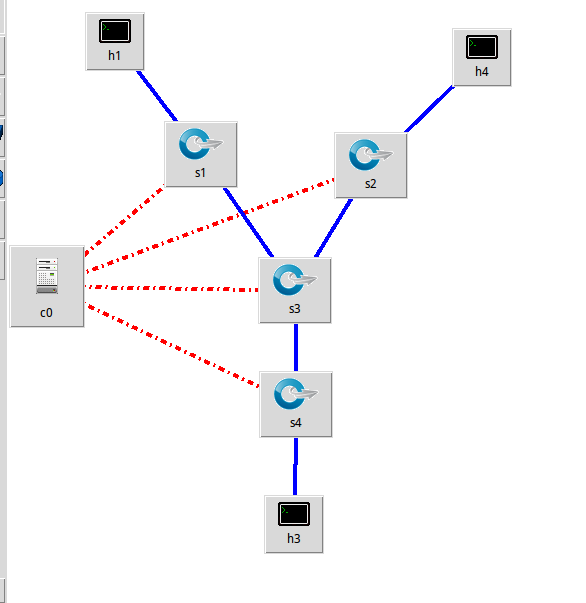
3.建立拓扑:
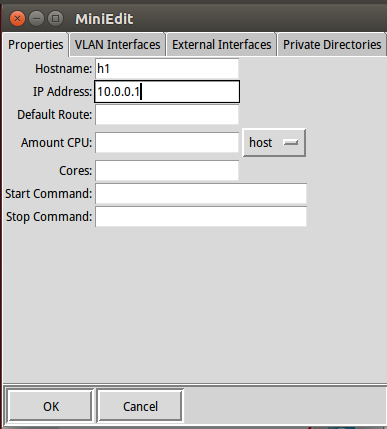
4.对HOST设置IP:
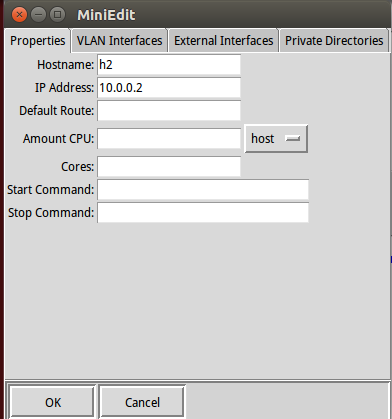
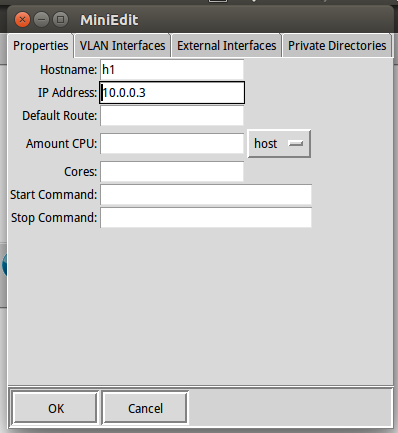
5.开启OpenFlow以及CLI:
在“Edit”中选择“Preferences”,进入此界面,可勾选“Start CLI”,这样的话,就可以命令行界面直接对主机等进行命令操作,也可以选择交换机支持的OpenFlow协议版本。

6.保存或者打开所建立拓扑:
你也可以保存你的拓扑设计或打开之前保存的拓扑设计。点击左下角Run按钮,运行网络。
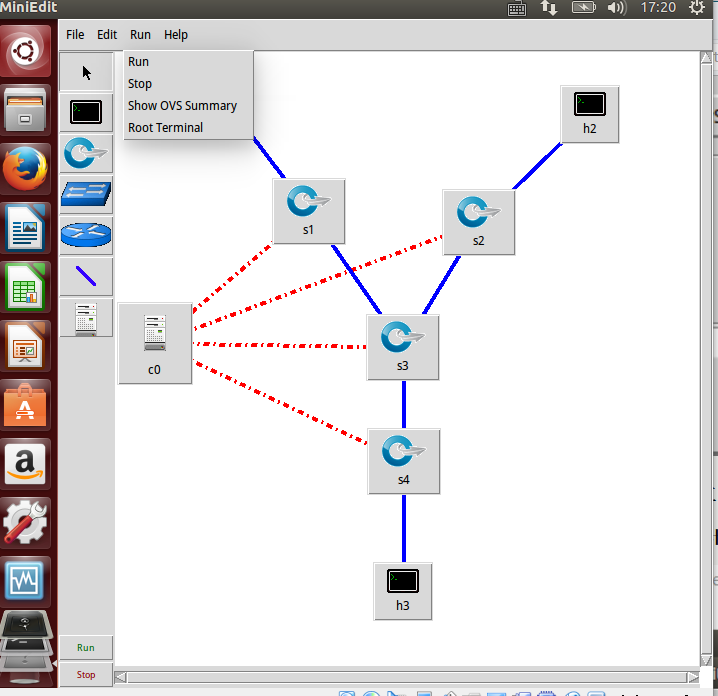
7.拓扑建立成功:
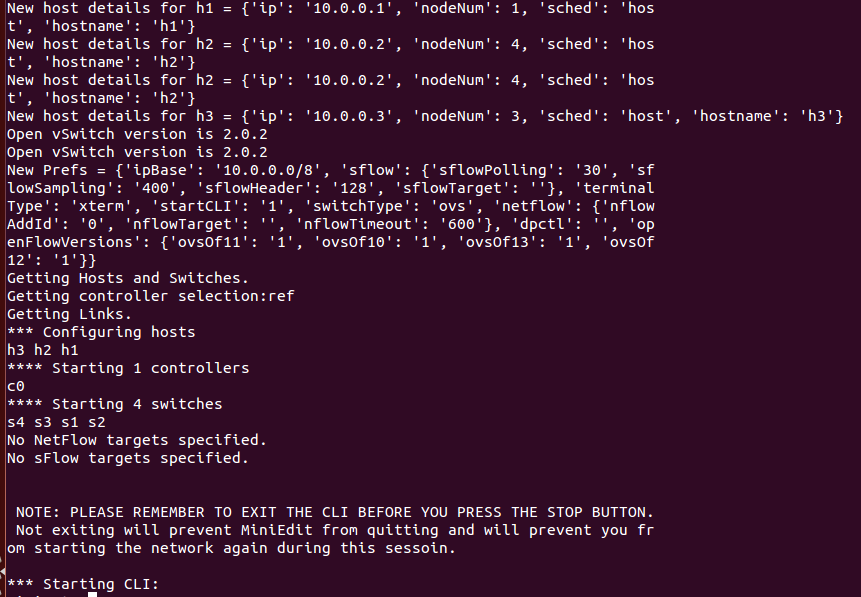
8.通过net查看拓扑:

9.测试连接性:

四、用Python脚本生成一个Fat-tree型的拓扑
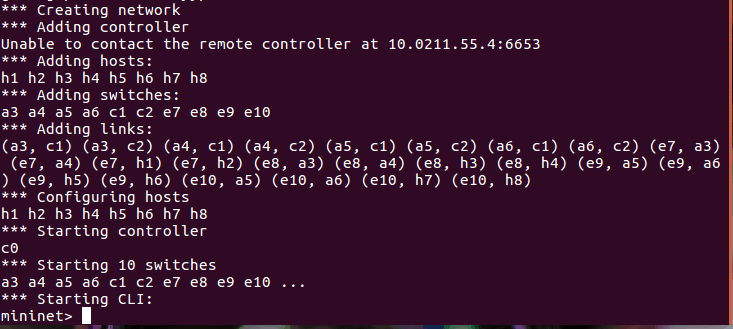
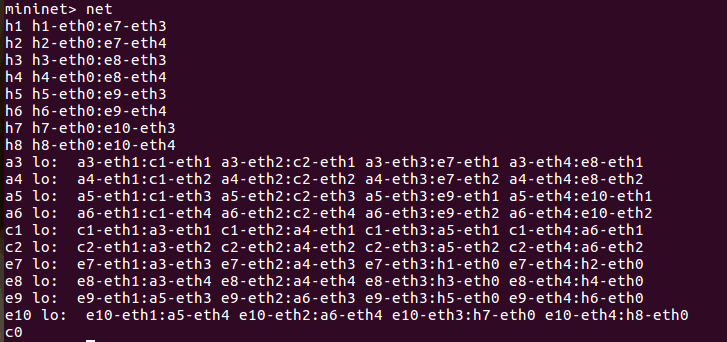
代码如下:
!/usr/bin/python
Custom topology example
Adding the 'topos' dict with a key/value pair to generate our newly defined
topology enables one to pass in '--topo=mytopo' from the command line.
from mininet.topo import Topo
from mininet.net import Mininet
from mininet.node import RemoteController,CPULimitedHost
from mininet.link import TCLink
from mininet.util import dumpNodeConnections
class MyTopo( Topo ):
def init( self ):
Initialize topology
Topo.init( self )
L1 = 2
L2 = L1 * 2
L3 = L2
c = []
a = []
e = []
add core ovs
for i in range( L1 ):
sw = self.addSwitch( 'c{}'.format( i + 1 ) )
c.append( sw )
add aggregation ovs
for i in range( L2 ):
sw = self.addSwitch( 'a{}'.format( L1 + i + 1 ) )
a.append( sw )
add edge ovs
for i in range( L3 ):
sw = self.addSwitch( 'e{}'.format( L1 + L2 + i + 1 ) )
e.append( sw )
add links between core and aggregation ovs
for i in range( L1 ):
sw1 = c[i]
for sw2 in a[i/2::L1/2]:
self.addLink(sw2, sw1, bw=10, delay='5ms', loss=10, max_queue_size=1000, use_htb=True)
self.addLink( sw2, sw1 )
add links between aggregation and edge ovs
for i in range( 0, L2, 2 ):
for sw1 in a[i:i+2]:
for sw2 in e[i:i+2]:
self.addLink( sw2, sw1 )
add hosts and its links with edge ovs
count = 1
for sw1 in e:
for i in range(2):
host = self.addHost( 'h{}'.format( count ) )
self.addLink( sw1, host )
count += 1
topos = { 'mytopo': ( lambda: MyTopo() ) }