准备
安装vscode,可直接下载deb包进行安装,完成后安装C/C++ for Visual Studio Code插件,安装后重启(最新1.3版本以后不需要重启)。

生成目录和文件
新建文件夹【test】,并新建文件helloworld.cpp文件,文件中内容如下,
#include <iostream>
#include <string>
using namespace std;
int main(int argc, char const *argv[])
{
    cout<< "hello world" << endl;
    return 0;
}
使用vscode打开文件夹

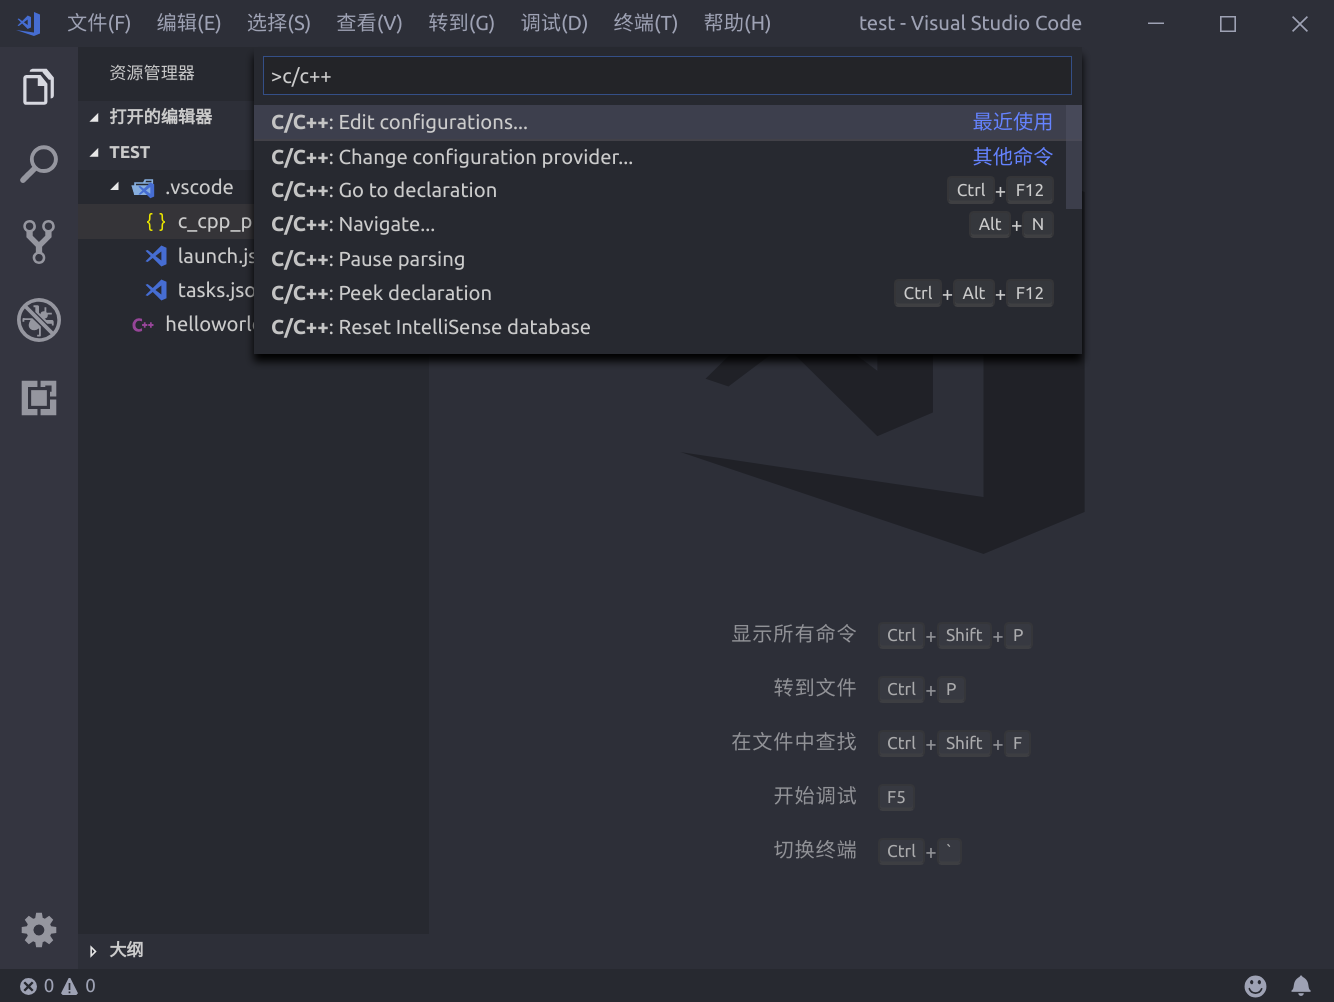
配置c++ IntelliSense
使用F1,打开命令选项,输入C/C++,选择C/C++:Edit configuration,生成c_cpp_properties.json配置文件。
{
    "configurations": [
        {
            "name": "Linux",
            "includePath": [
                "${workspaceFolder}/**"
            ],
            "defines": [],
            "compilerPath": "/usr/bin/gcc",
            "cStandard": "c11",
            "cppStandard": "c++17",
            "intelliSenseMode": "clang-x64"
        }
    ],
    "version": 4
}
其中最主要为"includePath"的引用和库的路径,根据引用内容进行配置。
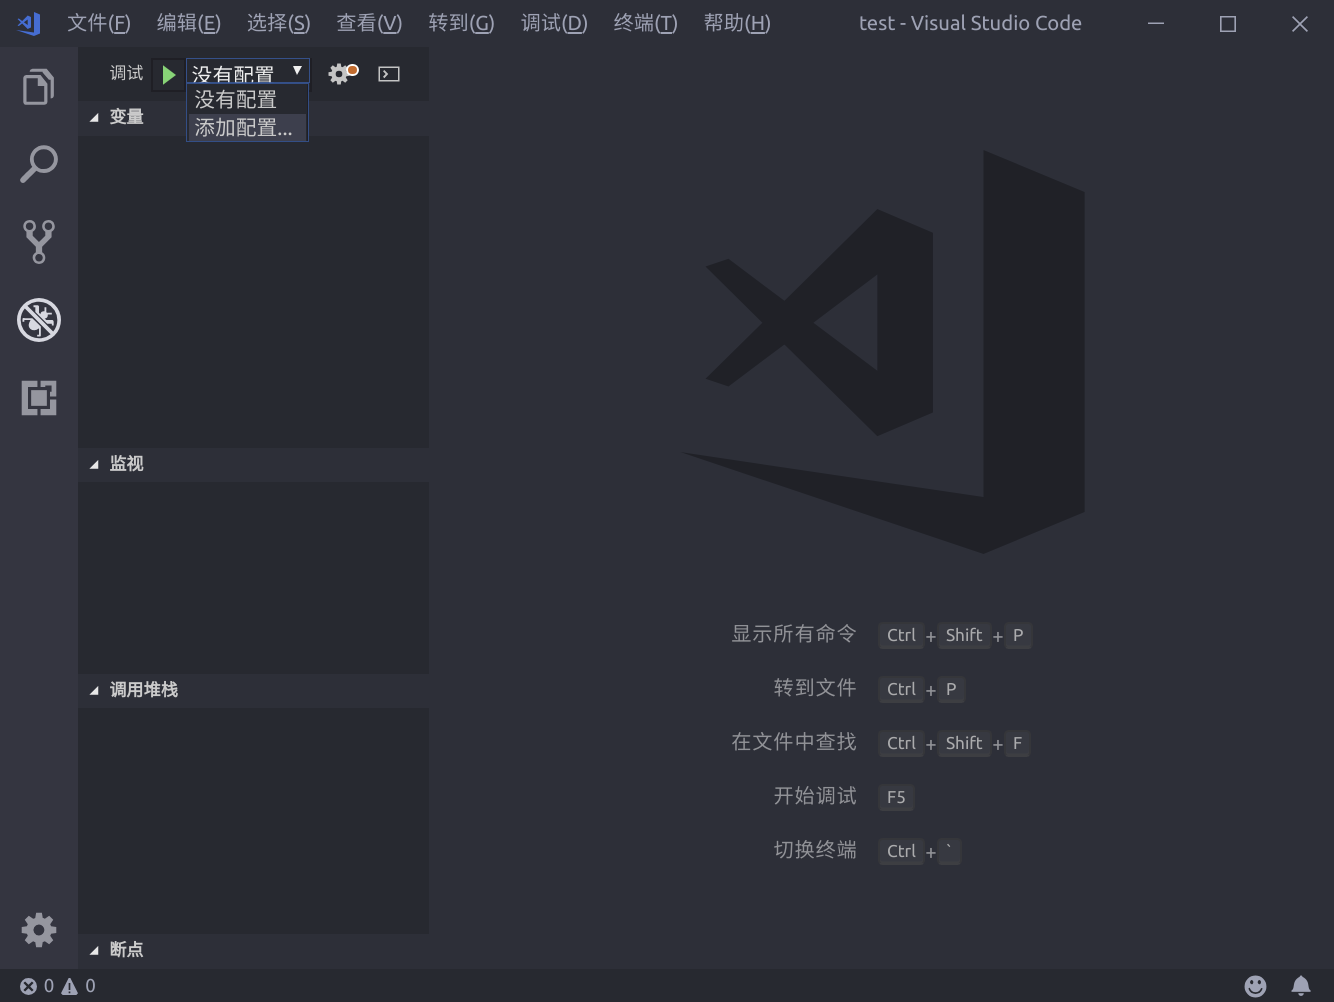
launch
在debug界面中选择添加配置,然后选择才c++(gdb/lgdb)选项,生成launch.json 顾名思义此文件主要服务于调试时的加载控制
{
    "version": "0.2.0",
    "configurations": [
        {
            "name": "(gdb) Launch",
            "type": "cppdbg",
            "request": "launch",
            "program": "${workspaceFolder}/helloworld",
            "args": [],
            "stopAtEntry": false,
            "cwd": "${workspaceFolder}",
            "environment": [],
            "externalConsole": true,
            "MIMode": "gdb",
            "preLaunchTask": "build",
            "setupCommands": [
                {
                    "description": "Enable pretty-printing for gdb",
                    "text": "-enable-pretty-printing",
                    "ignoreFailures": true
                }
            ]
        }
    ]
}
需要注意的参数为"program",此为需要调试的目标文件,应当设置为编译输出的文件位置;其次需要添加"preLaunchTask",此项的名字应与下面所建的tasks.json中的任务名称一致。
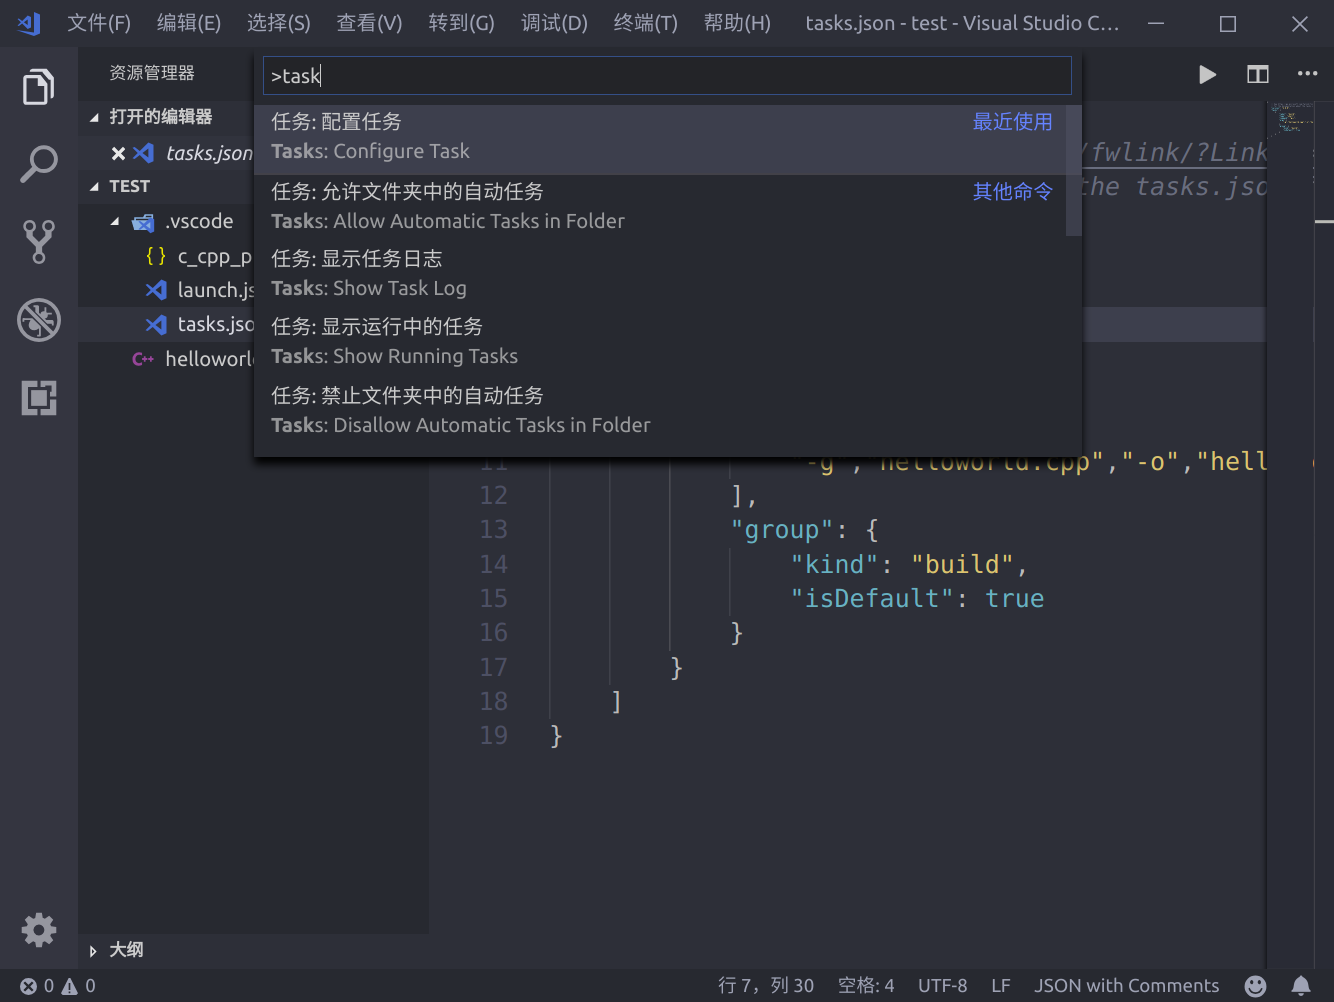
tasks.json
在命令窗口中输入task,选择task: configure task选项生成tasks.json文件
{
    "version": "2.0.0",
    "tasks": [
        {
            "label": "build",
            "type": "shell",
            "command": "g++",
            "args":[
                "-g","helloworld.cpp","-o","helloworld"
            ],
            "group": {
                "kind": "build",
                "isDefault": true
            }
        }
    ]
}
注意launch.json中的"preLaunchTask"调用与“label”相同的task。
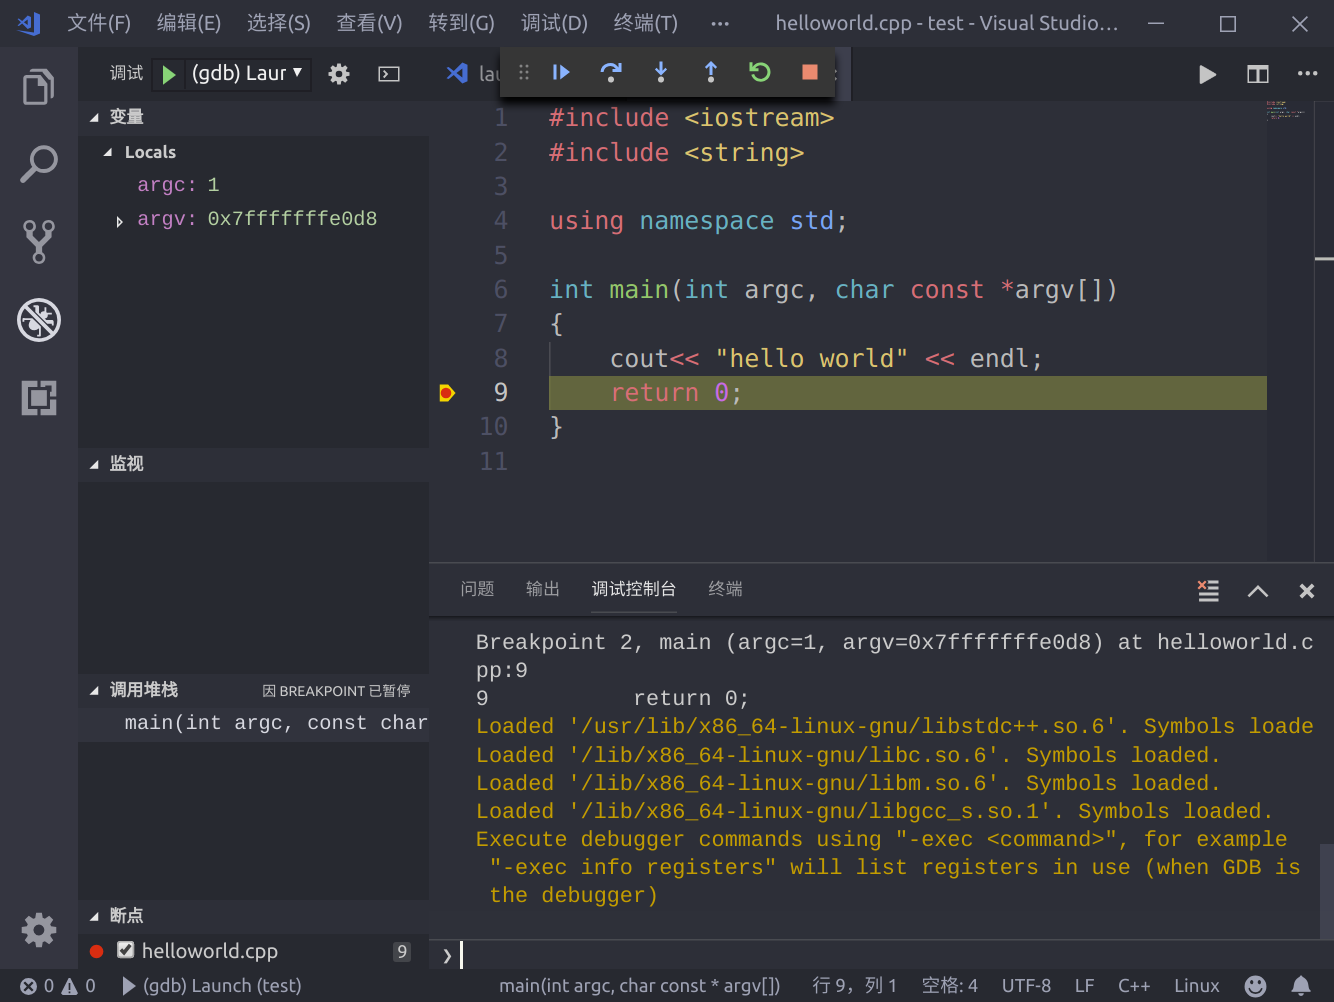
开始调试
按下F5开始调试吧,一切就是这么简单,开始美好的旅程。