linux上安装
转至https://blog.csdn.net/sndayyu/article/details/96745748
1.卸载mariadb
[root@localhost ~]# rpm -qa | grep mariadb
mariadb-libs-5.5.41-2.el7_0.x86_64
[root@localhost ~]# rpm -qa | grep mariadb-server
[root@localhost ~]# rpm -e --nodeps mariadb-libs-5.5.41-2.el7_0.x86_64
[root@localhost ~]# rpm -qa | grep mariadb
2、下载解压
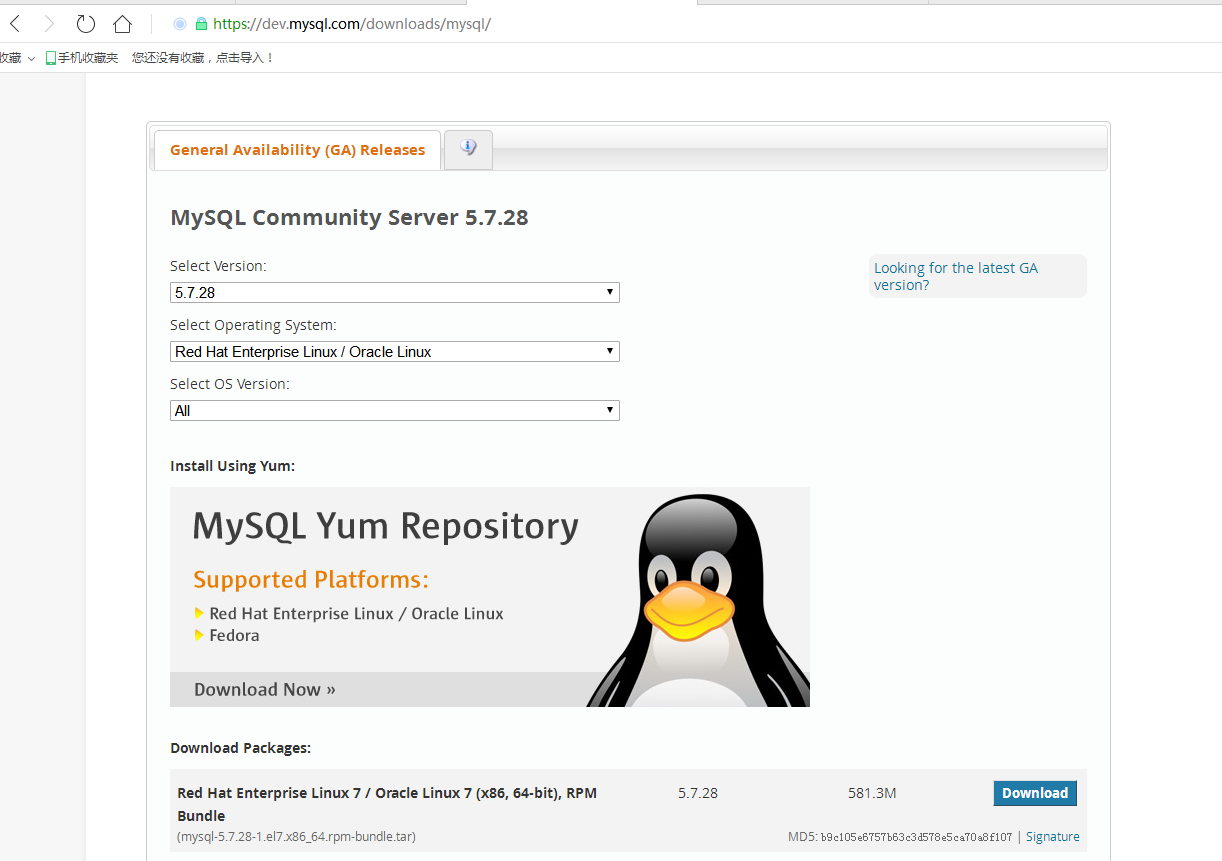
.windows上安装简单自行百度。这里介绍linux安装流程
下载对应版 ,然后上传到linux上
或者直接在linux:
[root@localhost ~]# cd /usr/local
[root@localhost local]# mkdir mysql
[root@localhost local]# cd mysql
[root@localhost mysql]# wget https://dev.mysql.com/get/Downloads/MySQL-5.7/mysql-5.7.27-1.el7.x86_64.rpm-bundle.tar
传上去或者下载完成后解压:
[root@localhost mysql]# tar -vxf mysql-5.7.27-1.el7.x86_64.rpm-bundle.tar
mysql-community-libs-5.7.27-1.el7.x86_64.rpm
mysql-community-embedded-devel-5.7.27-1.el7.x86_64.rpm
mysql-community-libs-compat-5.7.27-1.el7.x86_64.rpm
mysql-community-devel-5.7.27-1.el7.x86_64.rpm
mysql-community-embedded-compat-5.7.27-1.el7.x86_64.rpm
mysql-community-common-5.7.27-1.el7.x86_64.rpm
mysql-community-client-5.7.27-1.el7.x86_64.rpm
mysql-community-server-5.7.27-1.el7.x86_64.rpm
mysql-community-test-5.7.27-1.el7.x86_64.rpm
mysql-community-embedded-5.7.27-1.el7.x86_64.rpm
3.安装下面四个
rpm -ivh mysql-community-common-5.7.27-1.el7.x86_64.rpm
rpm -ivh mysql-community-libs-5.7.27-1.el7.x86_64.rpm
rpm -ivh mysql-community-client-5.7.27-1.el7.x86_64.rpm
 rpm -ivh mysql-community-server-5.7.27-1.el7.x86_64.rpm --nodeps
4.配置
1.如果是以root用户mysql服务,需要执行以下初始化
mysqld --initialize --user=mysql
2.修改/etc/my.cnf  在末尾加上skip-grant-tables  表示可以没密码登录,授权跳过。后面这行还是需要去掉的
3.重启mysql服务:systemctl restart mysqld

5.无密码启动并修改mysql密码,刷新退出
mysql -u root
update mysql.user set authentication_string=password('1234') where user='root';
flush privileges;
quit;
6.删除my.cnf中的最后一行、重启服务
[root@localhost mysql]# systemctl stop mysqld
[root@localhost mysql]# systemctl start mysqld
[root@localhost mysql]# mysql -uroot -p1234
7.远程访问权限
mysql> use mysql
ERROR 1820 (HY000): You must reset your password using ALTER USER statement before executing this statement.
mysql> alter user 'root'@'localhost' identified by '1234';
Query OK, 0 rows affected (0.00 sec)
mysql> flush privileges;
Query OK, 0 rows affected (0.00 sec)
mysql> use mysql;
Reading table information for completion of table and column names
You can turn off this feature to get a quicker startup with -A
Database changed
mysql> update user set host='%' where user='root';
Query OK, 1 row affected (0.00 sec)
Rows matched: 1  Changed: 1  Warnings: 0
mysql> select host,user from user;
+-----------+---------------+
| host      | user          |
+-----------+---------------+
| %         | root          |
| localhost | mysql.session |
| localhost | mysql.sys     |
+-----------+---------------+
3 rows in set (0.00 sec)
mysql> quit
Bye
[root@localhost ~]# systemctl stop mysqld;
[root@localhost ~]# systemctl start mysqld;
8.关闭防火墙 测试远程连接
[root@localhost ~]# systemctl stop firewalld
windows上安装(解压版)
1.坏境变量path中添加mysql解压后的bin目录
2.在mysql的解压目录下(D:devdatabasemysql-8.0.18-winx64)添加配置文件mysql.ini
[mysql]
# 设置mysql客户端默认字符集
default-character-set=utf8

[mysqld]
# 绑定IPv4
bind-address=0.0.0.0
# 设置端口号
port=3306
# 设置mysql的安装目录,即解压目录
basedir=D:\dev\database\mysql-8.0.18-winx64
# 设置数据库的数据存放目录
datadir=D:\devdatabase\mysql-8.0.18-winx64\data
# 设置允许最大连接数
max_connections=200
# 设置允许连接失败次数
max_connect_errors=10
# 设置服务端的默认字符集
character-set-server=utf8
# 创建表使用的默认存储引擎
default-storage-engine=INNODB
# 使用“mysql_native_password”插件认证
default_authentication_plugin=mysql_native_password
3.初始化mysql,管理员cmd: mysqld --initialize --console

4.安装mysql服务:mysqld --install mysql --defaults-file="D:devdatabasemysql-8.0.18-winx64mysql.ini"
5.退出:quit/exit
6.启动服务,管理员cmd:net start mysql(我的服务名是这个,也可以通过管理--服务界面手动开启)
7.使用刚才的密码登陆:mysql -uroot -p 密码(登陆如果卡死的话,多重启几次服务)
8.修改密码,推出重登即可:ALTER USER 'root'@'localhost' IDENTIFIED WITH mysql_native_password BY '新密码';