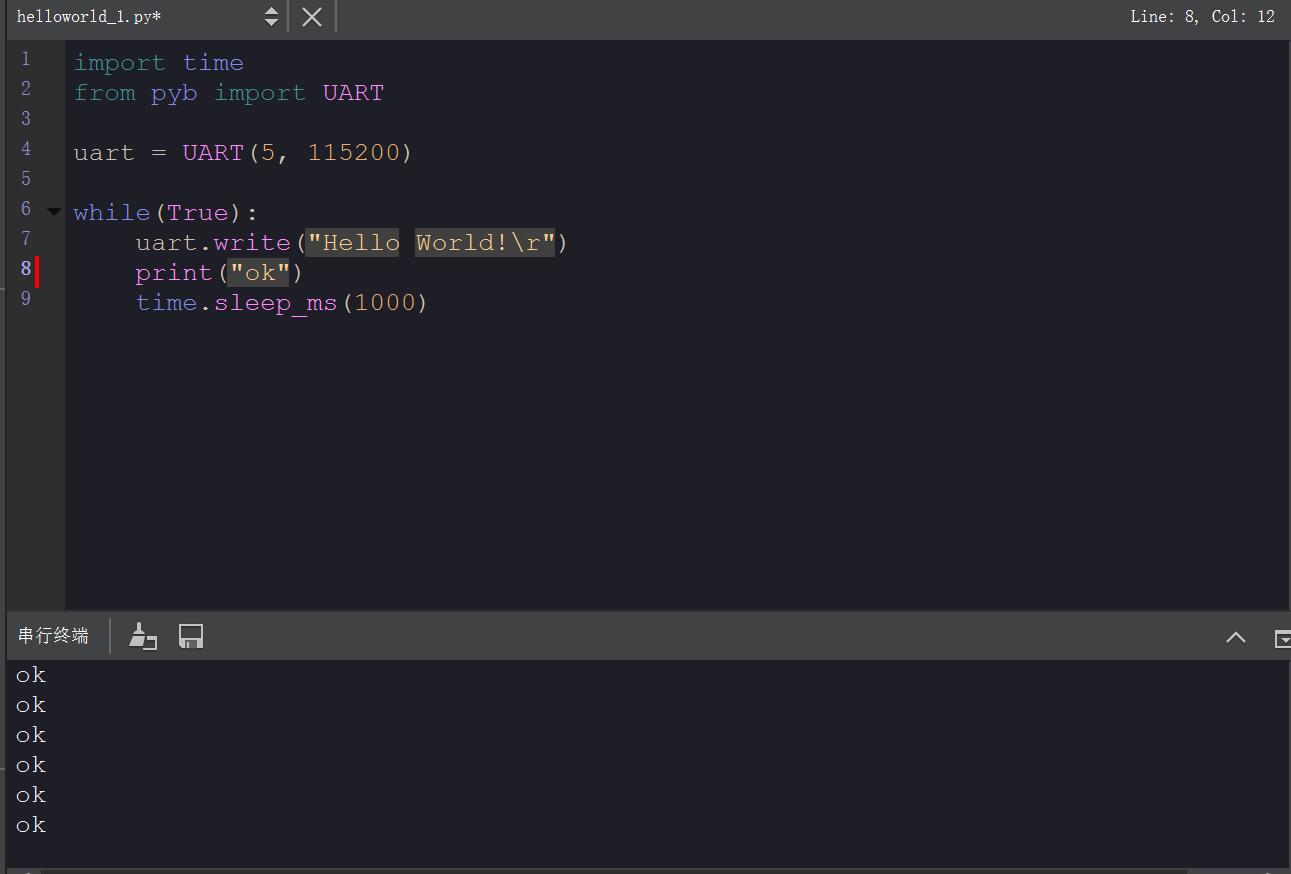
编译官方板子的固件
克隆仓库到本地
git clone --recursive https://github.com/openmv/openmv.git
Openmv项目中有很多子模块,务必加上recursive参数,这样才会一并把子模块下载下来。
安装Docker
过程不表,网上已有许多完善的教程
编译
git clone https://github.com/openmv/openmv.git --depth=50
cd openmv/docker
make TARGET=<TARGET NAME>

下面是可选的固件
make TARGET=OPENMV2 # To build the OpenMV Cam M4 Firmware
make TARGET=OPENMV3 # To build the OpenMV Cam M7 Firmware
make TARGET=OPENMV4 # To build the OpenMV Cam H7 Firmware (default)
make TARGET=OPENMV4P # To build the OpenMV Cam H7 Plus Firmware
make TARGET=OPENMVPT # To build the OpenMV Pure Thermal Firmware
make TARGET=PORTENTA # To build the Arduino H7 Portenta Firmware
make TARGET=NANO33 # To build the Arduino Nano 33 BLE Firmware
编译WeAct的板子
克隆仓库到本地
git clone https://github.com/WeActTC/openmv/tree/WeActStudio
#这里先不下载子模块,因为这个库里有个子模块是死活下载不下来的

git checkout -b WeActStudio origin/WeActStudio
#切换到WeActStudio分支

cd openmv
git submodule init
git submodule update --depth=1
cd src/micropython
git submodule init
git submodule update --depth=1
cd ..
#下载子模块
安装依赖
Weact的仓库中暂时没看到支持Docker一键编译,手动安装以下依赖
sudo apt-get remove gcc-arm-none-eabi
sudo apt-get autoremove
sudo add-apt-repository ppa:team-gcc-arm-embedded/ppa
sudo apt-get update
sudo apt-get install gcc-arm-embedded
sudo apt-get install libc6-i386
sudo apt-get install python2.7 python-dev python-pip
sudo apt-get install libusb-1.0-0 libusb-1.0-0-dev
sudo apt-get install python-gtksourceview2
sudo pip install numpy pyserial==2.7 pyusb==1.0.0b2 Pillow
sudo apt-get install git
sudo apt-get install make
编译
Weact的板子支持两种固件,一种直接运行在芯片内部flash,另一种运行在QSPI的flash。下面编译的是直接运行在芯片内部flash的固件。另一种没测试,理论上只需修改
cd src/micropython/mpy-cross
make

cd ../../
make TARGET=WeActStudioSTM32H7xx
修改IO&添加串口
主要修改 /micropython/ports/stm32/boards/WeActStudioSTM32H7xx/mpconfigboard.h和
micropython/ports/stm32/boards/WeActStudioSTM32H7xx/pins.csv这两个文件
修改IO
pins.csv里面定义了IO,自行修改即可
添加串口五
在mpconfigboard.h中添加串口五的定义
// UART1 config
#define MICROPY_HW_UART1_TX  (pin_A9)
#define MICROPY_HW_UART1_RX  (pin_A10)
/******************这是添加的部分***********/
// UART5 config
#define MICROPY_HW_UART5_TX  (pin_B13)
#define MICROPY_HW_UART5_RX  (pin_B12)
/******************这是添加的部分***********/
// UART3 config
#define MICROPY_HW_UART3_TX  (pin_B10)
#define MICROPY_HW_UART3_RX  (pin_B11)
#define MICROPY_HW_UART3_RTS (pin_B14)
#define MICROPY_HW_UART3_CTS (pin_B13)
