@
前言
由于项目采用了微服务架构,业务功能都在相应各自的模块中,每个业务模块都是以独立的项目运行着,对外提供各自的服务接口,如没有类似网关之类组件的话,相应的鉴权,限流等功能实现起来不能够进行统一的配置和管理,有了网关后一切都是如此的优雅。刚好新项目中采用了SpringCloud Gateway组件作为网关,就记录下项目中常用的配置吧。
项目版本
spring-boot-version:2.2.5.RELEASE
spring-cloud.version:Hoxton.SR3
网关访问
示例项目还是延续SpringCloud系列原先的示例代码,引入网关仅仅只需新增spring-cloud-gateway项目即可。
核心pom.xml(详细信息查看示例源码,在文章末尾)
<dependency>
   <groupId>org.springframework.cloud</groupId>
    <artifactId>spring-cloud-starter-gateway</artifactId>
</dependency>
bootstrap.yml
server:
  port: 9005
spring:
  application:
    name: springcloud-gateway-service
  cloud:
    config:
      discovery:
        enabled: true
        service-id: config-server
      profile: dev
      label: master
    gateway:
      enabled: true  #开启网关
      discovery:
        locator:
          enabled: true #开启自动路由,以服务id建立路由,服务id默认大写
          lower-case-service-id: true #服务id设置为小写
eureka:
  client:
    service-url:
      defaultZone: http://localhost:9003/eureka/
ApiGatewayApplication.java
@EnableDiscoveryClient
@SpringBootApplication
public class ApiGatewayApplication {
    public static void main(String[] args) {
        SpringApplication.run(ApiGatewayApplication.class, args);
    }
}
访问原先spring-cloud-system-server模块对外提供的接口
http://localhost:9004/web/system/getEnvName

通过网关进行访问
http://localhost:9005/system-server/web/system/getEnvName
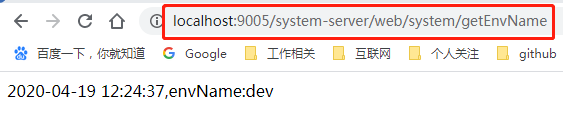
请求能正常返回,那就说明网关组件已集成进来了,是不是很简单呢,一行配置项就搞定了,便于展现这边采用properties配置方式说明
spring.cloud.gateway.discovery.locator.enabled=true
到此网关的基础配置应用已完成,通过网关访问的请求路径格式如下
http://网关地址:网关端口/各自服务id/各自服务对外提供的URL访问
鉴权配置
这边将spring-cloud-system-server模块引入spring security安全认证组件,上代码。
pom.xml
<dependency>
    <groupId>org.springframework.boot</groupId>
    <artifactId>spring-boot-starter-security</artifactId>
</dependency>
application.properties
spring.security.user.name=test
spring.security.user.password=123456
服务模块调整完后,重新启动该模块,访问对外请求接口,出现认证登录界面说明配置成功。
http://localhost:9004/web/system/getEnvName
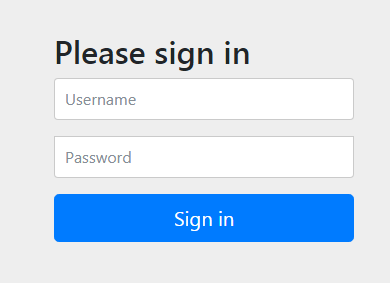
输入上述配置项中配置的用户名和密码后,接口请求返回正常。
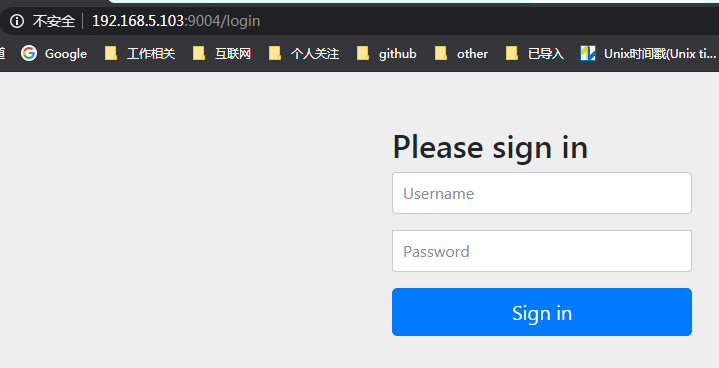
请求网关地址,访问服务接口按下回车键时会跳转至服务项目认证页面,如下
http://localhost:9005/system-server/web/system/getEnvName
接下来对网关模块进行相应调整
bootstrap.yml
spring:
  application:
    name: springcloud-gateway-service
  security:
    user:
      name: test
      password: 123456
新增安全认证过滤类
SecurityBasicAuthorizationFilter.java
@Component
public class SecurityBasicAuthorizationFilter implements GlobalFilter, Ordered {

    @Value("${spring.security.user.name}")
    private String username;
    @Value("${spring.security.user.password}")
    private String password;

    public Mono<Void> filter(ServerWebExchange exchange, GatewayFilterChain chain) {
        String auth = username.concat(":").concat(password);
        String encodedAuth = new sun.misc.BASE64Encoder().encode(auth.getBytes(Charset.forName("US-ASCII")));
        String authHeader = "Basic " +encodedAuth;
        //headers中增加授权信息
        ServerHttpRequest serverHttpRequest = exchange.getRequest().mutate().header("Authorization", authHeader).build();
        ServerWebExchange build = exchange.mutate().request(serverHttpRequest).build();
        return chain.filter(build);
    }
    /**
     * 优先级
     * 数字越大优先级越低
     * @return
     */
    public int getOrder() {
        return -1;
    }
}
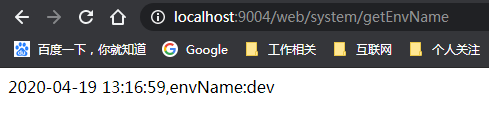
重启网关项目,重新访问服务地址,返回正常数据。这边说明下在测试时最好新开一个无痕窗口或者清理浏览器缓存后再进行测试,不然因会话缓存会导致安全认证没有生效的假象。
http://localhost:9005/system-server/web/system/getEnvName

限流配置
SpringCloud Gateway自带限流功能,但是基于redis,这边简单演示下,项目中没有使用而是使用了阿里开源的sentinel,后续将介绍下集成sentinel组件。
pom.xml
<dependency>
    <groupId>org.springframework.boot</groupId>
    <artifactId>spring-boot-starter-data-redis-reactive</artifactId>
</dependency>
bootstrap.yml
spring:
  cloud:
    gateway:
      enabled: true  #开启网关
      discovery:
        locator:
          enabled: true #开启自动路由,以服务id建立路由,服务id默认大写
          lower-case-service-id: true #服务id设置为小写
      routes:
        - id: baidu_route
          uri: https://www.baidu.com/
          predicates:
          - Path=/baidu/**
          filters:
            - name: RequestRateLimiter
              args:
                key-resolver: "#{@apiKeyResolver}"
                redis-rate-limiter.replenishRate: 1 #允许每秒处理多少个请求
                redis-rate-limiter.burstCapacity: 5 #允许在一秒钟内完成的最大请求数
   redis:
    host: 192.168.28.142
    pool: 6379
    password: password
    database: 1
RequestRateLimiterConfig.java
@Configuration
public class RequestRateLimiterConfig {
    @Bean
    @Primary
    public KeyResolver apiKeyResolver() {
        //URL限流,超出限流返回429状态
        return exchange -> Mono.just(exchange.getRequest().getPath().toString());
    }
}
重新启动网关项目,访问如下请求地址,会请求跳转至百度首页,目前配置项配置为1s内请求数5次,超过5次就会触发限流,返回429状态码,多次刷新就会出现如下页面
http://localhost:9005/baidu/test

通过monitor命令实时查看redis信息

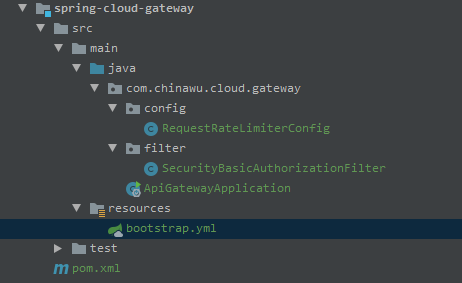
本次网关项目目录结构
同系列文章
1-SpringCloud系列之配置中心(Config)使用说明
2-SpringCloud系列之服务注册发现(Eureka)应用篇
示例源码