Visual Studio Code is recommended IDE for Salesforce development. In this post we will learn about how to setup Visual Studio Code for Salesforce development. We’ll explore the features of VS Code, configure, and customize to use it as a power tool for Salesforce Development.
Step 1) Download and Install VsCode
Download the Visual Studio Code from here and install on your computer.

Step 2) Install Salesforce DX CLI
To connect the VsCode with Salesforce org we need SalesforceDX CLI. Download the Salesforce CLI from here.
Operating System
Link to Installer
macOS
https://sfdc.co/sfdx_cli_osx
Windows 32-bit
https://sfdc.co/sfdx_cli_win
Windows 64-bit
https://sfdc.co/sfdx_cli_win64

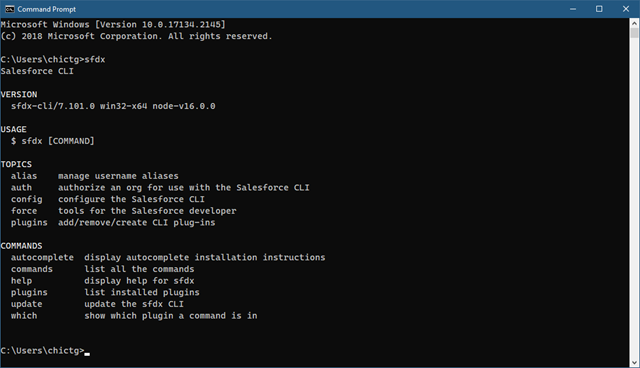
Once Salesforce CLI is installed. You can validate the same with sfdx command on command line terminal. Check this post if you want to learn more about Salesforce CLI
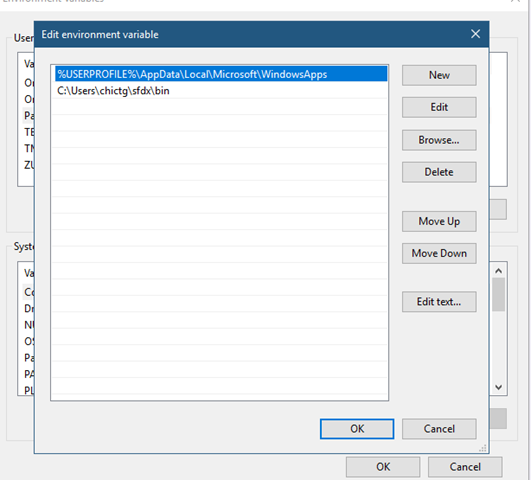
Test in CMD after you install the salesforce CLI successfully. 记住,在安装CLI 后要重启visual studio code.
Step 3) Install Salesforce Extension Pack
We are almost there. Open your VsCode and Click on Extensions icon on left hand side or press CTRL+SHIFT+X. Then Search for “Salesforce Extension Pack” and click on install button

With Salesforce Extension pack all below extension will install automatically.
- Apex
- Salesforce CLI Integration
- Apex Interactive Debugger
- Apex Replay Debugger
- Visualforce
- Aura Components
- Lightning Web Component
Step 4) Create Project
Congratulation. Till this step your software setup is completed. Now its time to create your first project in VsCode. To Create the project open Command Palette or press Ctrl + Shit + P. Then type SFDX: Create Project with Manifest .
SFDX: Create Project with Manifest
Then provide your project name and select location where you want to save your project.
Till this point you will able to see blank folder structure in VsCode. Let see how we can connect our VsCode with Salesforce
Step 5) Connect with your Salesforce Org
Our project is ready on our local machine, Its time to connect our VsCode with Salesforce. Again open Command Palette or press Ctrl + Shit + P. This time we need to type or Select “SFDX: Authorize an Org“.
SFDX: Authorize an Org
Then it will ask you which environment we need to connect to

In the last step you need to provide the org alias name. Then it will take you to your default browser and ask you for org credentials. If prompted to allow access, click Allow

Till this point your Salesforce org is connected with VsCode. Now its time for Development.
Step 6) Retrieve Component
Now you want to extract all your Salesforce component in your VsCode? Open Package.xml file from Manifest folder. Then Modify your Package.xml file to add and remove component. Finally Click on Package.xml and select “SFDX: Retrieve This Source from Org” option
SFDX: Retrieve This Source from Org
It’ll retrieve all the metadata from your org which is specified in your package.xml file
Step 7) Deploy component
Open any file and work one your component. IF you want to learn about how to create Lightning Web Component then check this post. Now do your changes in VSCode and then select the file which you want to deploy in your org. Then Right click on VsCode and select “SFDC: Deploy This Source to Org” option for deployment.
Recording
If you want to learn about how to use VsCode on cloud check this post.

