In the competitive time of businesses, sales representatives of any company spend their 50% of effort and time on minimal task like maintaining data, transferring data, data entry, in two different places and coming back to Salesforce for managing emails and inbox to gather and access all the respective information about leads, prospects, and opportunities. To increase productivity of Sales representatives, Salesforce integration with Outlook is the best solution for managing the sales more effectively.
Overview of Microsoft Outlook
Microsoft outlook, or simply Outlook, is a personal information manager from Microsoft, that allows users to send and receive email on their computer. It provides many functionalities to manage various types of personal data like calendar appointments and similar entries, tasks, contacts, notes, and events.
Importance of integrating Salesforce with Outlook
- It will help to save time of Sales reps in entering data and switching between the two applications
- Help to eliminate efforts on redundant data entry into two applications
- Help Sales teams in tracking email conversations relevant to Salesforce records
- Help to design meaningful email templates for prospects and customers
- Helps to access important Outlook email messages and manage all relevant Salesforce records in one place.

Steps to Integrate Outlook and Salesforce
STEP 1
- Open your Salesforce Org.
- Click on Setup
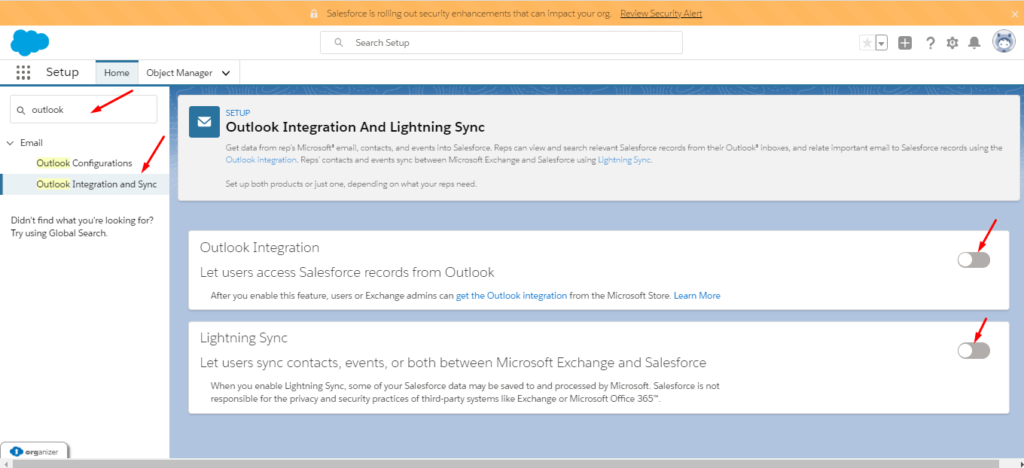
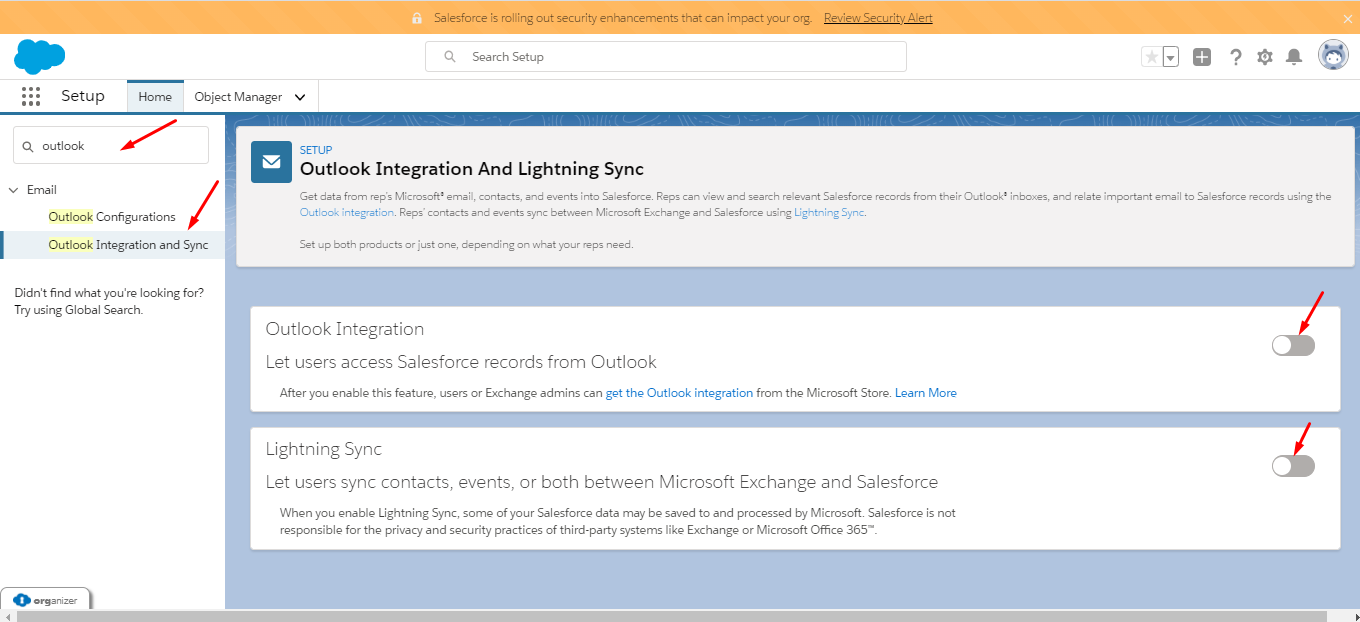
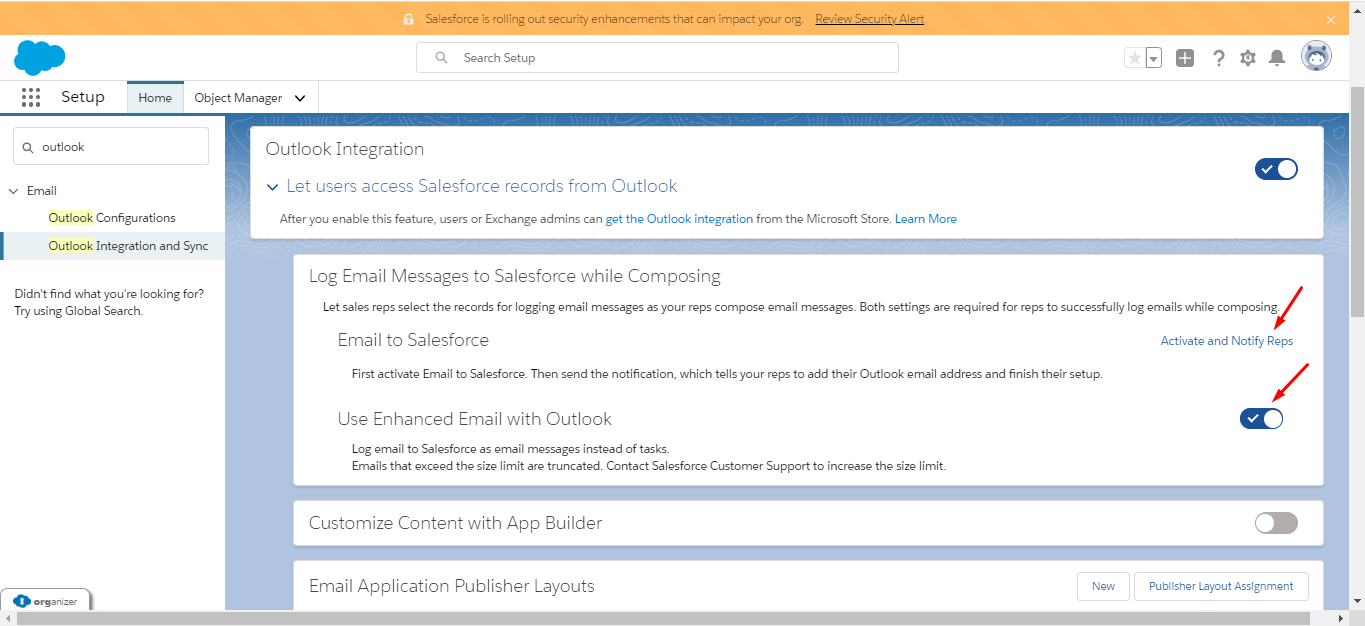
- Search Outlook in quick find box and Select Outlook Integration and Sync. Then enable Outlook Integration and Lightning Sync button.
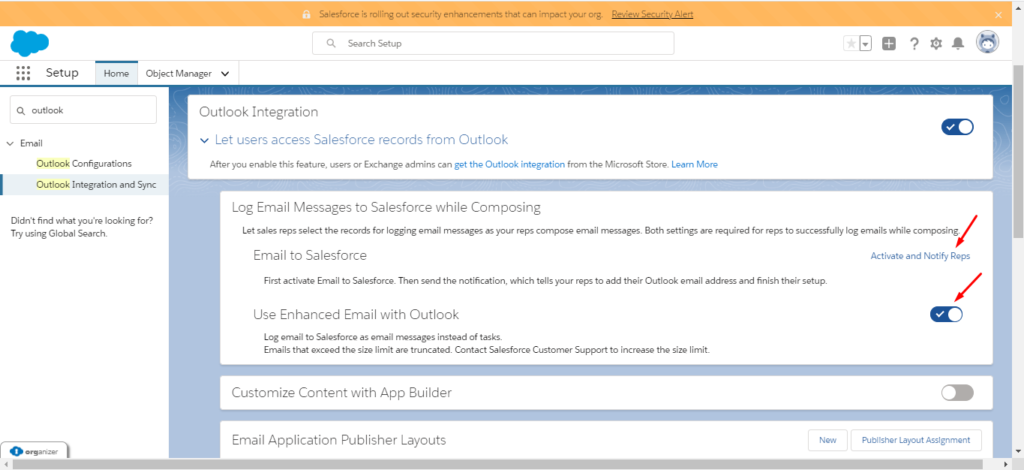
- Enable Use Enhanced Email with Outlook and Click Active and Notify Reps.
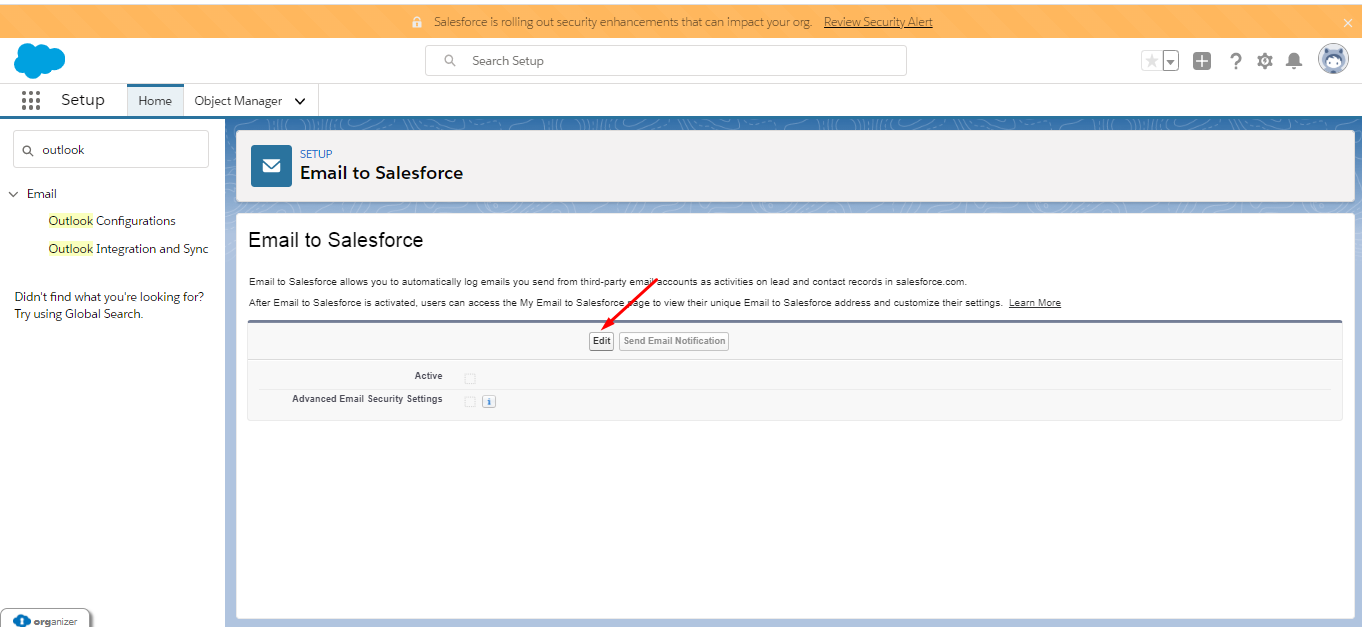
- Click on Edit button.

- Click on Active and Advanced Email Security Settings Checkbox true and Click on Save button.

- Click on Skip this Step.


STEP 2
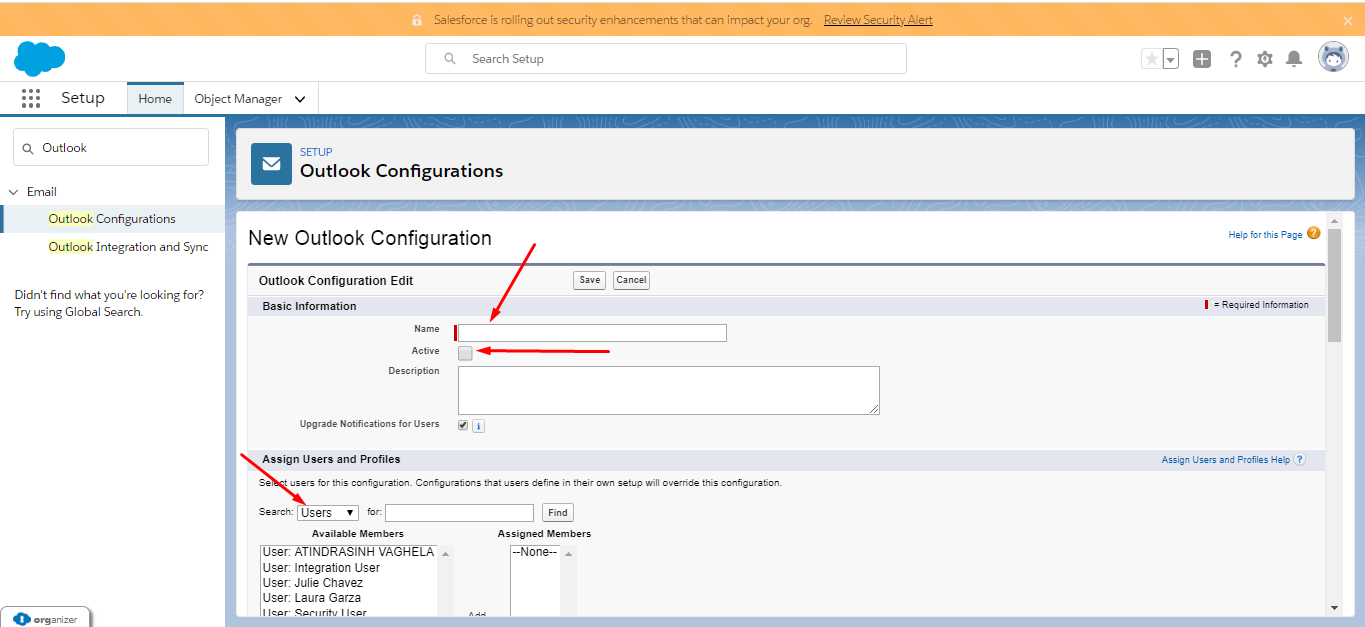
- Now Again search Outlook in quick find box and Click on Outlook Configuration. Then Click on New Outlook Configuration button.

- Now in basic information given Name as you want and Click on Active checkbox true. Now Assign users and profiles section choose Users and in Available Members choose users which you want to give permission for outlook sync. Then add them in left side Assigned Members using the Click on Add
 button.

- Now Assign users and profiles section choose Profile and in Available Members choose profile which you want to give permission for outlook sync. Then add them in left side Assigned Members using the Click on Add button .
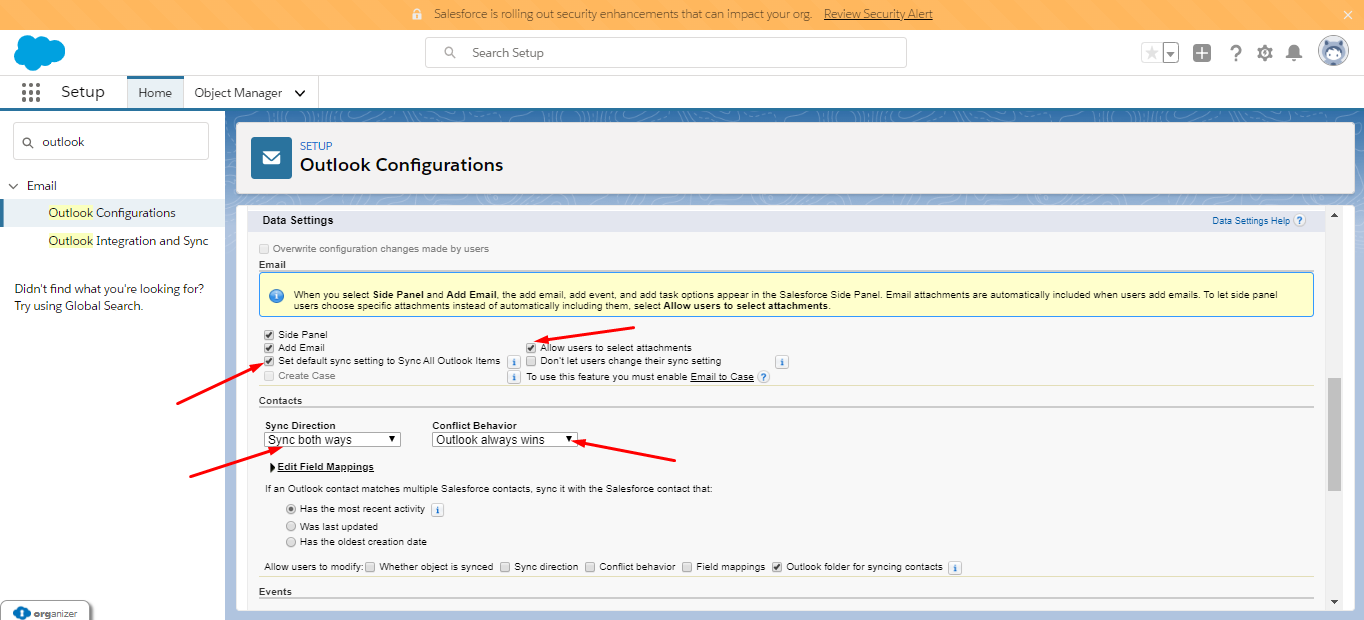
- Now in Data Settings section select Set default sync setting to Sync All Outlook Items checkbox and Allow users to select attachments checkbox as per your requirement.

- Now in Contacts Sync Direction choose Sync both ways and conflict Behaviour choose Outlook always wins. Allow users to Modify: choose checkbox as per requirement.
- Repeat Step 5 for Events and Tasks also and then click on Save button.

STEP 3
- Now Switch to Salesforce Classic.
- Click on beside Setup your User Name and Select My Settings.
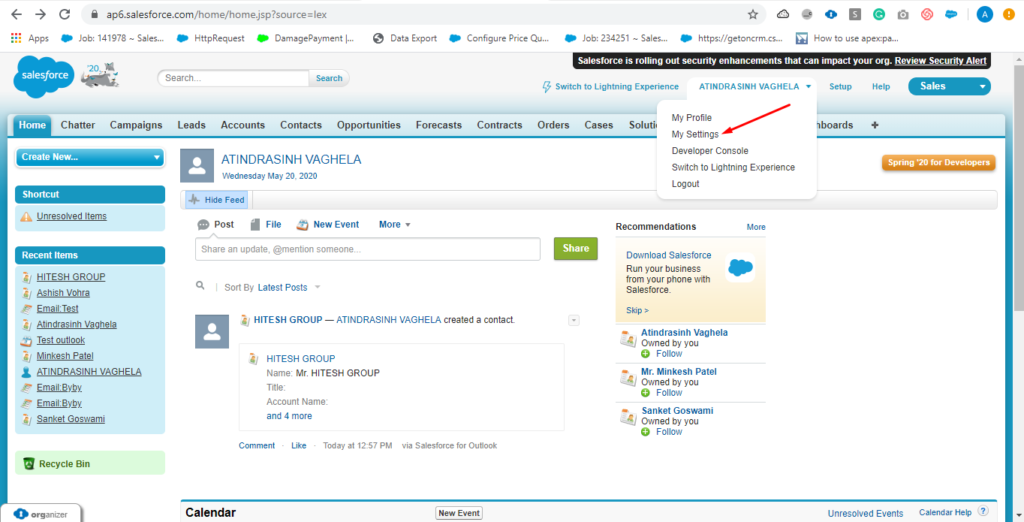
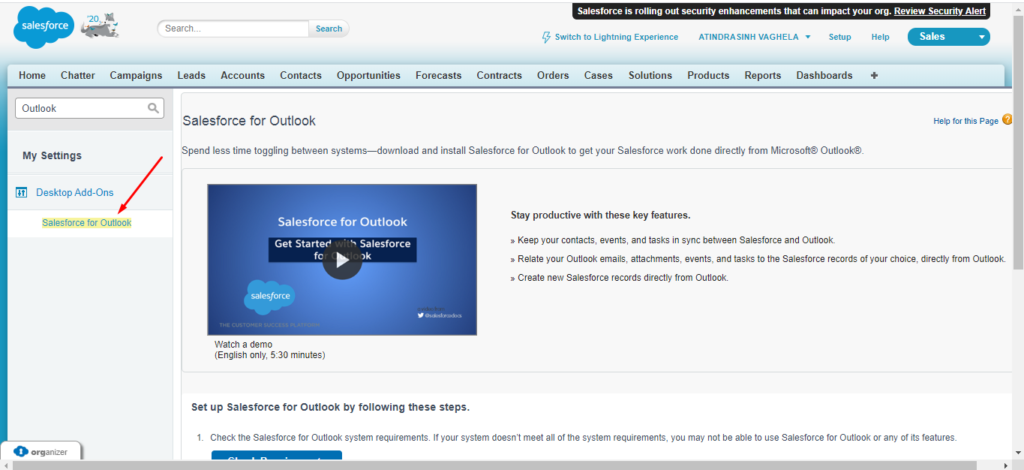
- Search Outlook in quick find box and Select Salesforce for Outlook.
- Now Scroll down bottom of the page and Download Salesforce for Outlook using Download (Version) button.
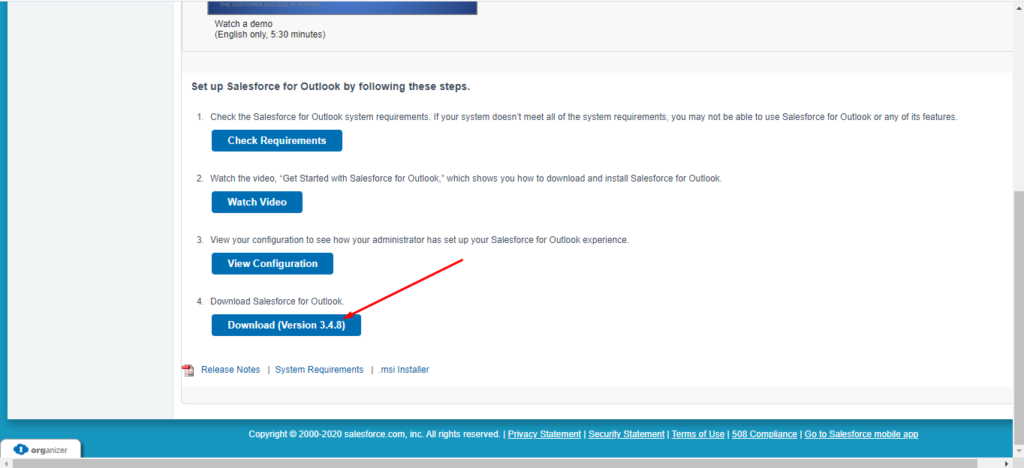
- If Microsoft Outlook is Open, Close It. Now Install setup file on your computer.
Also Read: How to do Integration of Salesforce with Ruby on Rails?
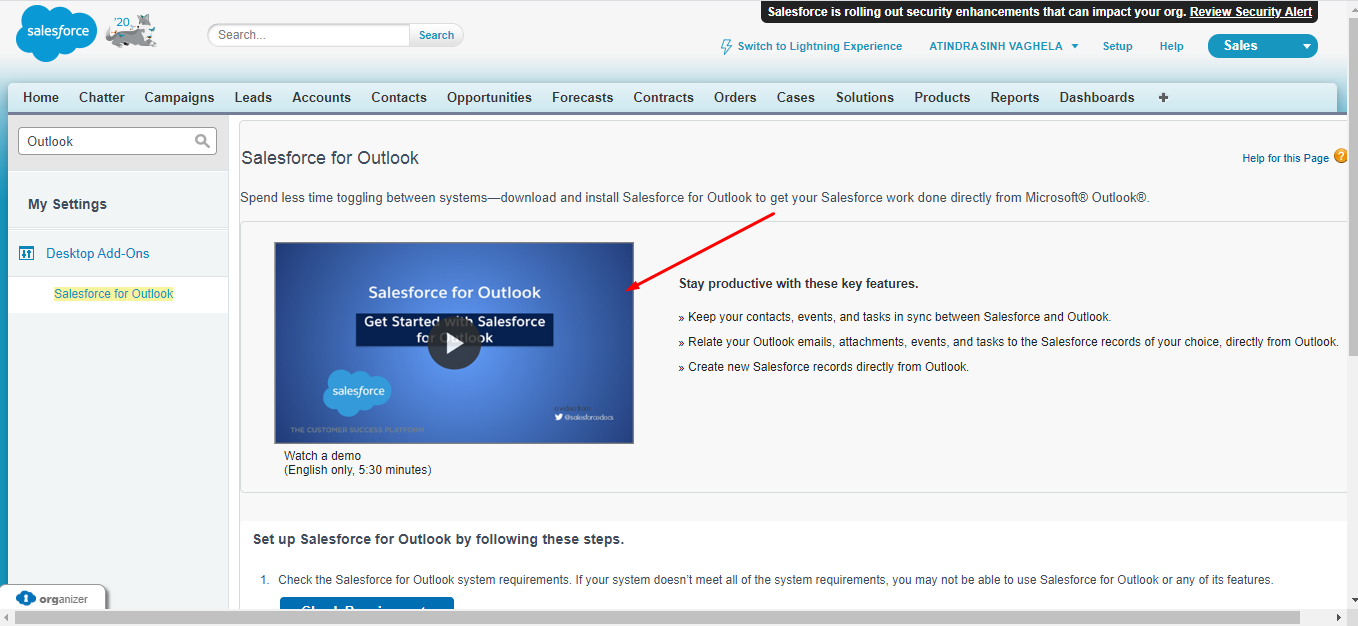
- How to install setup in your computer see the video top off the page.


STEP 4
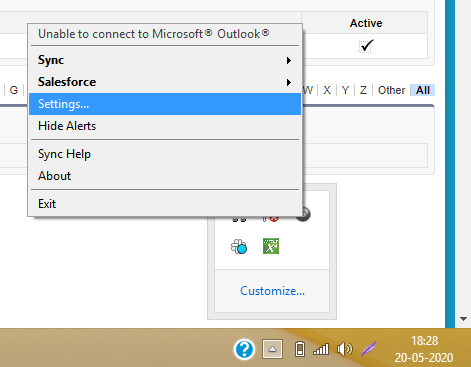
- After complete installation Salesforce for Outlook in your computer Open Microsoft Outlook in your computer. Please sync your email id in Microsoft Outlook. In task bar right side system try click upper arrow button.

- You can find it Salesforce for Outlook Symbol there. Go to symbol “Right click” on mouse and click on Settings.
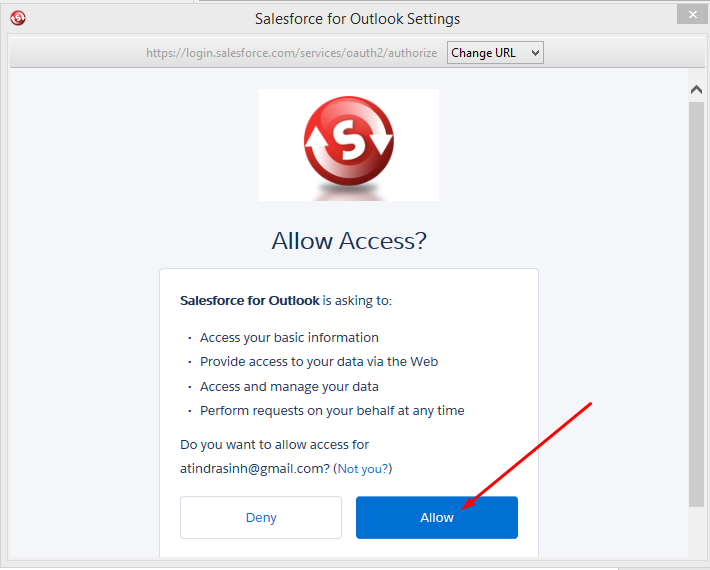
- Enter your Salesforce Username and Password. Then click Log In button.

- Click Allow Button.
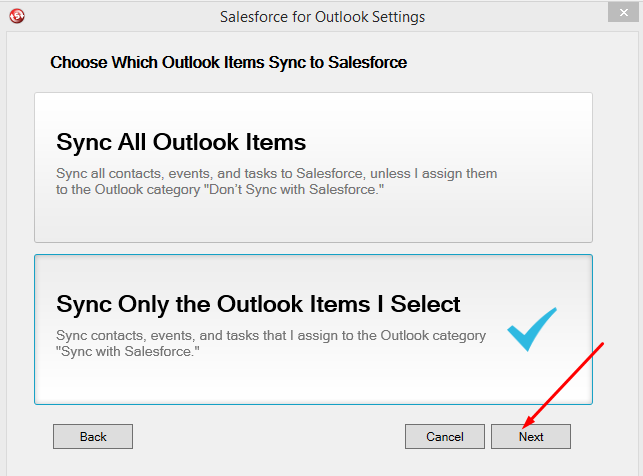
- Select Sync Only the Outlook Items I Select default and Click Next Button. If you want Sync All Outlook Items which you don’t remember sync letter, Select upper Option.
Also Read: How to catch Salesforce Outbound Messages with NodeJS?
- Click on Save Button.

- Congrats, You Can Sync Outlook with Salesforce. If you want to change your settings, right-click the Salesforce for Outlook system tray icon and choose Settings. Click on Close button.
