1.创建form表单的两种方式,不同的方式在js中创建表单的方式也不同
方式1:一般使用在搜索表单中,只需要双向绑定数据即可,那就使用这种方法即可
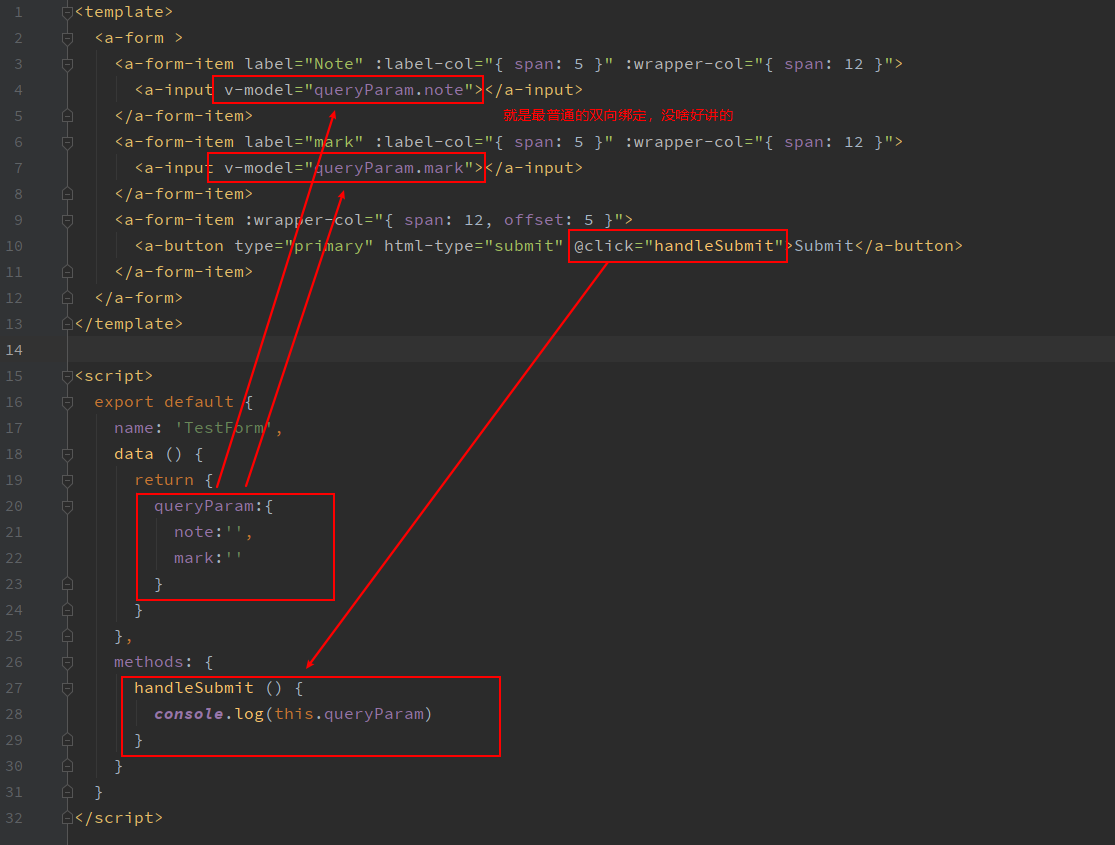


<template>
  <a-form >
    <a-form-item label="Note" :label-col="{ span: 5 }" :wrapper-col="{ span: 12 }">
      <a-input v-model="queryParam.note"></a-input>
    </a-form-item>
    <a-form-item label="mark" :label-col="{ span: 5 }" :wrapper-col="{ span: 12 }">
      <a-input v-model="queryParam.mark"></a-input>
    </a-form-item>
    <a-form-item :wrapper-col="{ span: 12, offset: 5 }">
      <a-button type="primary" html-type="submit" @click="handleSubmit">Submit</a-button>
    </a-form-item>
  </a-form>
</template>

<script>
  export default {
    name: 'TestForm',
    data () {
      return {
        queryParam:{
          note:'',
          mark:''
        }
      }
    },
    methods: {
      handleSubmit () {
        console.log(this.queryParam)
      }
    }
  }
</script>
方式2:在登录,或者注册等等应用场景中使用,需要对表单进行校验等等操作,请使用这种方法

如果只有图,那我还怎么写代码?怎么复制粘贴?怎么工作?
<template>
  <a-form :form="form" @submit="handleSubmit">
    <a-form-item label="Note" :label-col="{ span: 5 }" :wrapper-col="{ span: 12 }">
      <!-- 建议使用antd自带的v-decorator来定义表单项,建议封装校验方法,页面结构更清晰 -->
      <a-input v-decorator="['note', ValidateRules.note]"/>
      <!-- 没有校验方法,也可以直接这么写 -->
      <!-- <a-input v-decorator="['note']"/> -->
    </a-form-item>
    <a-form-item :wrapper-col="{ span: 12, offset: 5 }">
      <a-button type="primary" html-type="submit">Submit</a-button>
    </a-form-item>
  </a-form>
</template>

<script>
  export default {
    name: 'TestForm',
    data () {
      return {
        // 这里是用createForm创建表单,传入this即可
        form: this.$form.createForm(this),
        // 后面这个参数是options配置项(可选参数),为啥要设置他,见后面说明
        //form: this.$form.createForm(this, { name: 'loginForm' }),
        ValidateRules: {
          note: { rules: [{ required: true, message: 'Please input your note!' }] }
        }
      }
    },
    methods: {
      handleSubmit (e) {
        const aa = document.getElementById('note')
        console.log(aa.value)
        e.preventDefault()
        this.form.validateFields((err, values) => {
          if (!err) {
            console.log('Received values of form: ', values)
          }
        })
        console.log(this.form.getFieldsValue())
      }
    }
  }
</script>
2.在使用createForm()创建表单的时候,传入options.name的原因:
图片太小,请在图片上点击右键,选择在新标签页中打开即可。

如果按照上面所写,你定义两个表单,都有个属性值叫做gender的话,那他们的id也是相同的,都是 id="gender",按照原则来说,一个页面不应该有相同的id。可能会导致如下:
const genderDiv = document.getElementById('gender');  // 你在这里获取id为gender的标签也会引起歧义,如果当前页面只有一个form表单,或者多个表单没有重复字段,不设置name并无影响
console.log(genderDiv.value);  // 你只能打印出来一个表单中的gender的值,另一个表单的值你获取不到了,因为id设置重复了,覆盖了
3.动态校验规则:

<template>
  <a-form :form="form">
    <a-form-item
      :label-col="formItemLayout.labelCol"
      :wrapper-col="formItemLayout.wrapperCol"
      label="Name"
    >
      <a-input
        v-decorator="['username',ValidateRules.username]"
        placeholder="Please input your name"
      />
    </a-form-item>
    <a-form-item
      :label-col="formItemLayout.labelCol"
      :wrapper-col="formItemLayout.wrapperCol"
      label="Nickname"
    >
      <a-input
        v-decorator="['nickname',ValidateRules.nickname]"
        placeholder="Please input your nickname"
      />
    </a-form-item>
    <a-form-item :label-col="formTailLayout.labelCol" :wrapper-col="formTailLayout.wrapperCol">
      <a-checkbox :checked="checkNick" @change="handleChange">
        Nickname is required
      </a-checkbox>
    </a-form-item>
    <a-form-item :label-col="formTailLayout.labelCol" :wrapper-col="formTailLayout.wrapperCol">
      <a-button type="primary" @click="check">
        Check
      </a-button>
    </a-form-item>
  </a-form>
</template>

<script>
  const formItemLayout = {
    labelCol: { span: 4 },
    wrapperCol: { span: 8 },
  };
  const formTailLayout = {
    labelCol: { span: 4 },
    wrapperCol: { span: 8, offset: 4 },
  };
  export default {
    data() {
      return {
        checkNick: false,   // 双向绑定的checkbox的状态
        formItemLayout,   // 表单的label布局和wrapper-col布局
        formTailLayout,
        form: this.$form.createForm(this),    // 创建表单
        ValidateRules:{ // 表单校验方法,其中nickname的表单校验规则,由this.checkNick属性决定
          username:{rules: [{ required: true, message: 'Please input your nickname' }]},
          nickname:{rules: [{ required: this.checkNick, message: 'Please input your nickname' }]}}
      };
    },
    methods: {
      check() {
        this.form.validateFields(err => {
          if (!err) {
            console.info('success');
          }
        });
      },
      handleChange(e)  {  //checkbox绑定的change方法,传入的值为checkbox的状态true或者false
        this.checkNick = e.target.checked;  // 修改checkNick的值,相当于改变nickname的校验规则
        this.$nextTick(() => {  // 注意要放入nextTick函数中去
          this.form.validateFields(['nickname'], { force: true });    // 启动校验规则,force为强制校验
        });
      },
    },
  };
</script>
4.自行处理表单数据
补充:validate-status是form-item的属性中的校验状态属性,如不设置,则会根据校验规则自动生成,可选:'success' 'warning' 'error' 'validating
help也是form-item中的属性,相当于错误提示,跟validate-status搭配使用


<template>
  <a-form>
    <a-form-item
      :label-col="labelCol"
      :wrapper-col="wrapperCol"
      label="Prime between 8 & 12"
      :validate-status="number.validateStatus"
      :help="number.errorMsg || tips"
    >
      <a-input-number :min="8" :max="12" :value="number.value" @change="handleNumberChange" />
    </a-form-item>
  </a-form>
</template>
<script>
  function validatePrimeNumber(number) {
    if (number === 11) {
      return {validateStatus: 'success',errorMsg: null,};
    }
    return { validateStatus: 'error',errorMsg: 'The prime between 8 and 12 is 11!',};
  }
  export default {
    data() {
      return {
        labelCol: { span: 7 },
        wrapperCol: { span: 12 },
        number: {value: 11,},
        tips:'A prime is a natural number greater than 1 that has no positive divisors other than 1 and itself.',
      };
    },
    methods: {
      handleNumberChange(value) {
        this.number = {
          ...validatePrimeNumber(value),
          value,
        };
      },
    },
  };
</script>