Pixi是一个超快的2D渲染引擎,通过Javascript和Html技术创建动画或管理交互式图像,从而制作游戏或应用。
项目地址:https://github.com/pixijs/pixi.js
API 地址:https://pixijs.download/dev/docs/index.html
中文教程地址:https://github.com/Zainking/learningPixi
问题
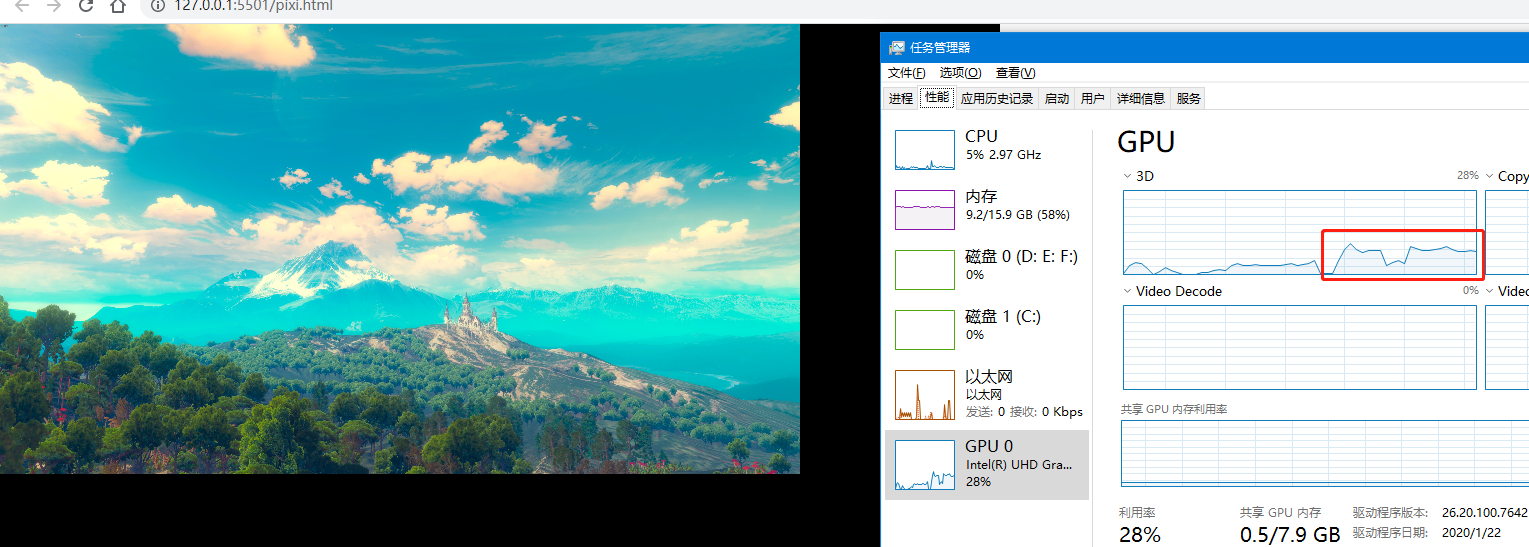
一个简单的demo,主要是通过pixi.js绘制一张图片并展示在页面中。通过观察任务管理器->性能->GPU模块可以发现,页面一直在渲染,导致GPU持续被占用。本来的目的只是想展示一张静态图片即可,并不要求实时刷新。换句话说,就是如何实现pixi.js只在需要的时候进行渲染。
<script src="https://cdnjs.cloudflare.com/ajax/libs/pixi.js/5.1.3/pixi.min.js"></script>
<script type="text/javascript">
    let Application = PIXI.Application,
        loader = PIXI.loader,
        resources = PIXI.loader.resources,
        Sprite = PIXI.Sprite;

    //Create a Pixi Application
    let app = new Application({
         1000,
        height: 800,
    });

    document.body.appendChild(app.view);
    loader.add("img/wall5.jpg").load(setup);
    function setup() {
        let img = new Sprite(resources["img/wall5.jpg"].texture);
        app.stage.addChild(img);
    }

</script>
解决方案
在查看了pixi.js的源码后发现,它的持续渲染还是通过requestAnimationFrame实现的。下面简单分析下实现过程。
-
在
Application的构造函数中,循环调用所有plugin的init函数,并将构造参数
传递下去(https://pixijs.download/dev/docs/packages_app_src_Application.ts.html#line95) -
在
TickerPlugin中执行init函数(默认autoStart参数为true),构建定时器Ticker。(https://pixijs.download/dev/docs/packages_ticker_src_TickerPlugin.ts.html#line101)
if (options.autoStart)
{
   this._ticker.start();
}
- 在
Ticker中初始化_tick方法,调用requestAnimationFrame(MDN),实现持续渲染。(https://pixijs.download/dev/docs/packages_ticker_src_Ticker.ts.html#line171)
this._tick = (time: number): void =>
{
    this._requestId = null;
    if (this.started)
    {
         // Invoke listeners now
        this.update(time);
        if (this.started && this._requestId === null && this._head.next)
        {
            this._requestId = requestAnimationFrame(this._tick);
        }
    }
};
综上所述,要实现只渲染一次的目标,只要不去启动_ticker,再在需要渲染的时候执行render即可。
- 关闭app的自动启动
new PIXI.Application (options)
options.autoStart: Automatically starts the rendering after the construction
(在构造结束后就自动开始渲染)
ps:该属性的设置只能在构造时传入,后续修改无效
- 在需要的时候主动调用渲染
app.render();
修改后代码:
<script src="https://cdnjs.cloudflare.com/ajax/libs/pixi.js/5.1.3/pixi.min.js"></script>
<script type="text/javascript">
    let Application = PIXI.Application,
        loader = PIXI.loader,
        resources = PIXI.loader.resources,
        Sprite = PIXI.Sprite;

    //Create a Pixi Application
    let app = new Application({
         1000,
        height: 800,
        autoStart: false
    });

    document.body.appendChild(app.view);
    loader.add("img/wall5.jpg").load(setup);
    function setup() {
        let img = new Sprite(resources["img/wall5.jpg"].texture);
        app.stage.addChild(img);
        app.render();
    }
</script>
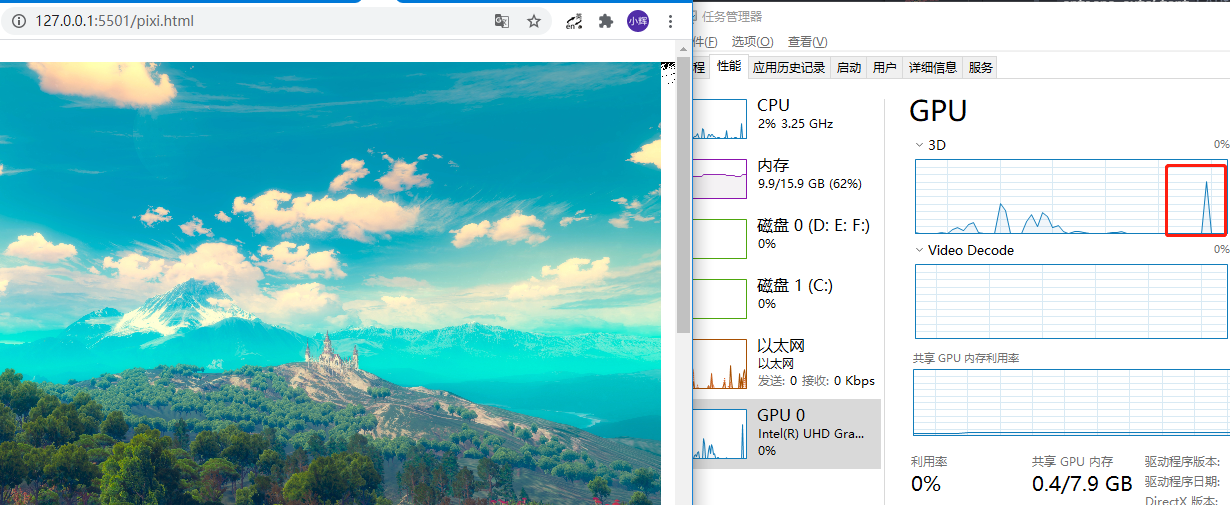
现在再观察GPU可以发现只有一个小小的起伏后就归0了。为了效果明显一点,我先执行一些耗性能的操作后再绘制图片。可以看到GPU利用率在一个高峰后就迅速回落了。
总结
请注意不同版本pixi.js API之间的区别,以官方API文档为主。