因为web.xml的经常会验证(validating),动不动就卡住eclipse,因此决定把web.xml去掉
本来的web.xml内容如下:
<?xml version="1.0" encoding="UTF-8"?>
<web-app xmlns:xsi="http://www.w3.org/2001/XMLSchema-instance"
    xmlns="http://java.sun.com/xml/ns/javaee"
    xsi:schemaLocation="http://java.sun.com/xml/ns/javaee http://java.sun.com/xml/ns/javaee/web-app.xsd"
    version="2.5">

    <!-- needed for ContextLoaderListener -->
    <context-param>
        <param-name>contextConfigLocation</param-name>
        <param-value>classpath:spring-persist-*.xml</param-value>
    </context-param>

    <!-- Bootstraps the root web application context before servlet initialization -->
    <listener>
        <listener-class>org.springframework.web.context.ContextLoaderListener</listener-class>
    </listener>

    <filter>
        <filter-name>CharacterEncodingFilter</filter-name>
        <filter-class>org.springframework.web.filter.CharacterEncodingFilter</filter-class>
        <!-- 指定字符集 -->
        <init-param>
            <param-name>encoding</param-name>
            <param-value>UTF-8</param-value>
        </init-param>
        <!-- 强制请求设置字符集 -->
        <init-param>
            <param-name>forceRequestEncoding</param-name>
            <param-value>true</param-value>
        </init-param>
        <!-- 强制响应设置字符集 -->
        <init-param>
            <param-name>forceResponseEncoding</param-name>
            <param-value>true</param-value>
        </init-param>
    </filter>

    <!-- 这个Filter执行的顺序要在所有其他Filter前面 -->
    <!-- 原因如下: -->
    <!-- request.setCharacterEncoding(encoding)必须在request.getParameter()前面 -->
    <!-- response.setCharacterEncoding(encoding)必须在response.getWriter()前面 -->
    <filter-mapping>
        <filter-name>CharacterEncodingFilter</filter-name>
        <url-pattern>/*</url-pattern>
    </filter-mapping>

    <!-- The front controller of this Spring Web application, responsible for
        handling all application requests -->
    <servlet>
        <servlet-name>springDispatcherServlet</servlet-name>
        <servlet-class>org.springframework.web.servlet.DispatcherServlet</servlet-class>
        <init-param>
            <param-name>contextConfigLocation</param-name>
            <param-value>classpath:spring-web-mvc.xml</param-value>
        </init-param>
        <!-- Servlet默认生命周期中,创建对象是在第一次接收到请求时 -->
        <!-- 而DispatcherServlet创建对象后有大量的“框架初始化”工作,不适合在第一次请求时来做 -->
        <!-- 设置load-on-startup就是为了让DispatcherServlet在Web应用启动时创建对象、初始化 -->
        <load-on-startup>1</load-on-startup>
    </servlet>

    <!-- Map all requests to the DispatcherServlet for handling -->
    <servlet-mapping>
        <servlet-name>springDispatcherServlet</servlet-name>
        <!-- url-pattern配置方式一:/表示拦截所有请求 -->
        <!-- <url-pattern>/</url-pattern> -->

        <!-- url-pattern配置方式二:配置请求扩展名 -->
        <!-- 优点1:xxx.css、xxx.js、xxx.png等等静态资源完全不经过SpringMVC,不需要特殊处理 -->
        <!-- 优点2:可以实现伪静态效果。表面上看起来是访问一个HTML文件这样的静态资源,但是实际上是经过Java代码运算的结果。 -->
        <!-- 伪静态作用1:给黑客入侵增加难度。 -->
        <!-- 伪静态作用2:有利于SEO优化(让百度、谷歌这样的搜索引擎更容易找到我们项目)。 -->
        <!-- 缺点:不符合RESTFul风格 -->
        <url-pattern>*.html</url-pattern>

        <!-- 为什么要另外再配置json扩展名呢? -->
        <!-- 如果一个Ajax请求扩展名是html,但是实际服务器给浏览器返回的是json数据,二者就不匹配了,会出现406错误。 -->
        <!-- 为了让Ajax请求能够顺利拿到JSON格式的响应数据,我们另外配置json扩展名 -->
        <url-pattern>*.json</url-pattern>
    </servlet-mapping>

</web-app>
第一步在父项目中加入maven插件
    <build>
        <plugins>
            <plugin>
                <groupId>org.apache.maven.plugins</groupId>
                <artifactId>maven-war-plugin</artifactId>
                <version>3.0.0</version>
                <configuration>
                    <failOnMissingWebXml>false</failOnMissingWebXml>
                </configuration>
            </plugin>
        </plugins>
    </build>
第二步 创建几个配置类
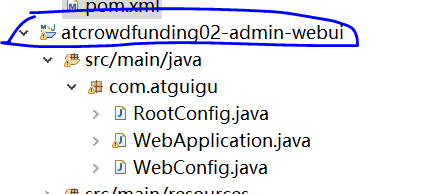
RootConfig类代码
package com.atguigu;

import org.springframework.context.annotation.Configuration;
import org.springframework.context.annotation.ImportResource;

@Configuration
@ImportResource(locations= {"classpath:spring-persist-*.xml"})
public class RootConfig {

}
WebConfig类代码
package com.atguigu;

import org.springframework.context.annotation.Configuration;
import org.springframework.context.annotation.ImportResource;

@Configuration
@ImportResource(locations= {"classpath:spring-web-mvc.xml"})
public class WebConfig {

}
WebApplication类代码
package com.atguigu;

import javax.servlet.Filter;

import org.springframework.web.filter.CharacterEncodingFilter;
import org.springframework.web.filter.DelegatingFilterProxy;
import org.springframework.web.servlet.support.AbstractAnnotationConfigDispatcherServletInitializer;

public class WebApplication extends AbstractAnnotationConfigDispatcherServletInitializer{

    @Override
    protected Class<?>[] getRootConfigClasses() {
        return new Class<?>[]{RootConfig.class};
    }

    @Override
    protected Class<?>[] getServletConfigClasses() {
        return new Class<?>[]{WebConfig.class};
    }

    @Override
    protected String[] getServletMappings() {
        return new String[] {"*.html","*.json"};
    }

    @Override
    protected Filter[] getServletFilters() {
        CharacterEncodingFilter characterEncodingFilter = new CharacterEncodingFilter();
        characterEncodingFilter.setEncoding("UTF-8");
        characterEncodingFilter.setForceEncoding(true);
        return new Filter[] {characterEncodingFilter};
    }


}
第三步 把web.xml删除就行
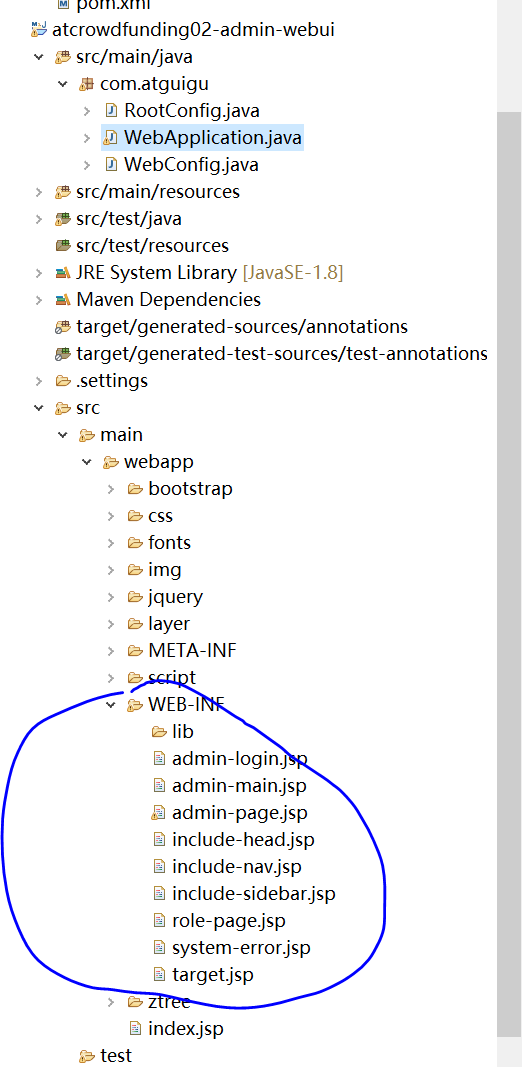
后面做project clean 与maven update 操作就行了