1.创建一个Spring Starter Project工程(new --> Spring Starter Project)
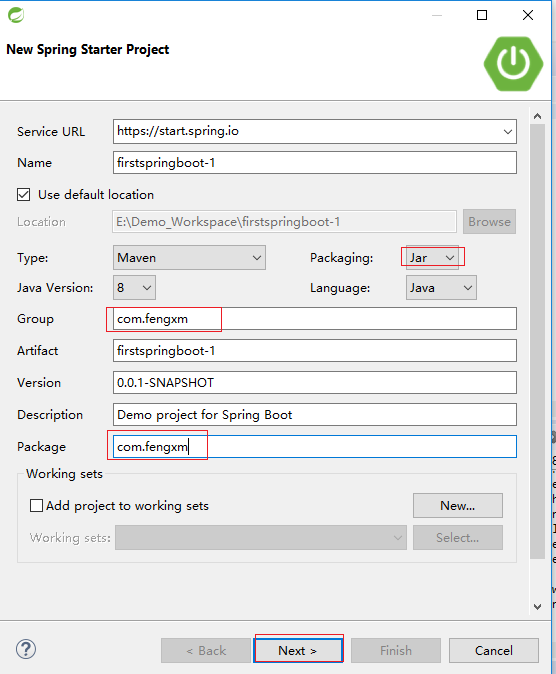
2.选择自己需要的依赖,因为想要通过REST方式来验证是否成功创建,所以勾选了web(会在pom.xml文件中看到该依赖内容);
然后点击next-->Finish即可

3.此时就可以创建完了,下面是程序入口
package com.fengxm;

import org.springframework.boot.SpringApplication;
import org.springframework.boot.autoconfigure.SpringBootApplication;

@SpringBootApplication
public class FirstspringbootApplication {

    public static void main(String[] args) {
        SpringApplication.run(FirstspringbootApplication.class, args);
    }
}
4.写一个HelloController类,用于图形验证
package com.fengxm;

import org.springframework.web.bind.annotation.RequestMapping;
import org.springframework.web.bind.annotation.RequestMethod;
import org.springframework.web.bind.annotation.RestController;

@RestController
// 等同于同时加上了@Controller和@ResponseBody
public class HelloController {
    // 访问/hello或者/hi任何一个地址,都会返回一样的结果
    @RequestMapping(value = { "/hello", "/hi" }, method = RequestMethod.GET)
    public String say() {
        return "hi you!!!";
    }
}
5.在FirstspringbootApplication.java类上右键,Run As -->Spring Boot App,执行(默认端口为8080)

在浏览器中输入连接http://localhost:8080/hello或http://localhost:8080/hi,在页面显示如下
