前言:最近在研究 react-native 时,突然发现 Navigator 组件被 react-native 包 抛弃了。现总结了几种替代方法。
方法一:引入 react-native-deprecated-custom-components 组件
npm install react-native-deprecated-custom-components --save

import CustomerComponents, { Navigator } from 'react-native-deprecated-custom-components'; // 引入
方法二:引入 react-navigation 组件
npm install react-navigation --save
官网:https://reactnavigation.org/docs/intro/
demo-1
BasicApp.js
import {
  StackNavigator,
} from 'react-navigation';

const BasicApp = StackNavigator({
  Main: {screen: MainScreen},
  Profile: {screen: ProfileScreen},
});
MainScreen.js
class MainScreen extends React.Component {
  static navigationOptions = {
    title: 'Welcome',
  };
  render() {
    const { navigate } = this.props.navigation;
    return (
      <Button
        title="Go to Jane's profile"
        onPress={() =>
          navigate('Profile', { name: 'Jane' })
        }
      />
    );
  }
}
ProfileScreen.js
class ProfileScreen extends React.Component {
  static navigationOptions = ({navigation}) => ({
    title: navigation.state.params.name,
  });
  render() {
    const { goBack } = this.props.navigation;
    return (
      <Button
        title="Go back"
        onPress={() => goBack()}
      />
    );
  }
}
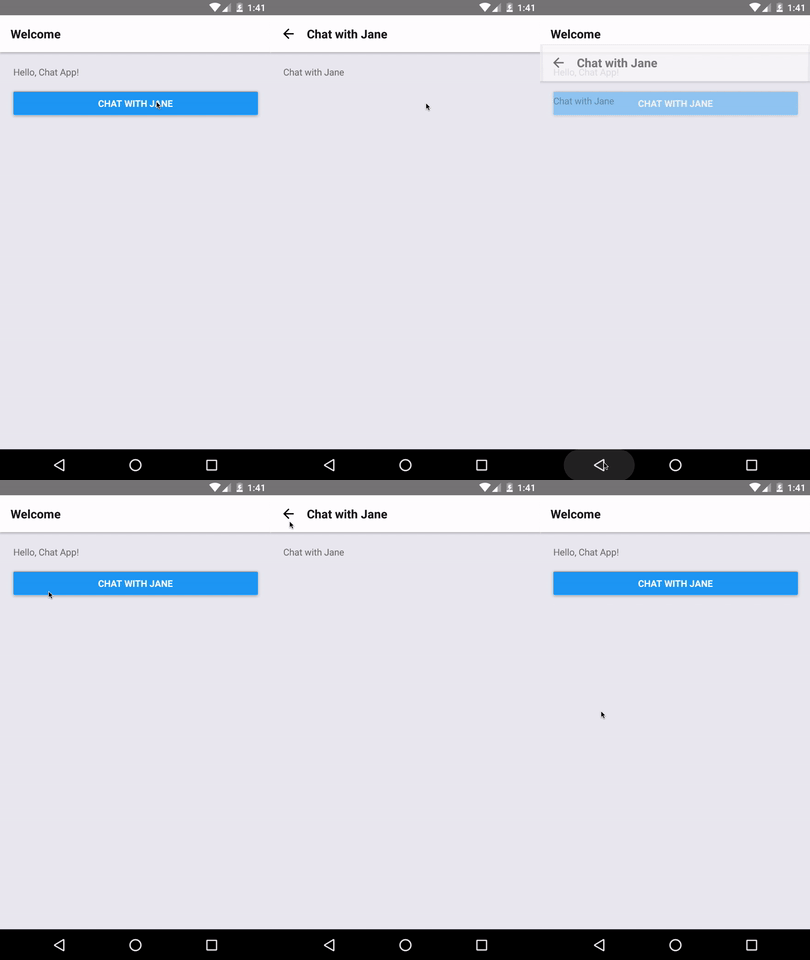
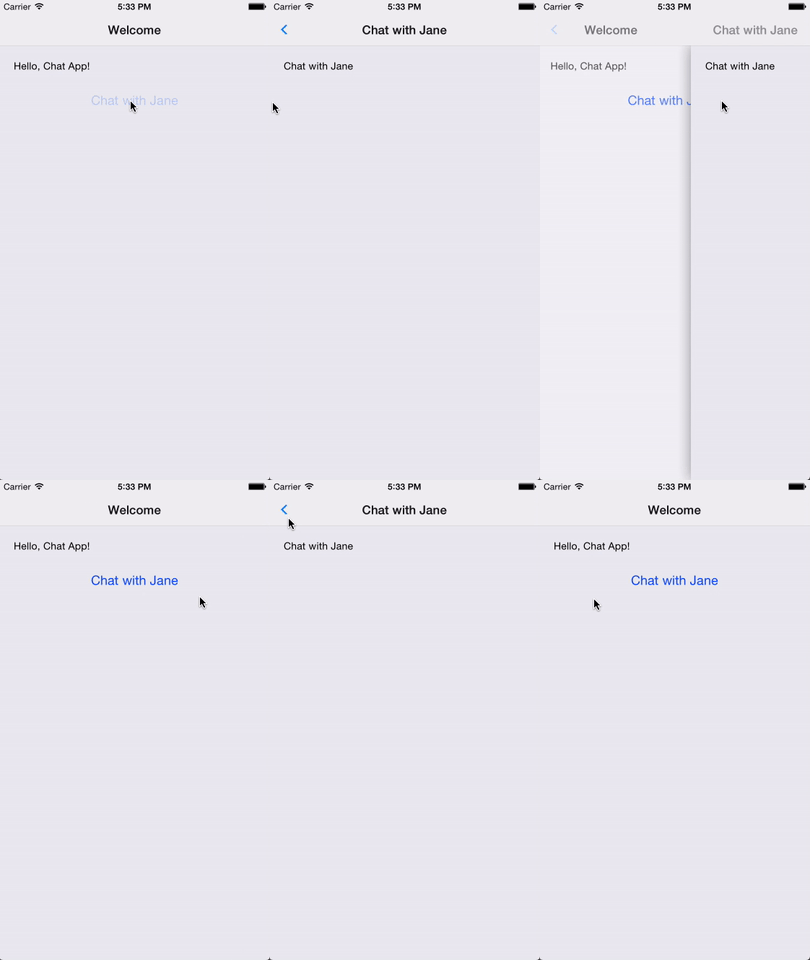
效果图:
android

ios

demo-2:
BasicApp.js
import {
  TabNavigator,
} from 'react-navigation';

const BasicApp = TabNavigator({
  Main: {screen: MainScreen},
  Setup: {screen: SetupScreen},
});
MainScreen.js
class MainScreen extends React.Component {
  static navigationOptions = {
    tabBarLabel: 'Home',
  };
  render() {
    const { navigate } = this.props.navigation;
    return (
      <Button
        title="Go to Setup Tab"
        onPress={() => navigate('Setup')}
      />
    );
  }
}
SetupScreen.js
class SetupScreen extends React.Component {
  static navigationOptions = {
    tabBarLabel: 'Setup',
  };
  render() {
    const { goBack } = this.props.navigation;
    return (
      <Button
        title="Go back to home tab"
        onPress={() => goBack()}
      />
    );
  }
}
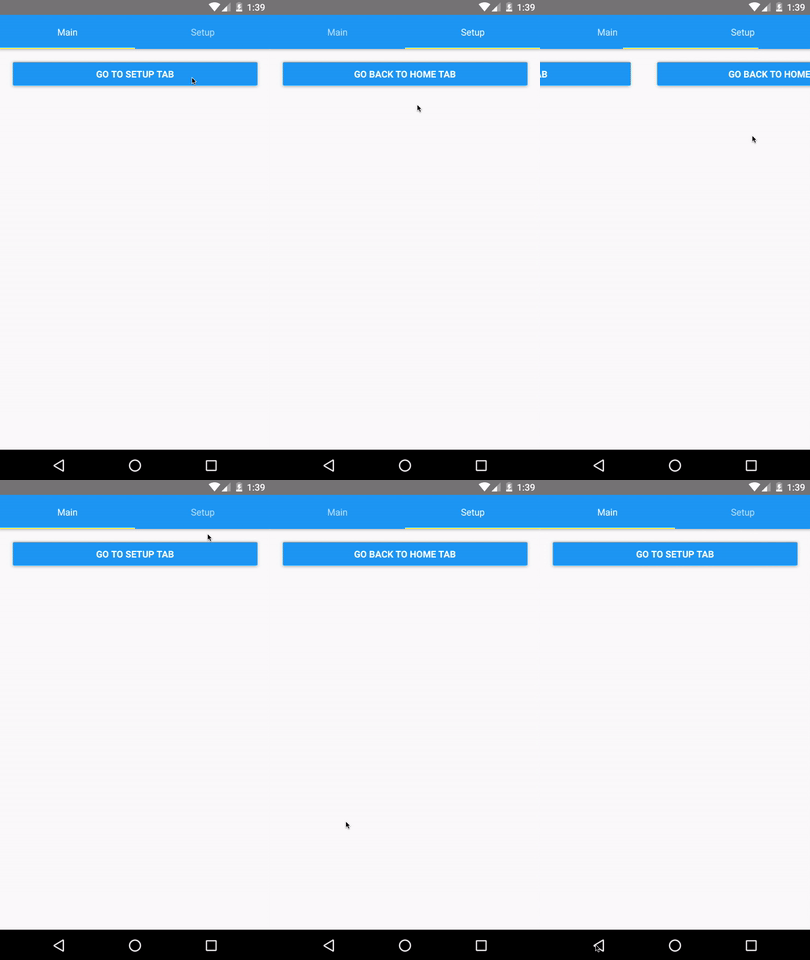
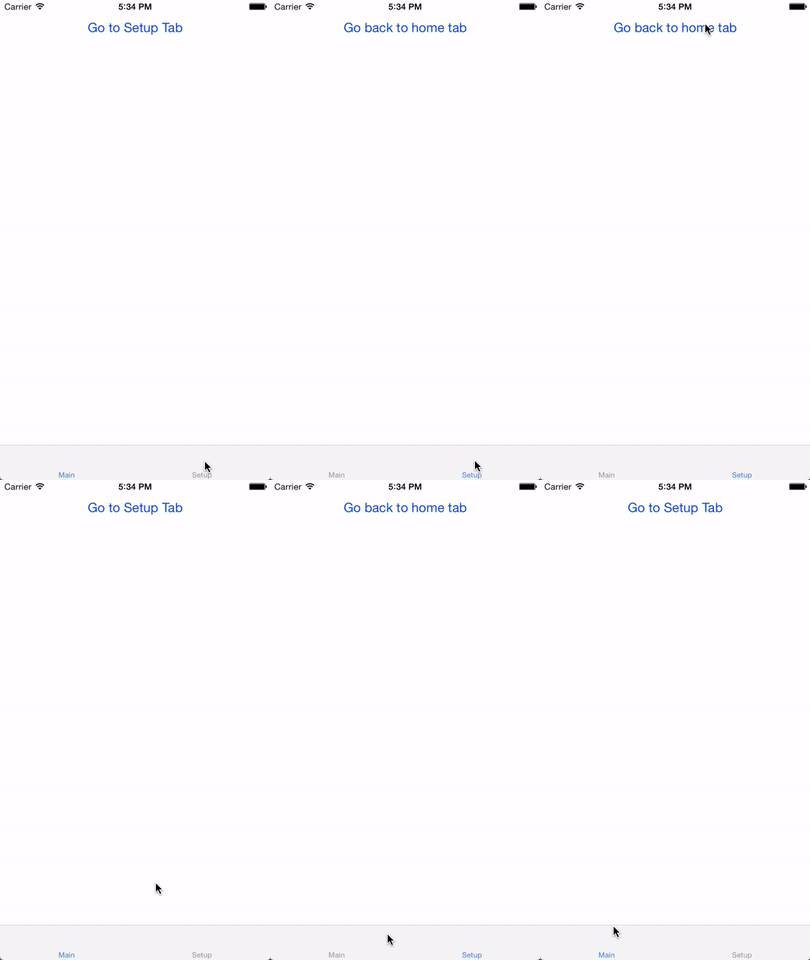
效果:
android

ios

方法三:自定义 Navigator 组件
首先导入组件
var MLNavigator = require('../Lib/MLNavigator');
然后使用
<MLNavigator
        leftIconName = 'nav_btn_back'
        title = '我的导航'
        rightIconName = 'nav_btn_back'
        rightTitle = '右边标题'
        callBackLeftClick = {()=> this.popToHome()}
        callBackRightClick = {()=> this.popToHome()}
    />
定义的一些属性:
 leftIconName: '',    // 左边图片
    leftTitle: '',       // 左边标题
    title: '',           // 标题
    rightIconName: '',   // 右边图片
    rightTitle: '',      // 右边标题
    callBackLeftClick: null,   // 左边回调
    callBackRightClick: null,  // 右边回调
    leftTitleFontSize: 14,     // 左边标题的字体大小
    titleFontSize: 16,         // 标题的字体大小
    rightTitleFontSize: 14,    // 右边标题的字体大小
    leftTitleColor: '#666666',     // 左边标题的字体颜色
    titleColor: 'black',         // 标题的字体颜色
    rightTitleColor: '#666666',    // 右边标题的字体颜色
组件封装:
import React, { Component } from 'react';
import {
    AppRegistry,
    StyleSheet,
    Text,
    View,
    Image,
    Platform,
    TouchableOpacity
} from 'react-native';

var Dimensions = require('Dimensions');
var width = Dimensions.get('window').width;
var Height = Dimensions.get('window').height;

var MLNavigator = React.createClass ({

    getDefaultProps() {
        return{
            leftIconName: '',    // 左边图片
            leftTitle: '',       // 左边标题

            title: '',           // 标题

            rightIconName: '',   // 右边图片
            rightTitle: '',      // 右边标题

            callBackLeftClick: null,   // 左边回调
            callBackRightClick: null,  // 右边回调

            leftTitleFontSize: 14,     // 左边标题的字体大小
            titleFontSize: 16,         // 标题的字体大小
            rightTitleFontSize: 14,    // 右边标题的字体大小

            leftTitleColor: '#666666',     // 左边标题的字体颜色
            titleColor: 'black',         // 标题的字体颜色
            rightTitleColor: '#666666',    // 右边标题的字体颜色

        }
    },

    render() {
        return (
            <View style={styles.NavBarStytle}>
                {/* 左边 */}
                {this.navLeftView()}

                <Text style={{color: this.props.titleColor, fontSize: this.props.titleFontSize, fontWeight: 'bold', bottom:-10}}>{this.props.title}</Text>

                {/* 右边 */}
                {this.navRightView()}

            </View>
        );
    },


    navLeftView() {

        if(this.props.leftIconName){
            return(
                <TouchableOpacity activeOpacity={0.5} style={styles.leftViewStytle} onPress={()=> {this.props.callBackLeftClick()}}>
                    <Image source={{uri: this.props.leftIconName}} style={styles.NavLeftImageStyle} />
                </TouchableOpacity>
            )
        }else {
            return(
                <TouchableOpacity activeOpacity={0.5} style={styles.leftViewStytle} onPress={()=> {this.props.callBackLeftClick()}}>
                    <Text style={{color: this.props.leftTitleColor, fontSize: this.props.leftTitleFontSize, bottom:-2}}>{this.props.rightTitle}</Text>
                </TouchableOpacity>
            )
        }
    },

    navRightView() {
        if(this.props.rightIconName){
            return(
                <TouchableOpacity activeOpacity={0.5} style={styles.rightViewStytle} onPress={()=> {this.props.callBackRightClick()}}>
                    <Image source={{uri: this.props.rightIconName}} style={styles.NavRightImageStyle} />
                </TouchableOpacity>
        )
        }else {
            return(
                <TouchableOpacity activeOpacity={0.5} style={styles.rightViewStytle} onPress={()=> {this.props.callBackRightClick()}}>
                    <Text style={{color: this.props.rightTitleColor, fontSize: this.props.rightTitleFontSize, bottom:-2}}>{this.props.rightTitle}</Text>
                </TouchableOpacity>
             )
        }
    },

})

const styles = StyleSheet.create({
    NavBarStytle: {
         width,
        height: Platform.OS == 'ios' ? 64 : 44,
        backgroundColor: '#F2F2F2',
        flexDirection: 'row',
        alignItems: 'center',
        justifyContent: 'center'
    },

    leftViewStytle: {
        position: 'absolute',
        left: 15,
        bottom: 15
    },

    NavLeftImageStyle: {
         Platform.OS == 'ios' ? 15 : 15,
        height: Platform.OS == 'ios' ? 15 : 15,
    },

    rightViewStytle: {
        position: 'absolute',
        right: 15,
        bottom: 15
    },

    NavRightImageStyle: {
         Platform.OS == 'ios' ? 15 : 15,
        height: Platform.OS == 'ios' ? 15 : 15,
    },
});

module.exports = MLNavigator;
.