步骤一:
npm init
步骤二:
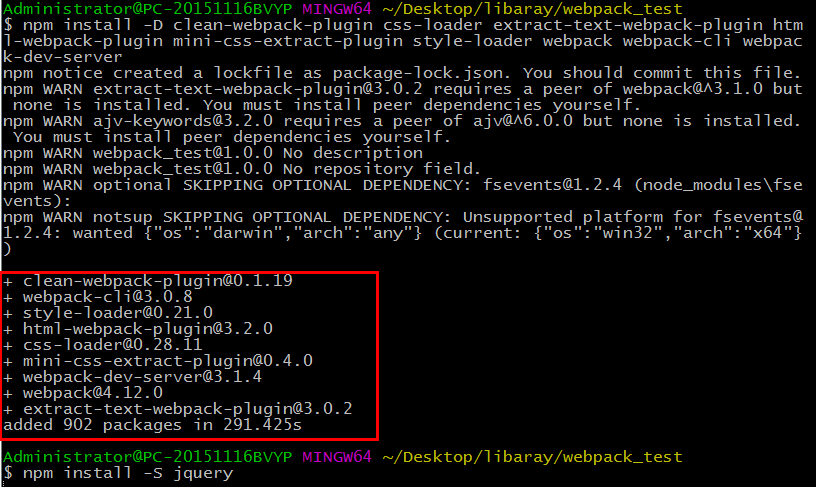
npm install -D clean-webpack-plugin css-loader extract-text-webpack-plugin html-webpack-plugin mini-css-extract-plugin style-loader webpack webpack-cli webpack-dev-server
步骤三:
npm install -S jquery
步骤四:
创建 webpack.config.js
// 直接path
const path = require('path');
const ExtractTextPlugin = require('extract-text-webpack-plugin'); //
const CleanWebpackPlugin = require('clean-webpack-plugin'); // 清除旧文件
var HtmlWebpackPlugin = require('html-webpack-plugin'); // 页面热加载
var webpack = require('webpack');

module.exports = {
  mode: 'development',
  entry: './main.js', // 入口文件
  output: { // 出口
    path: path.resolve(__dirname, 'dist'),
    filename: '[name].[hash].js' // 名称
  },
  devServer: { // webpack 本地服务
    contentBase: path.join(__dirname, 'dist'),
    compress: true,
    port: 9000
  },
  module: {
    rules: [
      {
        test: /.css$/,
        use: ExtractTextPlugin.extract({
          fallback: "style-loader",
          use: "css-loader"
        })
      }
    ]
  },
  plugins: [ // 插件集
    new ExtractTextPlugin("[name].[hash].css"), // 输出css版本
    new CleanWebpackPlugin(['dist']), // 清除dist文件夹下的内容
    new HtmlWebpackPlugin({ // 自动生成html文件
      template: 'index.html'
    }),
    new webpack.ProvidePlugin({ // 引入第三方插件(自动加载模块)
      $: 'jquery',
      jQuery: 'jquery'
    }),
    new webpack.DefinePlugin({ // 定义全局变量
      'env': JSON.stringify('www://aaa/com')
    })
  ],
  optimization: {
    splitChunks: {
      filename: 'common.js',
      chunks: 'all'
    }
  }
};
步骤五:
package.json
{
  "name": "webpack_test",
  "version": "1.0.0",
  "description": "",
  "main": "index.js",
  "scripts": {
    "test": "webpack-dev-server --inline",
    "build": "webpack"
  },
  "author": "",
  "license": "ISC",
  "devDependencies": {
    "clean-webpack-plugin": "^0.1.19",
    "css-loader": "^0.28.11",
    "extract-text-webpack-plugin": "^3.0.2",
    "html-webpack-plugin": "^3.2.0",
    "mini-css-extract-plugin": "^0.4.0",
    "style-loader": "^0.21.0",
    "webpack": "^4.12.0",
    "webpack-cli": "^3.0.8",
    "webpack-dev-server": "^3.1.4"
  },
  "dependencies": {
    "jquery": "^3.3.1"
  }
}
步骤六:
项目目录
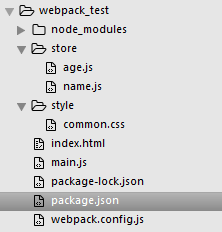
store/age.js
const age = 18;

module.exports = age;
store/name.js
const name = '小明';

module.exports = name;
main.js
// 引入 age.js
const age = require('./store/age.js');
// 引入 name.js
const name = require('./store/name.js');

import login from './style/common.css';

console.log(`${name}的年龄是${age}`);
index.html
<!DOCTYPE html>
<html lang="en">
  <head>
    <meta charset="utf-8">
    <meta name="viewport" content="width=device-width, initial-scale=1, shrink-to-fit=no">
    <meta http-equiv="X-UA-Compatible" content="ie=edge">
    <title>React App</title>
  </head>
  <body>
    <div>React App</div>
  </body>
</html>
.