在进行对于app的创建之前是对于android studio的相关安装的环境的配置,完成这些之后自己就写个一个简单的helloword的实例进行了测试。之后通过进一步的向下挖掘,发现当将helloword改成中文的时候就会出现错误,通过网上的学习找的了解决办法,就是打开res/valus/strings.xml,添加<string name="wenxuezhi">按钮</string>之后再将刚才的把刚刚的Button控件设置为android:text="@string/wenxuezhi"这样就会将上边的中文字在手机界面上正常输出了。
具体相关的代码如下:
strings.xml
<resources>
    <string name="app_name">温 My Application home</string>
    <string name="wenxuezhi">我很棒</string>
</resources>
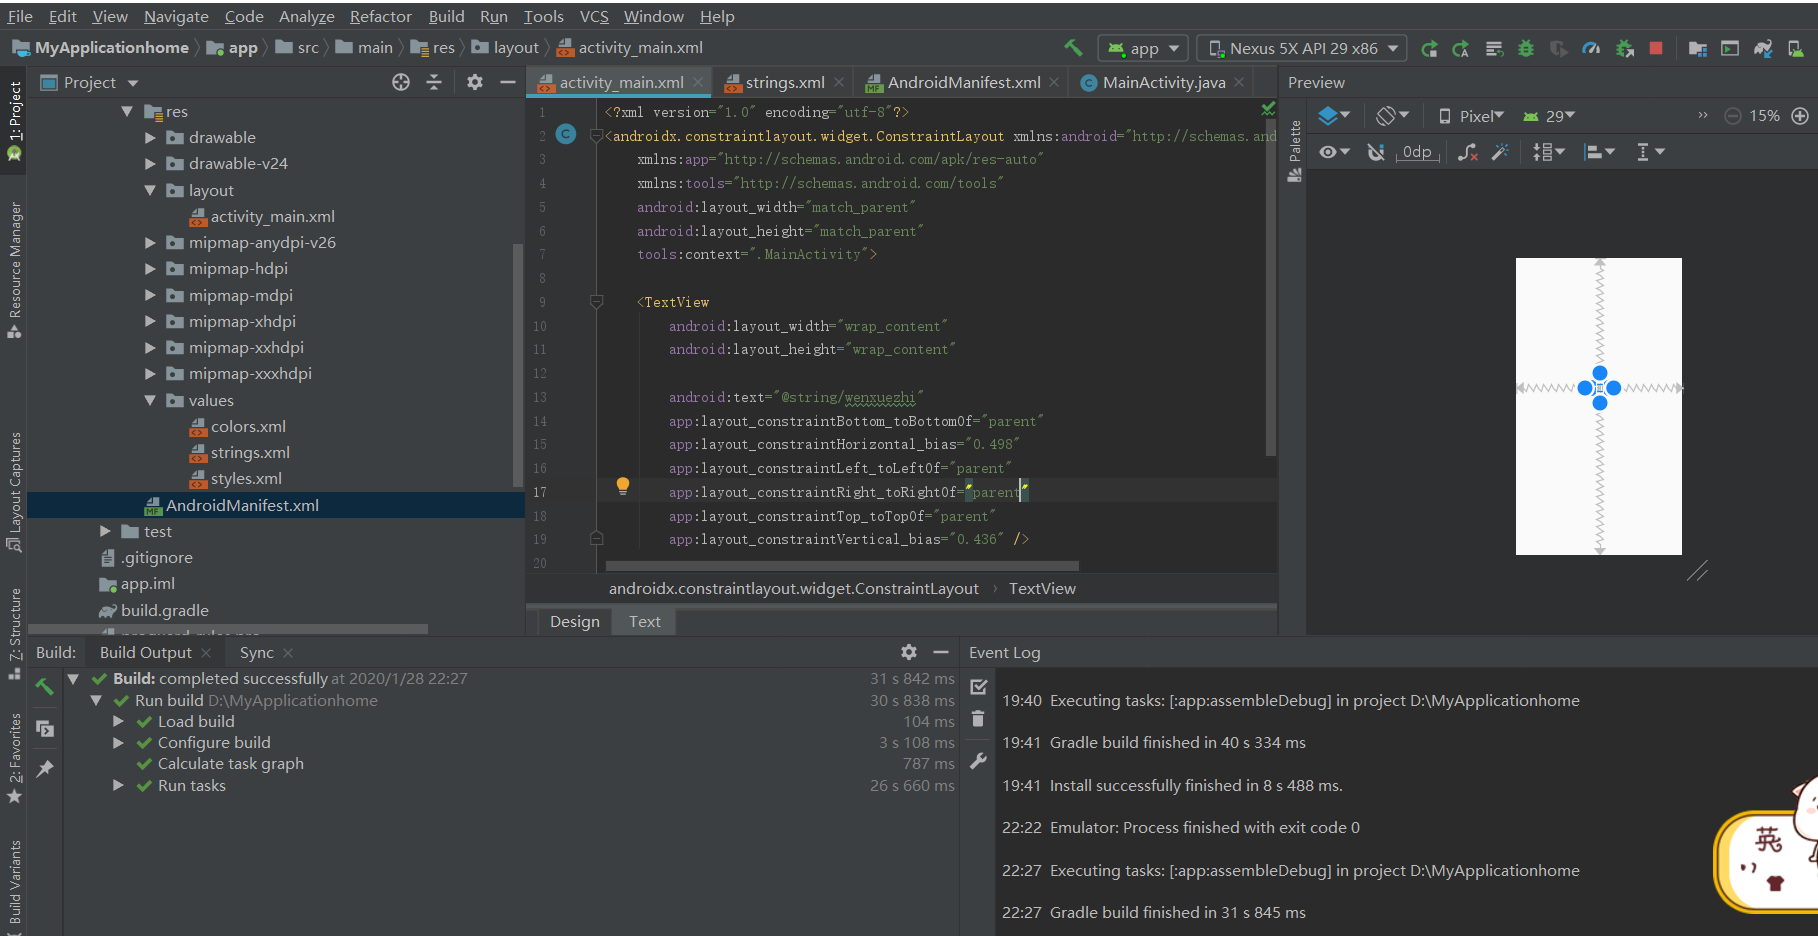
activity_main.xml
<?xml version="1.0" encoding="utf-8"?>
<androidx.constraintlayout.widget.ConstraintLayout xmlns:android="http://schemas.android.com/apk/res/android"
    xmlns:app="http://schemas.android.com/apk/res-auto"
    xmlns:tools="http://schemas.android.com/tools"
    android:layout_width="match_parent"
    android:layout_height="match_parent"
    tools:context=".MainActivity">

    <TextView
        android:layout_width="wrap_content"
        android:layout_height="wrap_content"

        android:text="@string/wenxuezhi"
        app:layout_constraintBottom_toBottomOf="parent"
        app:layout_constraintHorizontal_bias="0.498"
        app:layout_constraintLeft_toLeftOf="parent"
        app:layout_constraintRight_toRightOf="parent"
        app:layout_constraintTop_toTopOf="parent"
        app:layout_constraintVertical_bias="0.436" />

</androidx.constraintlayout.widget.ConstraintLayout>
MainActivity
package com.example.myapplicationhome;

import androidx.appcompat.app.AppCompatActivity;

import android.os.Bundle;

public class MainActivity extends AppCompatActivity {

    @Override
    protected void onCreate(Bundle savedInstanceState) {
        super.onCreate(savedInstanceState);
        setContentView(R.layout.activity_main);
    }
}
AndroidMainifest.xml
<?xml version="1.0" encoding="utf-8"?>
<manifest xmlns:android="http://schemas.android.com/apk/res/android"
    package="com.example.myapplicationhome">

    <application
        android:allowBackup="true"
        android:icon="@mipmap/ic_launcher"
        android:label="@string/app_name"
        android:roundIcon="@mipmap/ic_launcher_round"
        android:supportsRtl="true"
        android:theme="@style/AppTheme">
        <activity android:name=".MainActivity">
            <intent-filter>
                <action android:name="android.intent.action.MAIN" />

                <category android:name="android.intent.category.LAUNCHER" />
            </intent-filter>
        </activity>
    </application>

</manifest>