/*
 * 环境:LNMP(CentOS 6.6 + Nginx 1.8.0)
 */
在 Nginx 下配置 Basic 认证需要依靠 Nginx 的 http_auth_basic_module 模块(官方文档:http://nginx.org/en/docs/http/ngx_http_auth_basic_module.html)
配置过程:
① 生成认证文件,形式为 用户名:密码
密码采用 crypt 方式加密(用户名:user ,密码:123456)
文件保存在 /usr/local/nginx/conf 下
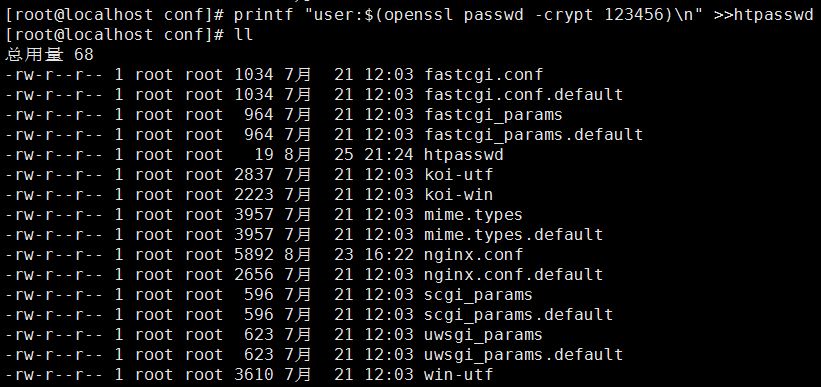
生成文件:
[root@localhost conf]# printf "user:$(openssl passwd -crypt 123456)
" >>htpasswd

查看该文件:

② 配置 /usr/local/nginx/conf/nginx.conf 文件,在 location 段中加上 auth_basic 和 auth_basic_user_file :
                location  {
                        auth_basic "login";
                        auth_basic_user_file /usr/local/nginx/conf/htpasswd;
                }
其中 auth_basic 为弹出框的提示语,可自定义
auth_basic_user_file 为认证文件的路径,可以写绝对路径,也可以只写文件名(默认的路径是 /usr/local/nginx/conf )
平滑重启 Nginx。
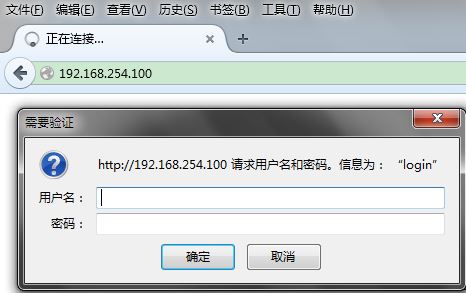
此时访问 192.168.254.100,提示认证:

如果输入错误,弹出框会继续弹出;
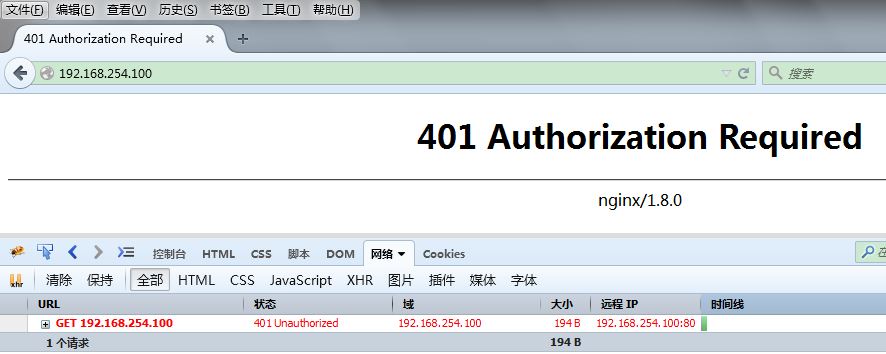
如果取消输入,则响应 401 Unauthorized:

输入正确,则响应 200 OK。
=====================
附:PHP 模拟 Basic 认证
<?php

$user = 'dee';
$pwd = '12345';

if($_SERVER['PHP_AUTH_USER'] != $user ||
    $_SERVER['PHP_AUTH_PW'] != $pwd
) {
    header('Content-type:text/html;charset=utf-8');
    header('WWW-Authenticate: Basic realm="加密传输"');
    header('HTTP/1.1 401 Unauthorized');
    echo '请提供正确的用户名和密码';
    exit;
}

echo 'Hello';
参考:
http://blog.chenlb.com/2010/03/nginx-http-auth-basic.html