源码链接:https://github.com/DuelWithSelf/WPFEffects
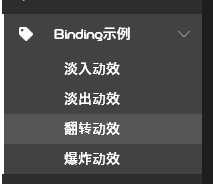
更新一: 功能导览模块新增Binding用法示例。
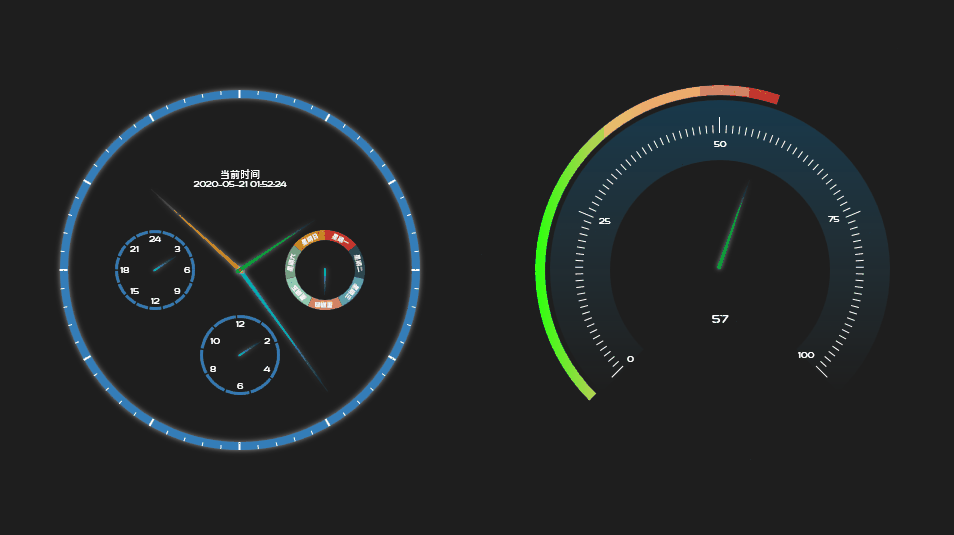
更新二:仪表盘效果实现。
Binding用法与ListBox的用法一致:
Xaml定义节点样式; .cs 文件中定义数据:
 <DataTemplate x:Key="ListMenuBox.ItemTemplate" DataType="{x:Type local:CatalogOfEffect}">
            <Border x:Name="BdrNavItem" Background="Transparent" Height="30"
                    MouseLeftButtonUp="BdrNavItem_MouseLeftButtonUp">
                <TextBlock Margin="60,0,0,0" HorizontalAlignment="Left" VerticalAlignment="Center"
                           Foreground="White" Text="{Binding Path=Name, Mode=TwoWay}"/>
            </Border>
            <DataTemplate.Triggers>
                <DataTrigger Binding="{Binding Path=IsSelected}" Value="True">
                    <Setter TargetName="BdrNavItem" Property="Background"
                            Value="{StaticResource ColorBrush.LightWhite}"/>
                </DataTrigger>
            </DataTemplate.Triggers>
        </DataTemplate>
 public class BaseRecord : INotifyPropertyChanged
    {
        public event PropertyChangedEventHandler PropertyChanged;

        protected void OnPropertyChanged(string prop)
        {
            if (this.PropertyChanged != null)
                this.PropertyChanged(this, new PropertyChangedEventArgs(prop));
        }
    }

    public class CatalogOfEffect: BaseRecord
    {
        private string _Name;
        public string Name {
            get { return _Name; }
            set { _Name = value; this.OnPropertyChanged("Name"); }
        }

        private bool _IsSelected;
        public bool IsSelected
        {
            get { return _IsSelected; }
            set { _IsSelected = value; this.OnPropertyChanged("IsSelected"); }
        }

        private string _Key;
        public string Key
        {
            get { return _Key; }
            set { _Key = value; }
        }
    }
引用样式:
 <CustomFrms:ListMenuBox
                                x:Name="LmxBinding" Text="Binding示例"
                                IconData="{StaticResource PathData.TagSolid}"
                                ItemTemplate="{StaticResource ListMenuBox.ItemTemplate}"/>
指定数据源:
  ObservableCollection<CatalogOfEffect> ltCatalogs = new System.Collections.ObjectModel.ObservableCollection<CatalogOfEffect>();
            ltCatalogs.Add(new CatalogOfEffect() { Name = "淡入动效", Key="AnimFadeIn" });
            ltCatalogs.Add(new CatalogOfEffect() { Name = "淡出动效", Key = "AnimFadeOut" });
            ltCatalogs.Add(new CatalogOfEffect() { Name = "翻转动效", Key = "AnimFlip" });
            ltCatalogs.Add(new CatalogOfEffect() { Name = "爆炸动效", Key = "AnimExpo" });
            this.LmxBinding.ItemsSource = ltCatalogs;
扇形画面有很多码农通过Path、 ArcSegment等方式去构建。 Blend里面有Arc。 官方封装好的直接拿来用,省心省力。 用Path和ArcSegment的方式去实现,无非是用自己的方式再封装出一个Arc,其实没必要。
仪表盘的实现原理请参考Github上的源码。