1.右键项目2.点击run as按钮 3.点击run configurations 4.配置如下: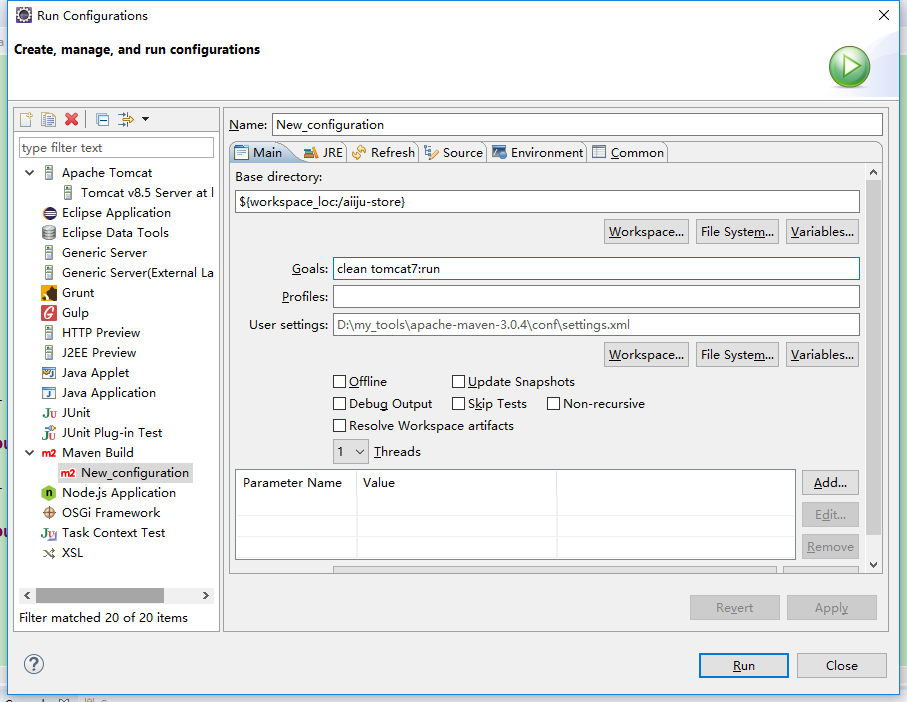
=============================加油加油加油加油加油加油====================
目的:在Eclipse中配置Maven build打包
- 项目右击-->Run As-->Run Configurations
- 在左侧Maven Build下选中自己的工程名
- 然后在右侧Goals输入框中输入“clean package”
- 点击Apply完成配置,如图

- [INFO] BUILD FAILURE
- [INFO] ------------------------------------------------------------------------
- [INFO] Total time: 1.622 s
- [INFO] Finished at: 2016-05-04T10:42:01+08:00
- [INFO] Final Memory: 12M/219M
- [INFO] ------------------------------------------------------------------------
- [ERROR] Failed to execute goal org.apache.maven.plugins:maven-compiler-plugin:3.1:compile (default-compile) on project hys-api: Compilation failure
- [ERROR] No compiler is provided in this environment. Perhaps you are running on a JRE rather than a JDK?
- [ERROR] -> [Help 1]
- [ERROR]
- [ERROR] To see the full stack trace of the errors, re-run Maven with the -e switch.
- [ERROR] Re-run Maven using the -X switch to enable full debug logging.
- [ERROR]
- [ERROR] For more information about the errors and possible solutions, please read the following articles:
- [ERROR] [Help 1] http://cwiki.apache.org/confluence/display/MAVEN/MojoFailureException

=======================================加油加油加油==================================
<build>
<!-- 配置插件 -->
<plugins>
<plugin>
<groupId>org.apache.maven.plugins</groupId>
<artifactId>maven-surefire-plugin</artifactId>
<version>2.18.1</version>
<configuration>
<skipTests>true</skipTests>
</configuration>
</plugin>
<plugin>
<groupId>org.apache.tomcat.maven</groupId>
<artifactId>tomcat7-maven-plugin</artifactId>
<configuration>
<port>8080</port>
<path>/</path>
<url>http:/127.0.0.1:8080/manager/text</url>
<username>tomcat</username>
<password>tomcat</password>
</configuration>
</plugin>
</plugins>
</build>