1.产品架构

2.安装过程
下载相应介质
- JBoss EAP (jboss-eap-7.2.0.zip) 下载地址 https://developers.redhat.com/products/eap/download
- Process Automation Manager (rhpam-7.2.0-business-central-eap7-deployable.zip) 下载地址 https://developers.redhat.com/products/rhpam/download
- Process Automation Manager Kie Server (rhpam-7.2.0-kie-server-ee7.zip)
- Process Automation Manager Case Management (rhpam-7.2.0-add-ons.zip)
- Maven Repository https://developers.redhat.com/download-manager/file/rhpam-7.2.0-maven-repository.zip
克隆git快速安装
git clone https://github.com/jbossdemocentral/rhpam7-install-demo.git
将下载的包放在install目录下
$ cp jboss-eap-7.2.0.zip rhpam-install-demo-master/installs/
$ cp rhpam-7.2.0-business-central-eap7-deployable.zip rhpam-install-demo-master/installs/
$ cp rhpam-7.2.0-kie-server-ee7.zip rhpam-install-demo-master/installs/
$ cp rhpam-7.2.0-add-ons.zip rhpam-install-demo-master/installs/
需要安装jdk,maven和unzip
然后运行init.sh
[root@master rhpam7-install-demo-master]# ./init.sh

######################################################################
##                                                                  ##
##  Setting up the Install Demo                                    ##
##                                                                  ##
##                                                                  ##
##     ####  #   # ####   ###   #   #   #####    #   #              ##
##     #   # #   # #   # #   # # # # #     #      # #               ##
##     ####  ##### ####  ##### #  #  #   ###       #                ##
##     # #   #   # #     #   # #     #   #        # #               ##
##     #  #  #   # #     #   # #     #  #     #  #   #              ##
##                                                                  ##
##  brought to you by,                                              ##
##             Red Hat                                              ##
##                                                                  ##
##                                                                  ##
##  git@github.com:jbossdemocentral/rhpam7-install-demo.git         ##
##                                                                  ##
######################################################################

Product sources are present...

Product sources are present...

Product sources are present...

Product sources are present...
Provisioning JBoss EAP now...


Deploying Red Hat Process Automation Manager: Business Central now...


Deploying Red Hat Process Automation Manager: Process Server now...


Deploying Red Hat Process Automation Manager: Case Management Showcase now...


  - enabling demo accounts setup...

  - setting up standalone.xml configuration adjustments...

  - setup email notification users...

  - making sure standalone.sh for server is executable...

You can now start the Red Hat Process Automation Manager with ./target/jboss-eap-7.2/bin/standalone.sh

Login to http://localhost:8080/business-central   (u:pamAdmin / p:redhatpam1!)
Login to http://localhost:8080/rhpam-case-mgmt-showcase   (u:pamAdmin / p:redhatpam1!)

Red Hat Process Automation Manager 7.2 Install Demo Setup Complete.
将rhpam-7.2.0-maven-repository.zip解压并把所有的Package解压到.m2/repository下面
启动Process Automation Manager,直到出现initialize deployments task finished successfully!
./target/jboss-eap-7.2/bin/standalone.sh

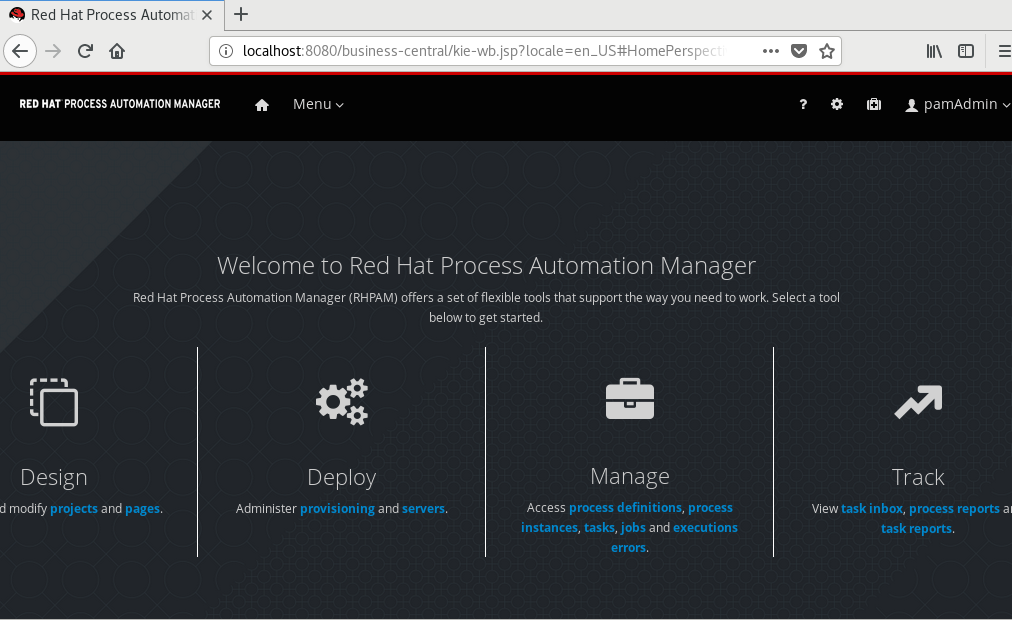
在虚拟机中登录http://localhost:8080/business-central
这里明显是没有绑定外部的ip了,待会慢慢研究怎么绑定所有ip

绑定ip启动
./target/jboss-eap-7.2/bin/standalone.sh -b 0.0.0.0
注意,因为bc和Kie Server之间的需要相互访问,如果设置一个固定的ip地址,在配置文件中,因为指定localhost:8080/kie-server而导致bc无法访问kie-server
配置文件在
/root/rhpam7-install-demo-master/target/jboss-eap-7.2/standalone/configuration 的standard.xml中
 <system-properties>
      <property name="org.kie.example" value="true"/>
      <property name="org.jbpm.designer.perspective" value="full"/>
      <property name="designerdataobjects" value="false"/>
      <!-- Store data in JBoss EAP directories. -->
      <property name="org.uberfire.nio.git.dir" value="${jboss.home.dir}/bin"/>
      <property name="org.kie.server.repo" value="${jboss.server.data.dir}"/>
      <property name="org.uberfire.metadata.index.dir" value="${jboss.home.dir}/bin"/>
      <property name="org.guvnor.m2repo.dir" value="${jboss.home.dir}/bin"/>
<!--Please uncomment the following properties to make KIE Server to be managed by Business Central
    Please also uncomment the default user and password which defined in standalone/configuration/application-roles.properties
    and application-users.properties-->
      <property name="org.kie.server.location" value="http://localhost:8080/kie-server/services/rest/server"/>
      <property name="org.kie.server.controller" value="http://localhost:8080/business-central/rest/controller"/>
      <property name="org.kie.server.controller.user" value="kieserver"/>
      <property name="org.kie.server.controller.pwd" value="kieserver1!"/>
      <property name="org.kie.server.user" value="kieserver"/>
      <property name="org.kie.server.pwd" value="kieserver1!"/>
      <property name="org.kie.server.id" value="default-kieserver"/>
   </system-properties>
会导致流程部署成功以后无法 查询以及启动流程。
创建Space,然后Add Project,发现报了一个错误Could not find artifact junit:junit:jar:4.12 in central
进入相关的目录查看,果然是没有, 目前解决办法, 把虚拟机上网,下载junit-4.12.jar的包,然后运行
mvn deploy:deploy-file -DgroupId=junit -DartifactId=junit -Dversion=4.12 -Dpackaging=jar -Dfile=/root/junit-4.12.jar -Durl=file:///root/.m2/repository
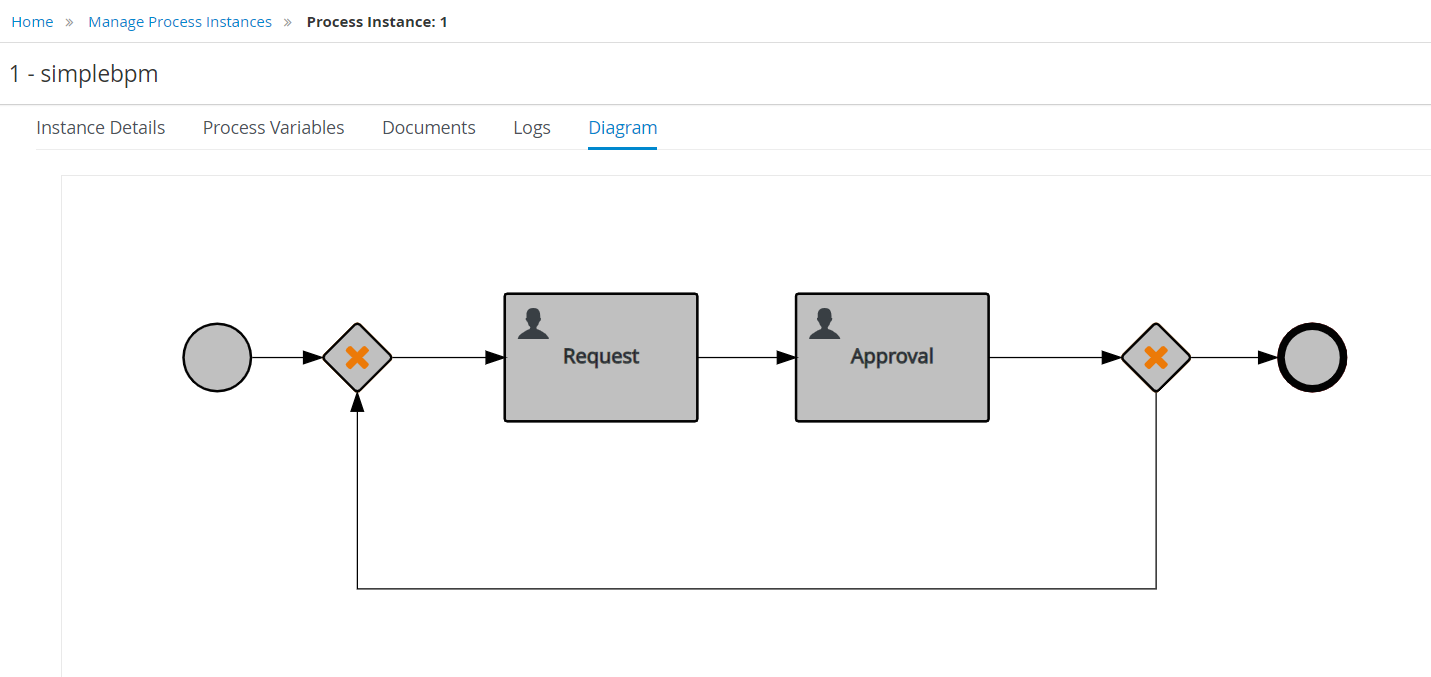
验证项目和流程建立。

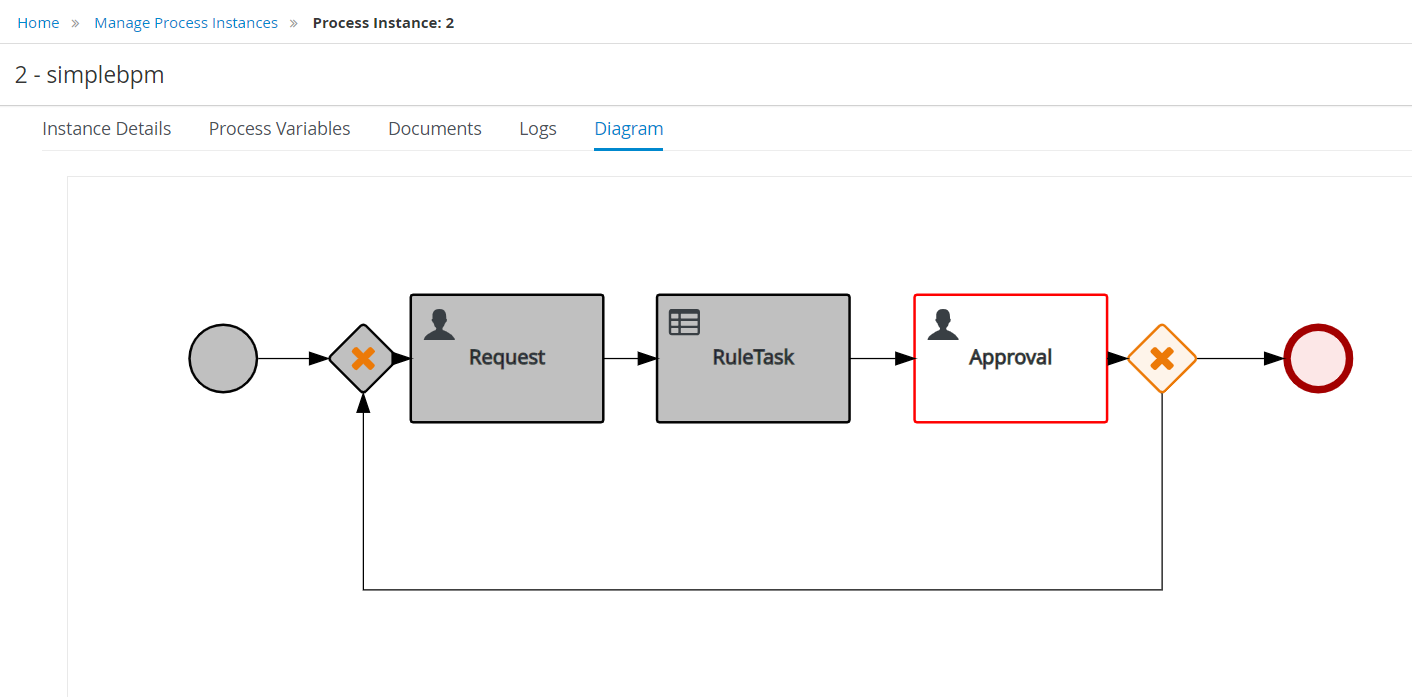
创建流程步骤
1.创建Space,创建Project
2.添加Data Object,创建Business Process
3.配置Task,生成Form
4.部署然后运行
在Asset中加入一个DRL Rule,代码如下
package com.hello.firstproject;

import com.hello.firstproject.prodata

rule "SimpleRule1"
ruleflow-group "helloworldgroup"
when
   a : prodata( )
   prodata( requestID < 100 )
then
    System.out.println("Hello World!");
    a.setName( "EricNie" );
    a.setAddress( "ShenZhen" );
end

rule "SimpleRule2"
ruleflow-group "anothersimple"
when
   a : prodata( )
   prodata( requestID > 100 )
then
    System.out.println("Hello World!");
    a.setName( "Alice" );
    a.setAddress( "GuangZhou" );
end
流程中加入一个规则节点,选择相应的ruleflow-group

部署,然后测试和验证.