摘要
今天要和大家分享的是Android不规则点击区域,准确说是在视觉上不规则的图像点击响应区域分发。
其实这个问题比较简单,对于很多人来说根本不值得做为一篇博文写出来,但在我的群里确实有童鞋不了解如何实现并且很想知道完整的流程是什么样的,故完成demo作为参考。
以下篇幅记录个人分析流程。
我们的需求。

我们需要实现chrome这样的不同颜色区域点击响应不同的事件。Chrome中分别点击红色、黄色、绿色、蓝色进行不同的事件响应。
经过我们对android组件的了解,组件都是矩形的(即使看上去不是矩形),所以点击区域也是一个矩形。
实现原理。
就原理上讨论的话我认为有两种方式比较简单,一种是利用数学线性规划,另一种是通过像素颜色判断。当然两种都有使用的范围和优缺点,今天就只针对像素颜色判断进行讲解。
我们把chrome的颜色做成4张图(也就是4个图层),每张图都只有一种颜色(准确说是一定范围的颜色),并且每张图的大小都是一样的,颜色的位置相对效果图是一致的,其他用透明像素,这样做是为了方便贴图。然后点击的时候判断点击的颜色是否是透明就可以了,如果是透明那么不处理点击事件,如果不是透明那么需要处理事件。
实践切图。
切图的最终效果如下:(四周的灰色是图的范围,实际并没有颜色是透明的)

程序判断透明。
为了方便管理,所以直接把判断部分写在组件内部,也就是自定义组件。程序比较简单,直接上代码。

package com.vane.ui.widget;


import android.content.Context;

import android.graphics.Bitmap;

import android.graphics.Color;

import android.graphics.drawable.BitmapDrawable;

import android.graphics.drawable.Drawable;

import android.graphics.drawable.StateListDrawable;

import android.util.AttributeSet;

import android.view.MotionEvent;

import android.widget.FrameLayout;


public class MenuViewItem extends FrameLayout {


    private int width = -1;

    private int height = -1;

    private Bitmap bitmap;


    public MenuViewItem(Context context) {

        super( context);

    }


    public MenuViewItem(Context context, AttributeSet attrs, int defStyle) {

        super( context, attrs, defStyle);

    }


    public MenuViewItem(Context context, AttributeSet attrs) {

        super( context, attrs);

    }


    @Override

    public boolean onTouchEvent(MotionEvent event) {

        int action = event.getAction();

        if(action != MotionEvent.ACTION_DOWN) {

            return super.onTouchEvent( event);

        }

        int x = (int)event.getX();

        int y = (int)event.getY();

        if(width == -1 || height == -1) {

            Drawable drawable = ((StateListDrawable)getBackground()).getCurrent();

            bitmap = ((BitmapDrawable)drawable).getBitmap();

            width = getWidth();

            height = getHeight();

        }

        if(null == bitmap || x < 0 || y < 0 || x >= width || y >= height) {

            return false;

        }

        int pixel = bitmap.getPixel( x, y);

        if(Color.TRANSPARENT == pixel) {

            return false;

        }

        return super.onTouchEvent( event);

    }

}
Drawable drawable = ((StateListDrawable)getBackground()).getCurrent(); 因为我用的背景是selector,如果你用的不是selector那么可以把这段代码你实际设置的背景的drawable类型。这里唯一需要说明的是onTouchEvent方法,返回true表示组件需要拦截touch事件,返回false表示不拦截那么事件会继续分发到viewgroup中的其他child去。程序中有段
如何使用。
使用也很简单,直接贴出activity_main.l布局文件。
<FrameLayout xmlns:android="http://schemas.android.com/apk/res/android"

    xmlns:tools="http://schemas.android.com/tools"

    android:layout_width="match_parent"

    android:layout_height="match_parent"

    android:gravity="center"

    android:orientation="vertical" >


    <com.vane.ui.widget.MenuViewItem

        android:id="@+id/menu_1"

        android:layout_width="wrap_content"

        android:layout_height="wrap_content"

        android:layout_gravity="center"

        android:background="@drawable/chrome_1" />


    <com.vane.ui.widget.MenuViewItem

        android:id="@+id/menu_2"

        android:layout_width="wrap_content"

        android:layout_height="wrap_content"

        android:layout_gravity="center"

        android:background="@drawable/chrome_2" />


    <com.vane.ui.widget.MenuViewItem

        android:id="@+id/menu_3"

        android:layout_width="wrap_content"

        android:layout_height="wrap_content"

        android:layout_gravity="center"

        android:background="@drawable/chrome_3" />


    <com.vane.ui.widget.MenuViewItem

        android:id="@+id/menu_4"

        android:layout_width="wrap_content"

        android:layout_height="wrap_content"

        android:layout_gravity="center"

        android:background="@drawable/chrome_4" />


</FrameLayout>
chrome_1.xml资源如下:布局里面的背景是selector,下面贴出一个的相应资源结构,其他的都是一样的。
<?xml version="1.0" encoding="utf-8"?>

<selector xmlns:android="http://schemas.android.com/apk/res/android">


    <item android:drawable="@drawable/chrome_1_s" android:state_pressed="true"/>

    <item android:drawable="@drawable/chrome_1_n"/>


</selector>
这里面仅仅是按下和非按下状态的不同资源。
完整demo。
扯淡的代码就不说了,demo使用的资源都是上文中讲的,直接贴代码。
package com.vane.demo;

import android.os.Bundle;
import android.app.Activity;
import android.view.Menu;
import android.view.View;
import android.view.View.OnClickListener;
import android.widget.Toast;

public class MainActivity extends Activity implements OnClickListener {

    private Toast mToast;

    @Override
    protected void onCreate(Bundle savedInstanceState) {
        super.onCreate( savedInstanceState);
        setContentView( R.layout.activity_main);
        findViewById( R.id.menu_1).setOnClickListener( this);
        findViewById( R.id.menu_2).setOnClickListener( this);
        findViewById( R.id.menu_3).setOnClickListener( this);
        findViewById( R.id.menu_4).setOnClickListener( this);
    }

    @Override
    public boolean onCreateOptionsMenu(Menu menu) {
        // Inflate the menu; this adds items to the action bar if it is present.
        getMenuInflater().inflate( R.menu.main, menu);
        return true;
    }

    @Override
    public void onClick(View v) {
        if(null != mToast) {
            mToast.cancel();
        }
        switch(v.getId()) {
            case R.id.menu_1:
                mToast = Toast.makeText( this, "red", Toast.LENGTH_SHORT);
                break;
            case R.id.menu_2:
                mToast = Toast.makeText( this, "yellow", Toast.LENGTH_SHORT);
                break;
            case R.id.menu_3:
                mToast = Toast.makeText( this, "green", Toast.LENGTH_SHORT);
                break;
            case R.id.menu_4:
                mToast = Toast.makeText( this, "blue", Toast.LENGTH_SHORT);
                break;
        }
        mToast.show();
    }
}
demo的实现效果。
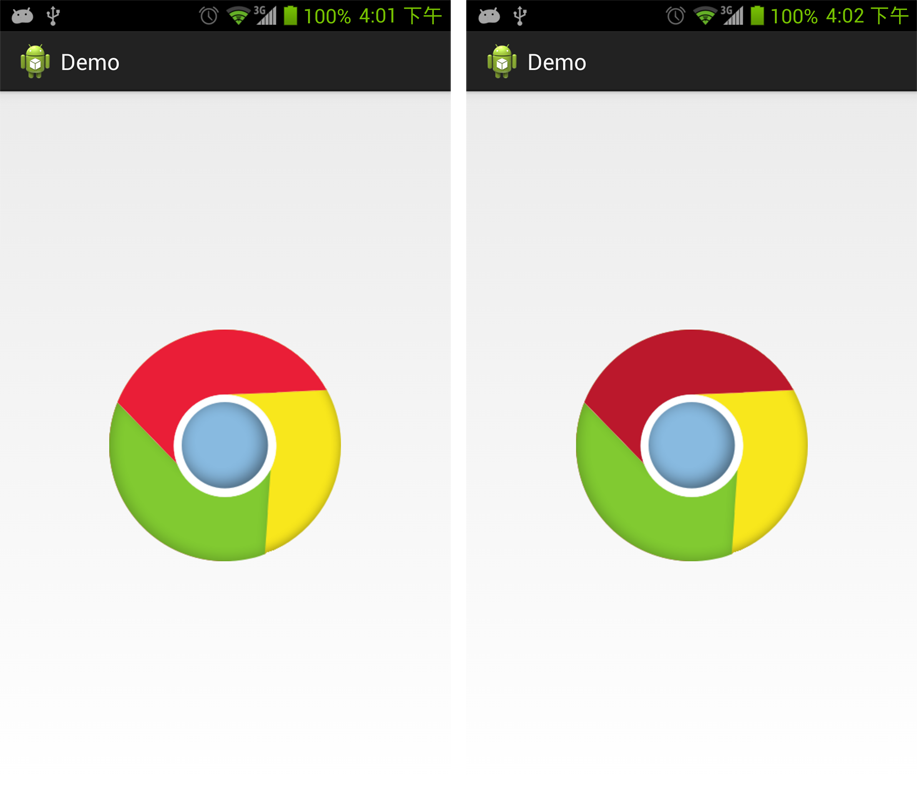
左图是正常截图,右图是点击在红色区域上的截图。
总结。
不规则点击区域的本质是图像像素判断是否是指定颜色(本例中是透明),然后进行touch事件的分发处理。当然如何你不了解touch分发的话可能就不那么容易理解为什么会这么做。