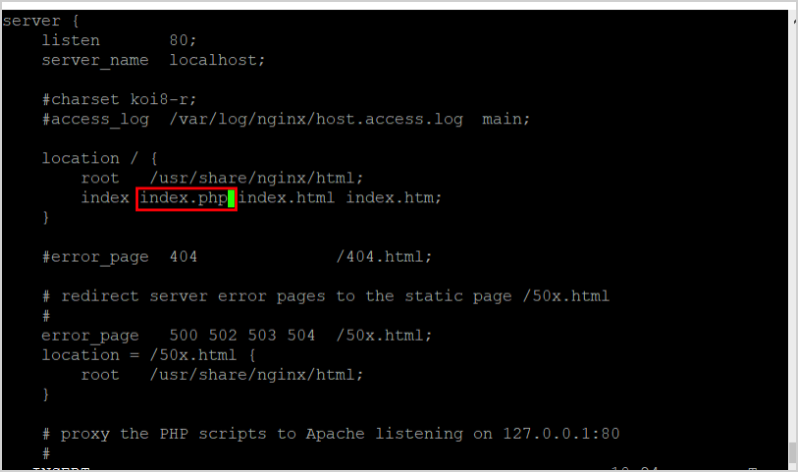
下载安装nginx, 配置里启用PHP
wget http://nginx.org/packages/centos/7/noarch/RPMS/nginx-release-centos-7-0.el7.ngx.noarch.rpm
rpm -ivh nginx-release-centos-7-0.el7.ngx.noarch.rpm
yum --disablerepo="epel" install nginx
systemctl start nginx
systemctl enable nginx

#vim /etc/nginx/conf.d/default.conf
#home page 识别.php 的index

#取消PHP相关的nginx注释,php fastcgi脚本路径修改为/usr/share/nginx/html

service nginx reload
安装php
rpm -Uvh https://mirror.webtatic.com/yum/el7/epel-release.rpm
rpm -Uvh https://mirror.webtatic.com/yum/el7/webtatic-release.rpm
yum -y install php70w-tidy php70w-common php70w-devel php70w-pdo php70w-mysql php70w-gd php70w-ldap php70w-mbstring php70w-mcrypt php70w-fpm
php -v
systemctl start php-fpm
systemctl enable php-fpm

#创建一个测试页面/usr/share/nginx/html/info.php
cat << "EOF" > /usr/share/nginx/html/info.php
<?php
  phpinfo();
?>
EOF

#测试访问页面打开 http://server IP address/info.php
创建部署数据库,数据库IP,root用户名,密码
安装MySQL,请参考其他的博客
create database wordpress;
下载安装wordpress
#去WordPress官网下载 wordpress-5.3.1.tar.gz
#解压到/usr/share/nginx/
#打开WordPress页面,通过引导页面加入数据库密码
#开始使用WordPress