text 文字
<svg width="500" height="500">
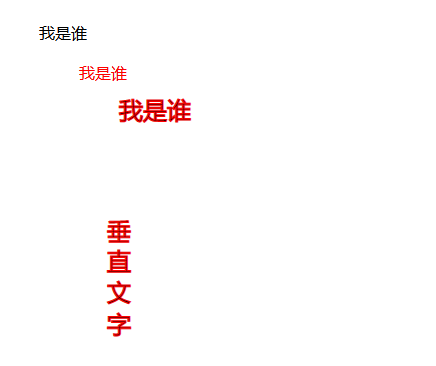
<text x="40" y="40">我是谁</text>
<text x="80" y="80" fill="red">我是谁</text>
<text x="120" y="120" stroke="red" style="font-size:24px;">我是谁</text>
<text x="120" y="220" stroke="red" style="font-size:24px;writing-mode: tb;">垂直文字</text>
</svg>
<text x="20,36,50,66" y="20,36,46,56">单纯的文字表示...</text>
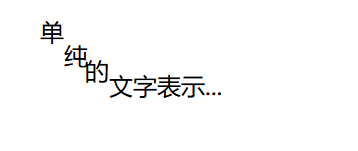
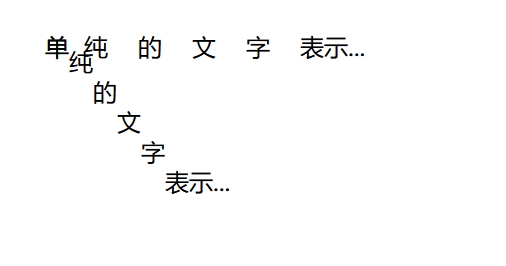
x,y与dx,xy的差异,一个是绝对位置,一个是相对位置,x,y是基于原本的位置去做改变,而dx,dy 则是基于前一个字的位置去做变化
// x 轴
<text x="30" y="30" dx="0 10 20 20 20 20">单纯的文字表示...</text>
// y 轴
  <text x="30" y="30" dy="0 10 20 20 20 20">单纯的文字表示...</text>
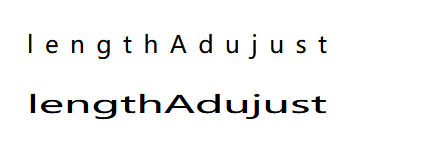
textLength, lengthAdjust
textLength 设定这段文字的长度,lengthAdjust (设定对这段文字长度的调节) ,
lengthAdjust有两种值可以设定,
-
一种是
spacing就是拉宽间距,让文字满足textLength的宽度 -
一种是
spacingAndGlyphs,把文字拉宽,知道满足textLength的宽度为止
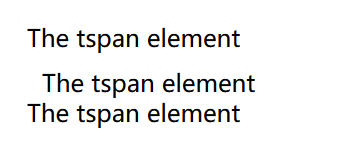
tspan
可以想想text 里有一个文字群组
 <text x="10" y="30">
    <tspan>The tspan element</tspan>
    <tspan x="20" y="60">The tspan element</tspan>
    <tspan x="10" y="80">The tspan element</tspan>
  </text>
rotate 旋转
<tspan x="10" y="30" fill="#000" rotate="20" style="font-size:24px;">element</tspan>
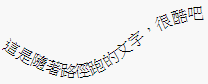
路径
<defs>
  <path id="a1" d="M0 50 C150 150 100 -50 300 50" stroke="#000" fill="none"/>
</defs>
<text>
   <textPath xlink:href="#a1">這是隨著路徑跑的文字,很酷吧
  </textPath>
</text>
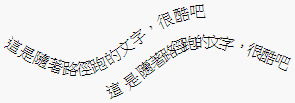
startOffset 设定文字在路径的起始位置
<text>
   <textPath xlink:href="#a1">這是隨著路徑跑的文字,很酷吧</textPath>
</text>
<text dy="30">
   <textPath startOffset="30%" xlink:href="#a1">這是隨著路徑跑的文字,很酷吧</textPath>
</text>
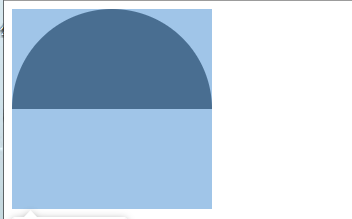
cliping
<clipPath></clipPath> 裁剪
这个图形以外的都会被裁剪
<svg width="500" height="500">
  <defs>
    <clipPath id="a1">
      <rect x="0" y="0" width="200" height="100"/>
    </clipPath>
  </defs>
    <circle cx="100" r="100" cy="100" fill="#000" clip-path="url(#a1)"/>
</svg>
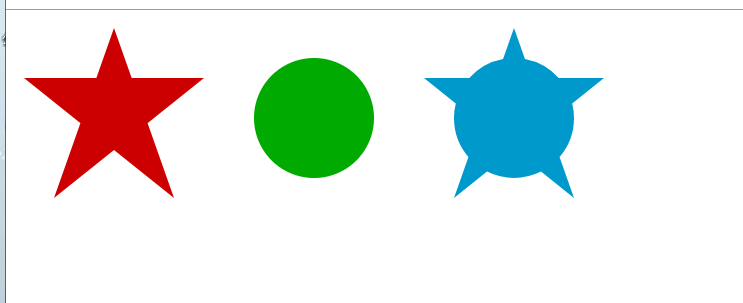
<svg width="800" height="500">
  <defs>
    <!--五角星-->
    <clipPath id="a1">
      <polygon id="a1Link" points="100,10 40,180 190,60 10,60 160,180 100,10" stroke="blue"/>
    </clipPath>
    <!--圆心-->
    <clipPath id="a2">
      <circle id="a2Link" cx="100" cy="100" r="60"/>
    </clipPath>
    <!-- 合并五角星和合并圆心-->
    <clipPath id="b1">
      <use x="0" y="0" width="200" height="200" xlink:href="#a1Link"></use>
      <use x="0" y="0" width="200" height="200" xlink:href="#a2Link"></use>
    </clipPath>
  </defs>
  <!-- 矩形 裁剪 多边形五角星 -->
  <rect x="10" y="10" width="180" height="180" fill="#c00"
        clip-path="url(#a1)"/>
  <!--矩形 裁剪 圆心-->
  <rect x="10" y="10" width="180" height="180" fill="#0a0"
        clip-path="url(#a2)" transform="translate(200)"/>
  <!--整合上面两个-->
  <rect x="10" y="10" width="180" height="180" fill="#09c"
        clip-path="url(#b1)" transform="translate(400)"/>

</svg>
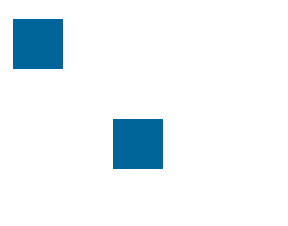
use 复制一份 可以在里面加一些颜色什么的或者 style 进行修改
<svg width="800" height="500">
  <rect id="box" x="30" y="30" width="50" height="50" fill="#069"/>
  <!--复制一份-->
  <use xlink:href="#box" x="100" y="100"></use>
</svg>
mask
<svg width="800" height="500">
  <defs>
    <!-- 遮色片-->
    <mask id="mask1">
      <rect x="50" y="50" width="100" height="100" fill="#ccc"></rect>
      <rect x="150" y="150" width="100" height="100" fill="#fff"></rect>
    </mask>
  </defs>
  <!-- 原来的 -->
<!--  <rect id="box1" x="50" y="50" width="150" height="150" fill="#0f0"/>-->
  <!-- 在底层矩形上面加一个展示的-->
  <rect id="box" x="50" y="50" width="150" height="150" fill="#f00" mask="url(#mask1)"/>
</svg>
比较灰色(#ccc) ,用不同灰阶的遮色片,做出不同的透明度
<svg width="800" height="500">
  <defs>
    <!-- 遮色片-->
    <mask id="mask1">
      <rect  x="0" y="0" width="50" height="50" fill="#fff"/>
    </mask>
    <mask id="mask2">
      <rect  x="50" y="0" width="50" height="50" fill="#bbb"/>
    </mask>
    <mask id="mask3">
      <rect  x="100" y="0" width="50" height="50" fill="#323232"/>
    </mask>
    <mask id="mask4">
      <rect  x="150" y="0" width="50" height="50" fill="#868686"/>
    </mask>
    <mask id="mask5">
      <rect  x="200" y="0" width="50" height="50" fill="#575757"/>
    </mask>
  </defs>
  <rect x="0" y="0" width="50" height="50" fill="#f00" mask="url(#mask1)"/>
  <rect x="50" y="0" width="50" height="50" fill="#f00" mask="url(#mask2)"/>
  <rect x="100" y="0" width="50" height="50" fill="#f00" mask="url(#mask3)"/>
  <rect x="150" y="0" width="50" height="50" fill="#f00" mask="url(#mask4)"/>
  <rect x="200" y="0" width="50" height="50" fill="#f00" mask="url(#mask5)"/>
</svg>
