一、服务器环境
操作系统:CentOS release 6.5 (Final)
GitLab版本:
GitLab-shell:2.0.1
Ruby version: ruby 2.1.2p95 (2014-05-08 revision 45877) [x86_64-linux]
Gem version:2.2.2
Redis-server:Redis server version 2.4.10 (00000000:0)
Web Server:Nginx/1.10.15
Database:5.6.30-log MySQL Community Server (GPL)
Git别名管理GitLab,是一个利用 Ruby on Rails 开发的开源应用程序,实现一个自托管的Git项目仓库,可通过Web界面进行访问公开的或者私人项目。
二、安装epel源
cd /usr/local/src
1、增加epel源,如果你是i686系统,请把x86_64修改下(安装前最好先关闭selinux和防火墙,否则ssl无法连接)
下载秘钥
wget -O /etc/pki/rpm-gpg/RPM-GPG-KEY-EPEL-6 https://www.fedoraproject.org/static/0608B895.txt
导入秘钥,这个红帽公司提供的
rpm --import /etc/pki/rpm-gpg/RPM-GPG-KEY-EPEL-6
安装epel源
rpm -Uvh http://dl.fedoraproject.org/pub/epel/6/x86_64/epel-release-6-8.noarch.rpm
检查是否安装成功:
# rpm -qa gpg*
gpg-pubkey-4bd6ec30-4ff1e4fa
gpg-pubkey-c105b9de-4e0fd3a3
gpg-pubkey-0608b895-4bd22942
gpgme-1.1.8-3.el6.x86_64
2、增加puias源
vim /etc/yum.repos.d/PUIAS_6_computational.repo加入如下内容:
[PUIAS_6_computational]
name=PUIAS computational Base $releasever - $basearch
mirrorlist=http://puias.math.ias.edu/data/puias/computational/$releasever/$basearch/mirrorlist
#baseurl=http://puias.math.ias.edu/data/puias/computational/$releasever/$basearch
gpgcheck=1
gpgkey=file:///etc/pki/rpm-gpg/RPM-GPG-KEY-puias
下载并安装GPG key
wget -O /etc/pki/rpm-gpg/RPM-GPG-KEY-puias http://springdale.math.ias.edu/data/puias/6/x86_64/os/RPM-GPG-KEY-puias
rpm --import /etc/pki/rpm-gpg/RPM-GPG-KEY-puias
检查是否安装成功:
# rpm -qa | grep gpg*
sgpio-1.2.0.10-5.el6.x86_64
libgpg-error-1.7-4.el6.x86_64
gpm-libs-1.20.6-12.el6.x86_64
gpg-pubkey-4bd6ec30-4ff1e4fa
gpg-pubkey-c105b9de-4e0fd3a3
gpg-pubkey-0608b895-4bd22942
gpgme-1.1.8-3.el6.x86_64
pygpgme-0.1-18.20090824bzr68.el6.x86_64
libart_lgpl-2.3.20-5.1.el6.x86_64
gpg-pubkey-41a40948-4ce19266
检查软件仓库是否安装成功:
# yum repolist

如果此列表中没有epel和PUIAS_6_computational,请执行以下命令
yum-config-manager --enable epel --enable PUIAS_6_computational
三、安装依赖的包
yum -y update(如果update了需要重启,因为内核已经更新了,)
yum -y groupinstall 'Development Tools'
yum -y install readline readline-devel ncurses-devel gdbm-devel glibc-devel tcl-devel openssl-devel curl-devel expat-devel db4-devel byacc sqlite-devel libyaml libyaml-devel libffi libffi-devel libxml2 libxml2-devel libxslt libxslt-devel libicu libicu-devel system-config-firewall-tui redis sudo wget crontabs logwatch logrotate perl-Time-HiRes git cmake libcom_err-devel.i686 libcom_err-devel.x86_64
邮件服务本机默认是postfix
四、安装git
本机git版本:1.8.3.1,先删除,安装2.4.8
yum -y remove git
yum -y install zlib-devel perl-CPAN gettext curl-devel expat-devel gettext-devel openssl-devel
curl --progress https://www.kernel.org/pub/software/scm/git/git-2.4.8.tar.gz | tar xz
也可以使用wget获取
cd git-2.4.8/ && ./configure && make && make prefix=/usr/local install
# git --version
git version 2.4.8
五、安装ruby
如果系统中已经安装先卸载
yum remove ruby
curl --progress ftp://ftp.ruby-lang.org/pub/ruby/2.1/ruby-2.1.9.tar.gz | tar xz
cd ruby-2.1.9 && ./configure --disable-install-rdoc && make && make prefix=/usr/local install
安装bundler:
gem install bundler --no-doc
查看安装情况:
# ruby -v
ruby 2.1.9p490 (2016-03-30 revision 54437) [x86_64-linux]
六、创建gitlab用户
useradd -r -s /bin/bash -c 'GitLab' -m -d /home/gitlab gitlab
增加/usr/local/bin
visudo
#修改以下内容
Defaults secure_path = /sbin:/bin:/usr/sbin:/usr/bin:/usr/local/bin
七、安装MySQL
参考文档:
LAMP环境搭建:http://www.cnblogs.com/fansik/p/5646340.html
或者
MySQL安装及主从配置:http://www.cnblogs.com/fansik/p/5270334.html
创建数据库并授权
mysql -u root -p
mysql> CREATE DATABASE IF NOT EXISTS `gitlab` DEFAULT CHARACTER SET `utf8` COLLATE `utf8_unicode_ci`;
mysql> grant all on gitlab.* to 'gitlab'@'localhost' identified by 'gitlab';
或者
mysql> GRANT SELECT, LOCK TABLES, INSERT, UPDATE, DELETE, CREATE, DROP, INDEX, ALTER ON gitlab.* to gitlab@localhost;
八、安装配置redis
参考:Redis安装及基本配置:http://www.cnblogs.com/fansik/p/5483057.html
九、安装gitlab
1、将gitlab项目clone到本地
# git clone https://gitlab.com/gitlab-org/gitlab-ce.git -b 7-4-stable gitlab
# cd gitlab
2、复制配置文件:
# cp config/gitlab.yml.example config/gitlab.yml
# cp config/unicorn.rb.example config/unicorn.rb
# cp config/initializers/rack_attack.rb.example config/initializers/rack_attack.rb
# cp config/resque.yml.example config/resque.yml
# cp config/database.yml.mysql config/database.yml
3、修改目录权限:
# chown -R git log/
# chown -R git tmp/
# chmod -R u+rwX tmp/
# chmod -R u+rwX tmp/pids/
# chmod -R u+rwX tmp/sockets/
# chmod -R u+rwX public/uploads/
4、创建目录:
# mkdir /home/git/gitlab-satellites
# chmod u+rwx,g=rx,o-rwx /home/git/gitlab-satellites
5、定义全局的用户和邮箱:
# git config --global user.name "GitLab"
# git config --global user.email "shandingshangdeyu@hotmail.com"
# git config --global core.autocrlf input
6、配置数据库信息:
# vim config/database.yml
production:
adapter: mysql2
encoding: utf8
collation: utf8_general_ci
reconnect: false
database: gitlab
pool: 10
username: gitlab
password: "gitlab"
host: localhost
socket: /tmp/mysql.sock
修改文件权限,只有git用户可读:
# chmod o-rwx config/database.yml
7、安装gem:
# cd /home/git/gitlab
# bundle install --deployment --without development test postgres aws
8、安装getlab-shell
# bundle exec rake gitlab:shell:install[v2.0.1] REDIS_URL=unix:/usr/local/redis/var/redis.sock RAILS_ENV=production
# vim /home/git/gitlab-shell/config.yml
---
user: git
gitlab_url: http://localhost/
http_settings:
self_signed_cert: true
repos_path: "/home/git/repositories/"
auth_file: "/home/git/.ssh/authorized_keys"
redis:
bin: "/usr/bin/redis-cli"
namespace: resque:gitlab
socket: "/usr/local/redis/var/redis.sock"
log_level: INFO
audit_usernames: false
9、初始化数据库
# bundle exec rake gitlab:setup RAILS_ENV=production
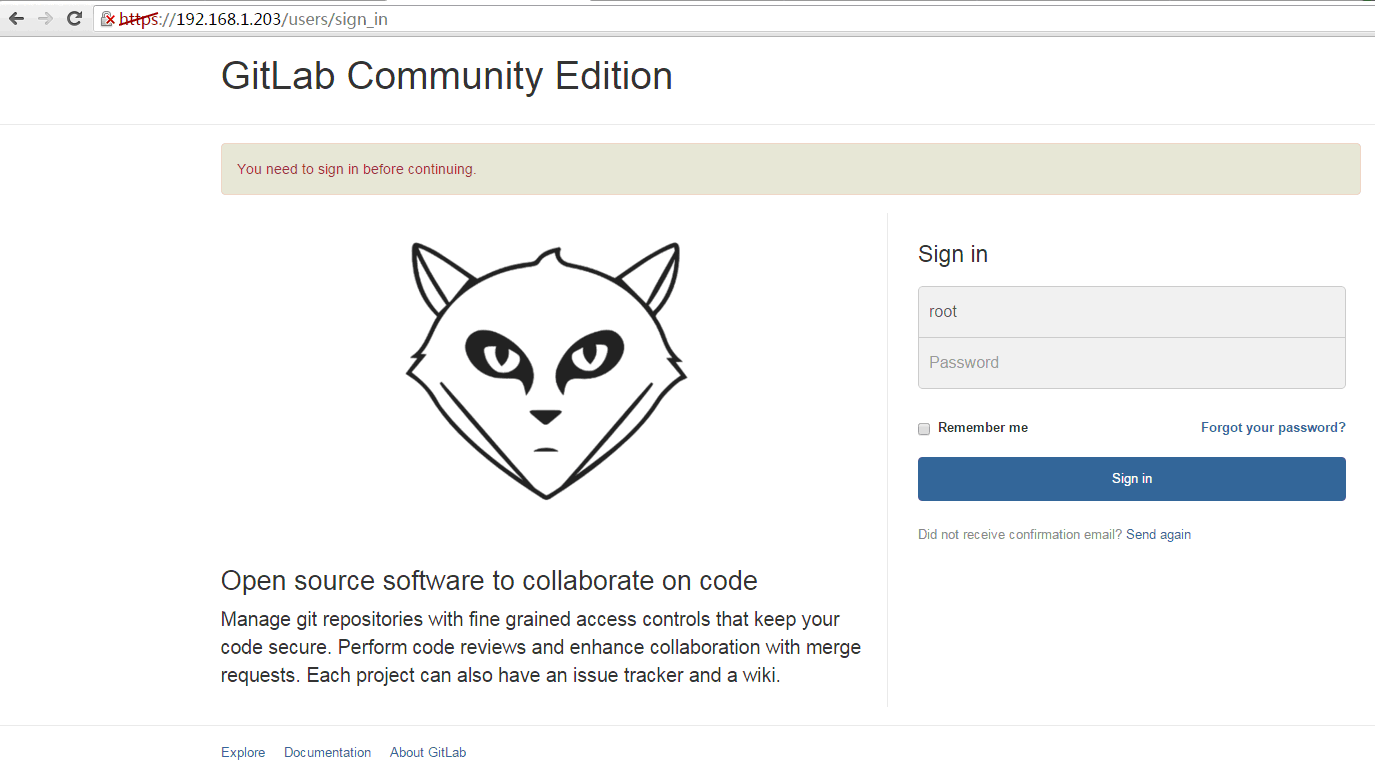
login.........root
password......5iveL!fe
设置管理员密码
# bundle exec rake gitlab:setup RAILS_ENV=production GITLAB_ROOT_PASSWORD=fanjinbao
10、下载服务脚本
wget -O /etc/init.d/gitlab https://gitlab.com/gitlab-org/gitlab-recipes/raw/master/init/sysvinit/centos/gitlab-unicorn
# chmod +x /etc/init.d/gitlab
# chkconfig --add gitlab
# chkconfig gitlab on
设置logrotate
# cp lib/support/logrotate/gitlab /etc/logrotate.d/gitlab
检测应用状态
# bundle exec rake gitlab:env:info RAILS_ENV=production
# bundle exec rake assets:precompile RAILS_ENV=production
启动服务
service gitlab start
11、安装web服务器
# yum -y install nginx
# usermod -a -G git nginx
# chmod g+rx /home/git/
# cd /etc/nginx
wget -O /etc/nginx/conf.d/gitlab.conf https://gitlab.com/gitlab-org/gitlab-ce/raw/master/lib/support/nginx/gitlab-ssl
# openssl req -newkey rsa:2048 -x509 -nodes -days 3560 -out gitlab.crt -keyout gitlab.key
# /etc/init.d/nginx start
注:502错误是gitlib的socket文件位置错误
500错误是redis的socket的权限问题
参考文档:http://charlie928.blog.51cto.com/3741218/1613257