小程序内嵌Html
1、下载wxParse:https://github.com/icindy/wxParse
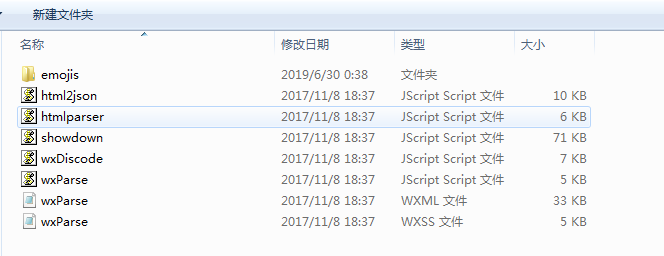
2、下载完成后将插件目录下的wxParse文件夹拷贝到项目目录下

(文件夹明细)
3、全局配置文件app.wxss中导入wxParse的样式表
@import "/wxParse/wxParse.wxss";

(以上只是仅在app.wxss引入配置,其他页面布局未动)
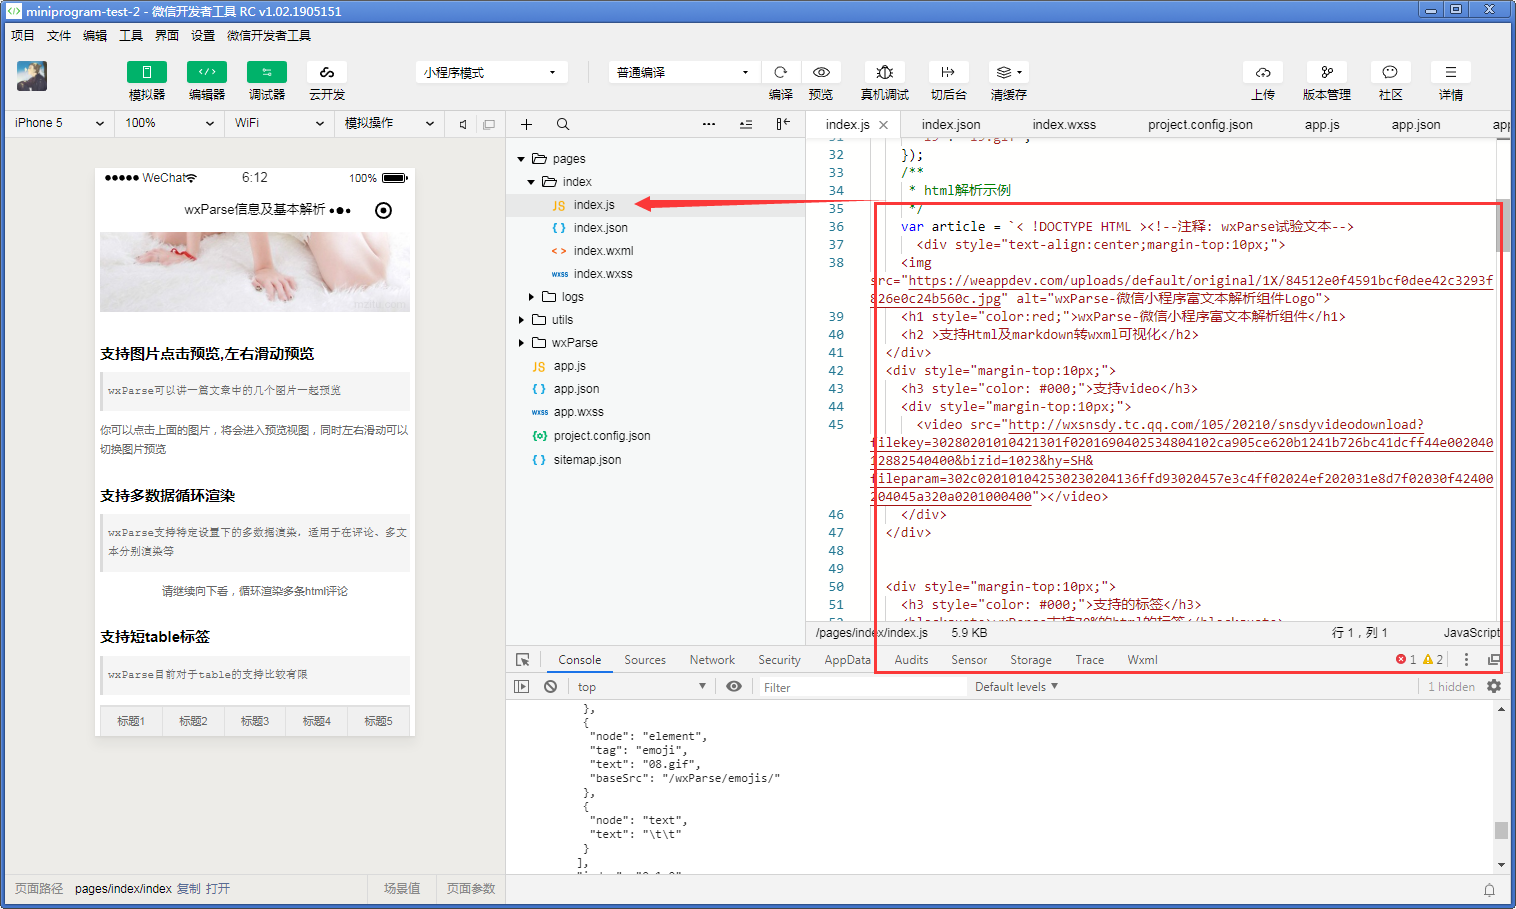
4、下面是在我们自己需要写的页面操作
在需要加载html代码的页面js文件中引用wxParse.js文件并通过WxParse.wxParse的方法来设置html内容
var WxParse = require('../../wxParse/wxParse.js');
Page({
  data: {
  },
  onLoad: function () {
    var that = this;
    /**
     * 初始化emoji设置
     */
    WxParse.emojisInit('[]', "/wxParse/emojis/", {
      "00": "00.gif",
      "01": "01.gif",
      "02": "02.gif",
      "03": "03.gif",
      "04": "04.gif",
      "05": "05.gif",
      "06": "06.gif",
      "07": "07.gif",
      "08": "08.gif",
      "09": "09.gif",
      "09": "09.gif",
      "10": "10.gif",
      "11": "11.gif",
      "12": "12.gif",
      "13": "13.gif",
      "14": "14.gif",
      "15": "15.gif",
      "16": "16.gif",
      "17": "17.gif",
      "18": "18.gif",
      "19": "19.gif",
    });
    /**
     * html解析示例
     */
    var article = `< !DOCTYPE HTML ><!--注释: wxParse试验文本-->
      <div style="text-align:center;margin-top:10px;">
        <img src="https://weappdev.com/uploads/default/original/1X/84512e0f4591bcf0dee42c3293f826e0c24b560c.jpg" alt="wxParse-微信小程序富文本解析组件Logo">
        <h1 style="color:red;">wxParse-微信小程序富文本解析组件</h1>
        <h2 >支持Html及markdown转wxml可视化</h2>
    </div>
    <div style="margin-top:10px;">
        <h3 style="color: #000;">支持video</h3>
        <div style="margin-top:10px;">
            <video src="http://wxsnsdy.tc.qq.com/105/20210/snsdyvideodownload?filekey=30280201010421301f0201690402534804102ca905ce620b1241b726bc41dcff44e00204012882540400&bizid=1023&hy=SH&fileparam=302c020101042530230204136ffd93020457e3c4ff02024ef202031e8d7f02030f42400204045a320a0201000400"></video>
        </div>
    </div>


    <div style="margin-top:10px;">
        <h3 style="color: #000;">支持的标签</h3>
        <blockquote>wxParse支持70%的html的标签</blockquote>
        <div style="margin-top:10px;">
            <span>span标签</span>
            <strong style="color: red;">strong标签</strong>
        </div>
    </div>

    <div style="margin-top:10px;">
        <h3 style="color: #000;">支持的标签ul/li</h3>
        <blockquote>带有内联的li</blockquote>
        <div style="margin-top:10px;">
            <ul>
                <li style="color: red;">我是li 红色</li>
                <li style="color: blue;">我是li 蓝色</li>
                <li style="color: yelloe;">我是li 黄色</li>
            </ul>
        </div>
    </div>

    <div style="margin-top:10px;">
        <h3 style="color: #000;">支持内联样式style</h3>
        <blockquote>wxParse可以渲染原html带有的style样式</blockquote>
        <div style="margin-top:10px;">
            <span>span标签</span>
            <strong>strong标签</strong>
        </div>
    </div>

    <div style="margin-top:10px;">
        <h3 style="color: #000;">支持class潜入</h3>
        <blockquote>wxParse可以注入html带有的class属性</blockquote>
    </div>

    <div style="margin-top:10px;">
        <h3 style="color: #000;">支持emojis小表情</h3>
        <blockquote>wxParse可以解析固定格式的小表情标签</blockquote>
        <div style="margin-top:10px;">
            <p>这里可以解析出emoji的表情[00][01][02][03][04][05][06][07][08][09]</p>
        </div>
    </div>

    <div style="margin-top:10px;">
        <h3 style="color: #000;">支持图片自适应</h3>
        <blockquote>wxParse可以动态计算图片大小并进行自适应适配</blockquote>
        <div style="margin-top:10px;">
            <img src="http://a.hiphotos.baidu.com/image/pic/item/9a504fc2d5628535959cf4cf94ef76c6a6ef63db.jpg" alt="">
            <img src="http://e.hiphotos.baidu.com/image/pic/item/48540923dd54564e1e1ac2d7b7de9c82d0584fe4.jpg" alt="">
        </div>
    </div>

    <div style="margin-top:10px;">
        <h3 style="color: #000;">支持图片点击预览,左右滑动预览</h3>
        <blockquote>wxParse可以讲一篇文章中的几个图片一起预览</blockquote>
        <div style="margin-top:10px;">
            你可以点击上面的图片,将会进入预览视图,同时左右滑动可以切换图片预览
        </div>
    </div>

    <div style="margin-top:10px;">
        <h3 style="color: #000;">支持多数据循环渲染</h3>
        <blockquote>wxParse支持特定设置下的多数据渲染,适用于在评论、多文本分别渲染等</blockquote>
        <div style="margin-top:10px; text-align:center;">
            请继续向下看,循环渲染多条html评论
        </div>
    </div>
    <div style="margin-top:10px;">
        <h3 style="color: #000;">支持短table标签</h3>
        <blockquote>wxParse目前对于table的支持比较有限</blockquote>
        <div style="margin-top:10px; text-align:center;">
            <table>
      <tr>
            <th>标题1</th>
            <th>标题2</th>
            <th>标题3</th>
            <th>标题4</th>
            <th>标题5</th>
        </tr>
      <tr>
          <td>cell1</td>
            <td>cell2</td>
            <td>cell3</td>
            <td>cell4</td>
            <td>cell5</td>
        </tr>
        <tr>
          <td>cell1</td>
            <td>cell2</td>
            <td>cell3</td>
            <td>cell4</td>
            <td>cell5</td>
        </tr>
    </table>
        </div>
    </div>
    <!--ap-->
    `;


    WxParse.wxParse('article', 'html', article, that, 5);


    /**
     * 多数据解析示例
     */
    var replyHtml0 = `<div style="margin-top:10px;height:50px;">
        <p class="reply">
            wxParse回复0:不错,喜欢[03][04]
        </p>
    </div>`;
    var replyHtml1 = `<div style="margin-top:10px;height:50px;">
        <p class="reply">
            wxParse回复1:不错,喜欢[03][04]
        </p>
    </div>`;
    var replyHtml2 = `<div style="margin-top:10px;height:50px;">
        <p class="reply">
            wxParse回复2:不错,喜欢[05][07]
        </p>
    </div>`;
    var replyHtml3 = `<div style="margin-top:10px;height:50px;">
        <p class="reply">
            wxParse回复3:不错,喜欢[06][08]
        </p>
    </div>`;
    var replyHtml4 = `<div style="margin-top:10px; height:50px;">
        <p class="reply">
            wxParse回复4:不错,喜欢[09][08]
        </p>
    </div>`;
    var replyHtml5 = `<div style="margin-top:10px;height:50px;">
        <p class="reply">
            wxParse回复5:不错,喜欢[07][08]
        </p>
    </div>`;
    var replyArr = [];
    replyArr.push(replyHtml0);
    replyArr.push(replyHtml1);
    replyArr.push(replyHtml2);
    replyArr.push(replyHtml3);
    replyArr.push(replyHtml4);
    replyArr.push(replyHtml5);


    for (let i = 0; i < replyArr.length; i++) {
      WxParse.wxParse('reply' + i, 'html', replyArr[i], that);
      if (i === replyArr.length - 1) {
        WxParse.wxParseTemArray("replyTemArray", 'reply', replyArr.length, that)
      }
    }
  }


})
5、页面中引用模
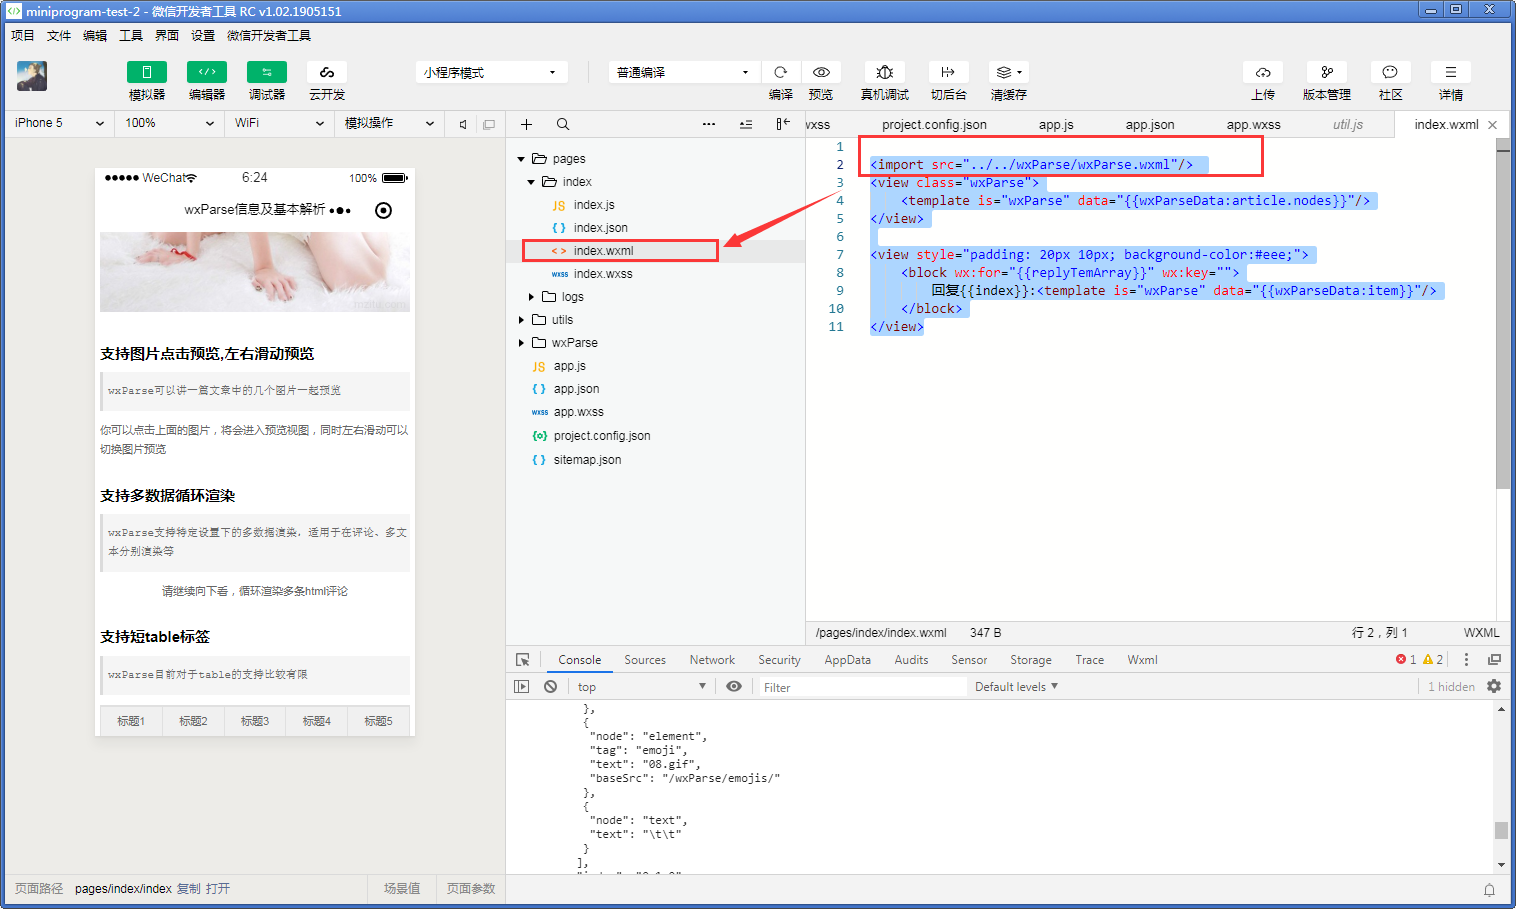
<import src="../../wxParse/wxParse.wxml"/>
<view class="wxParse">
    <template is="wxParse" data="{{wxParseData:article.nodes}}"/>
</view>

<view style="padding: 20px 10px; background-color:#eee;">
    <block wx:for="{{replyTemArray}}" wx:key="">
        回复{{index}}:<template is="wxParse" data="{{wxParseData:item}}"/>
    </block>
</view>