一、CentOS 7安装部署GitLab服务器
1、安装依赖软件
yum -y install policycoreutils policycoreutils-python openssh-server openssh-clients postfix
2、设置postfix开机自启,并启动,postfix支持gitlab发信功能(可选操作安装支持发信功能)
systemctl enable postfix && systemctl start postfix
如果报错:
Job for postfix.service failed because the control process exited with error code. See "systemctl status postfix.service" and "journalctl -xe" for details.
这是因为防火墙或者配置文件导致,无法启动的邮件服务!!
1、首先关闭防火墙!
#systemctl stop firewalld && systemctl mask firewalld
2、修改main.cf配置文件设置
#cat /etc/postfix/main.cf       //查看main.cf配置文件设置
#vim /etc/postfix/main.cf       //更改
更改:
inet_protocols = ipv4
inet_interfaces = all
3、下载gitlab安装包,然后安装
centos 6系统的下载地址:https://mirrors.tuna.tsinghua.edu.cn/gitlab-ce/yum/el6
centos 7系统的下载地址:https://mirrors.tuna.tsinghua.edu.cn/gitlab-ce/yum/el7
我的是centos7,所以我在https://mirrors.tuna.tsinghua.edu.cn/gitlab-ce/yum/el7中找了个gitlab8.0.0版本,建议下载一个比较新的版本,我这里选了一个比较旧的版本仅仅是实验记录。
下载rpm包并安装:
wget https://mirrors.tuna.tsinghua.edu.cn/gitlab-ce/yum/el7/gitlab-ce-8.0.0-ce.0.el7.x86_64.rpm
rpm -i gitlab-ce-8.0.0-ce.0.el7.x86_64.rpm
4、修改gitlab配置文件指定服务器ip和自定义端口
vim /etc/gitlab/gitlab.rb
如图:

5、重置并启动GitLab
执行以下命令

gitlab-ctl reconfigure

gitlab-ctl restart
如图:

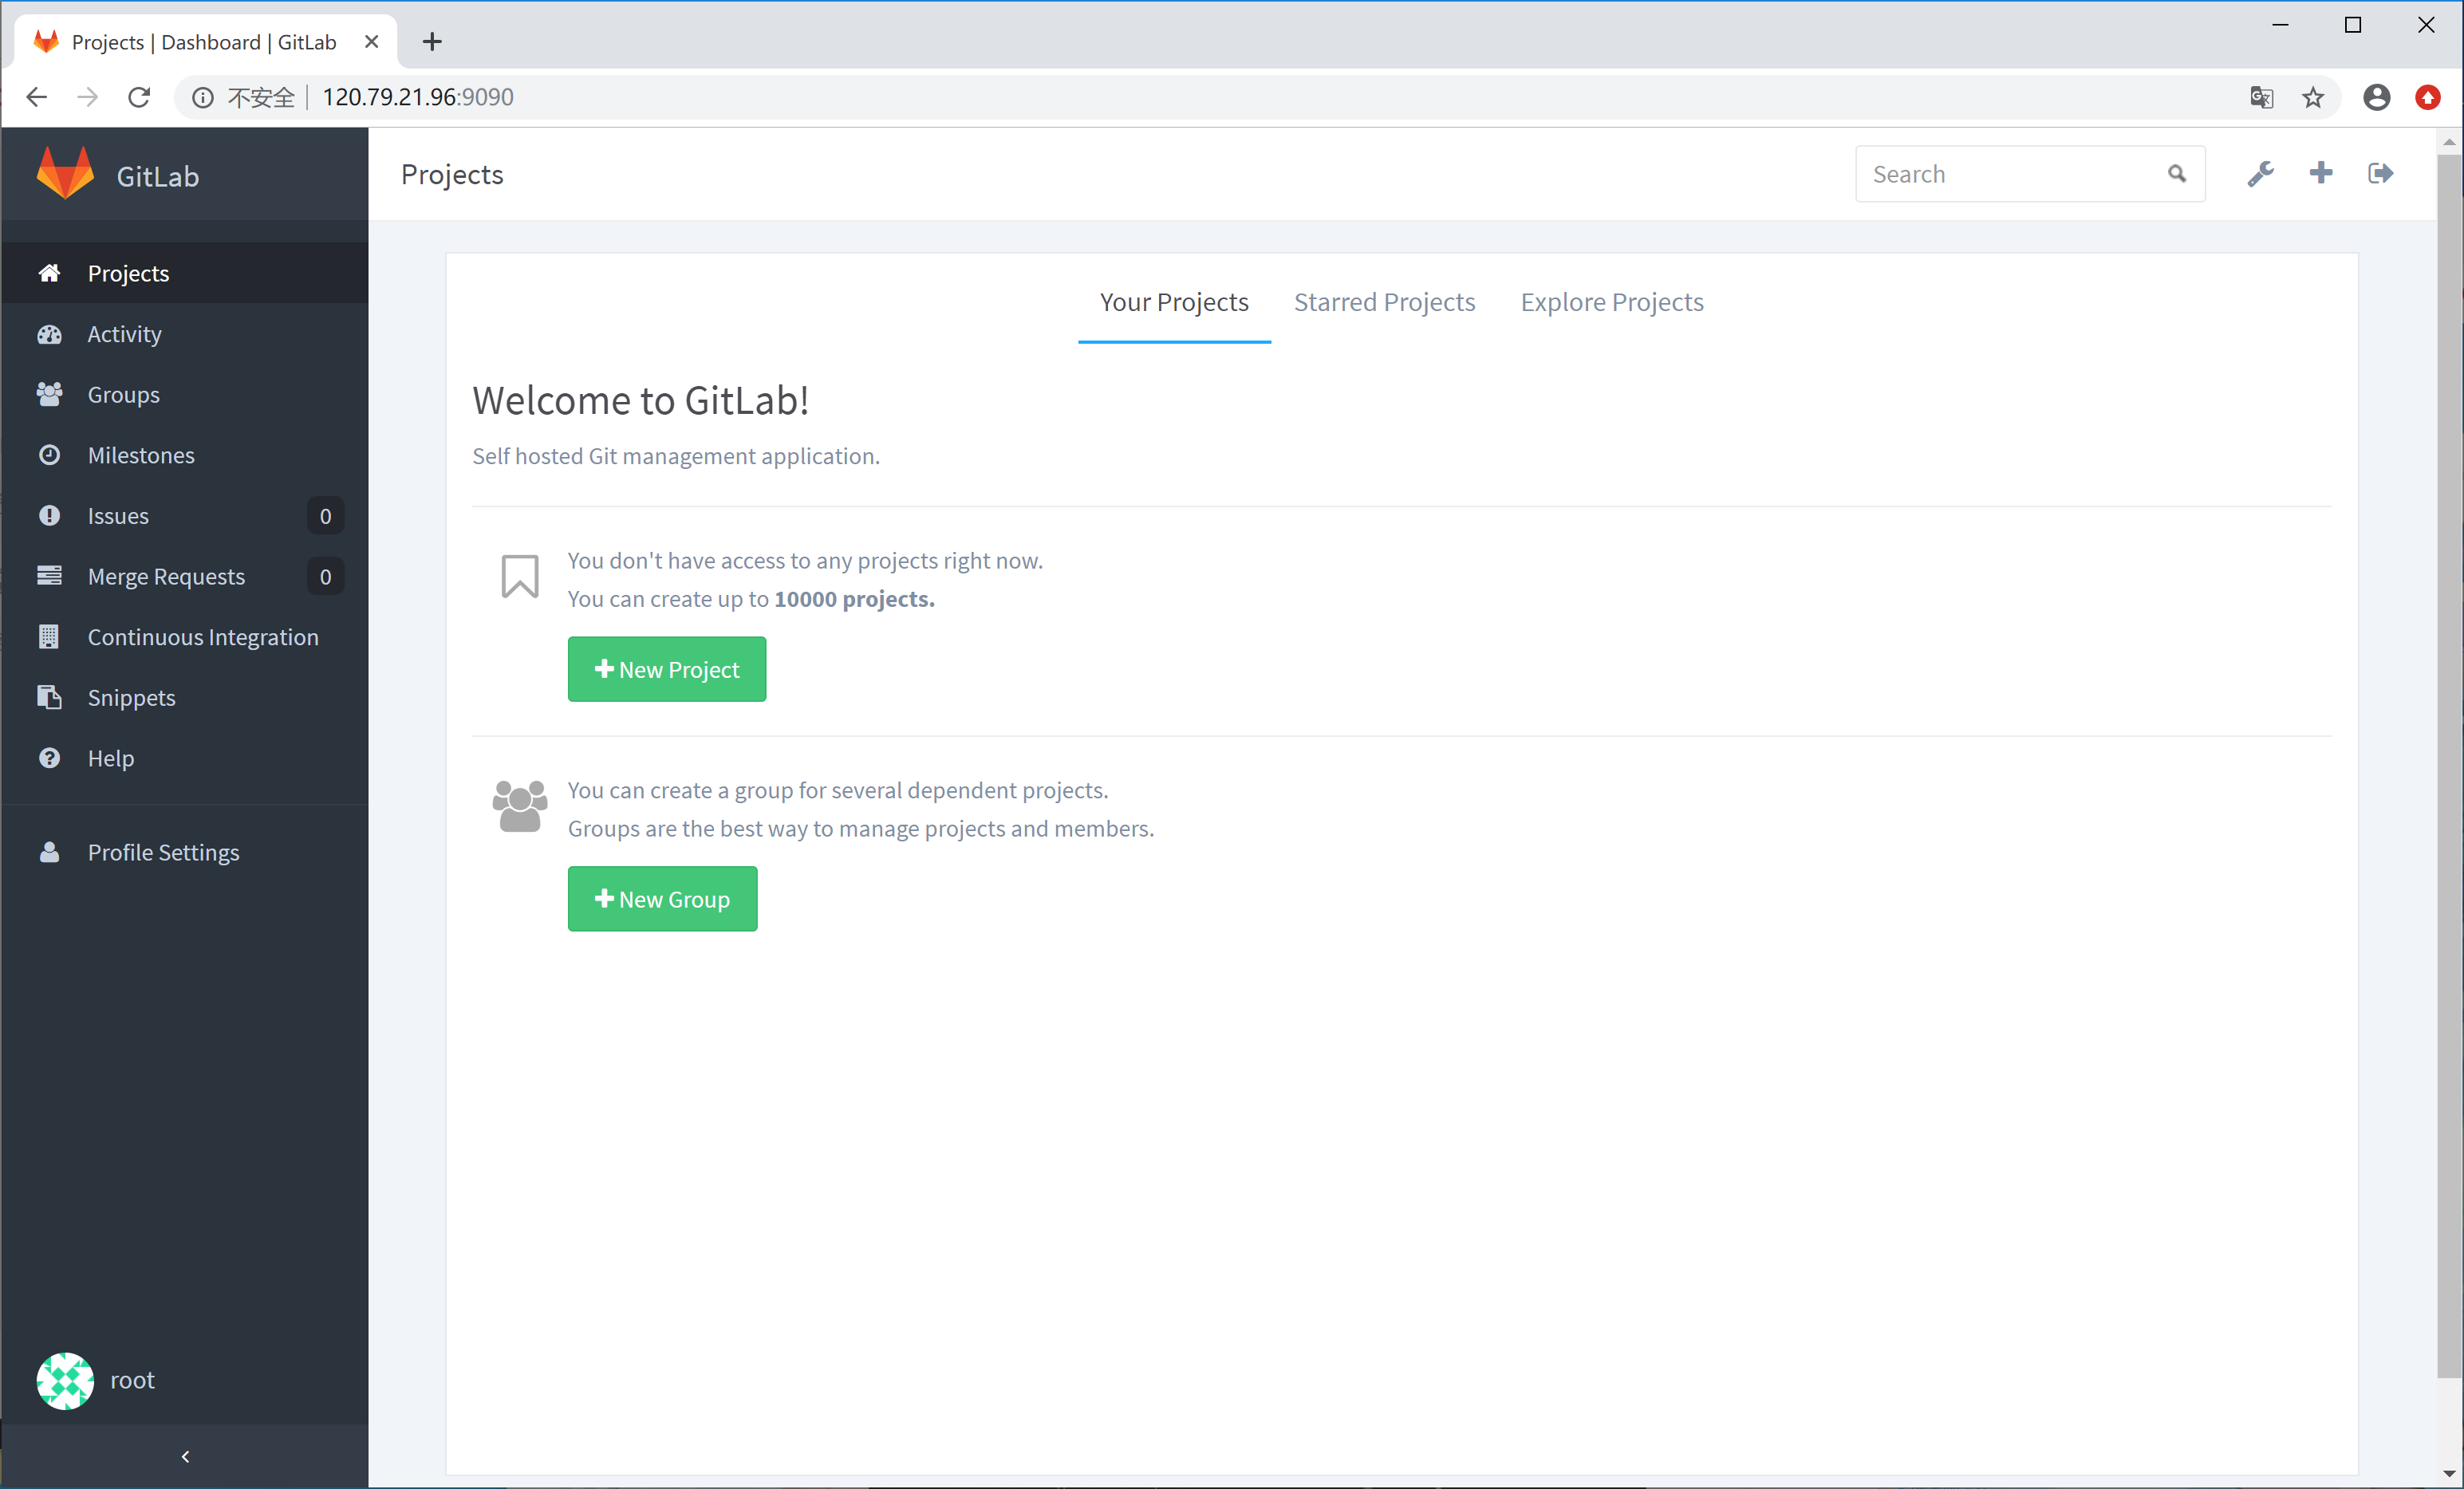
6、访问
访问IP:9090

root
5iveL!fe
如图:

登录进入:
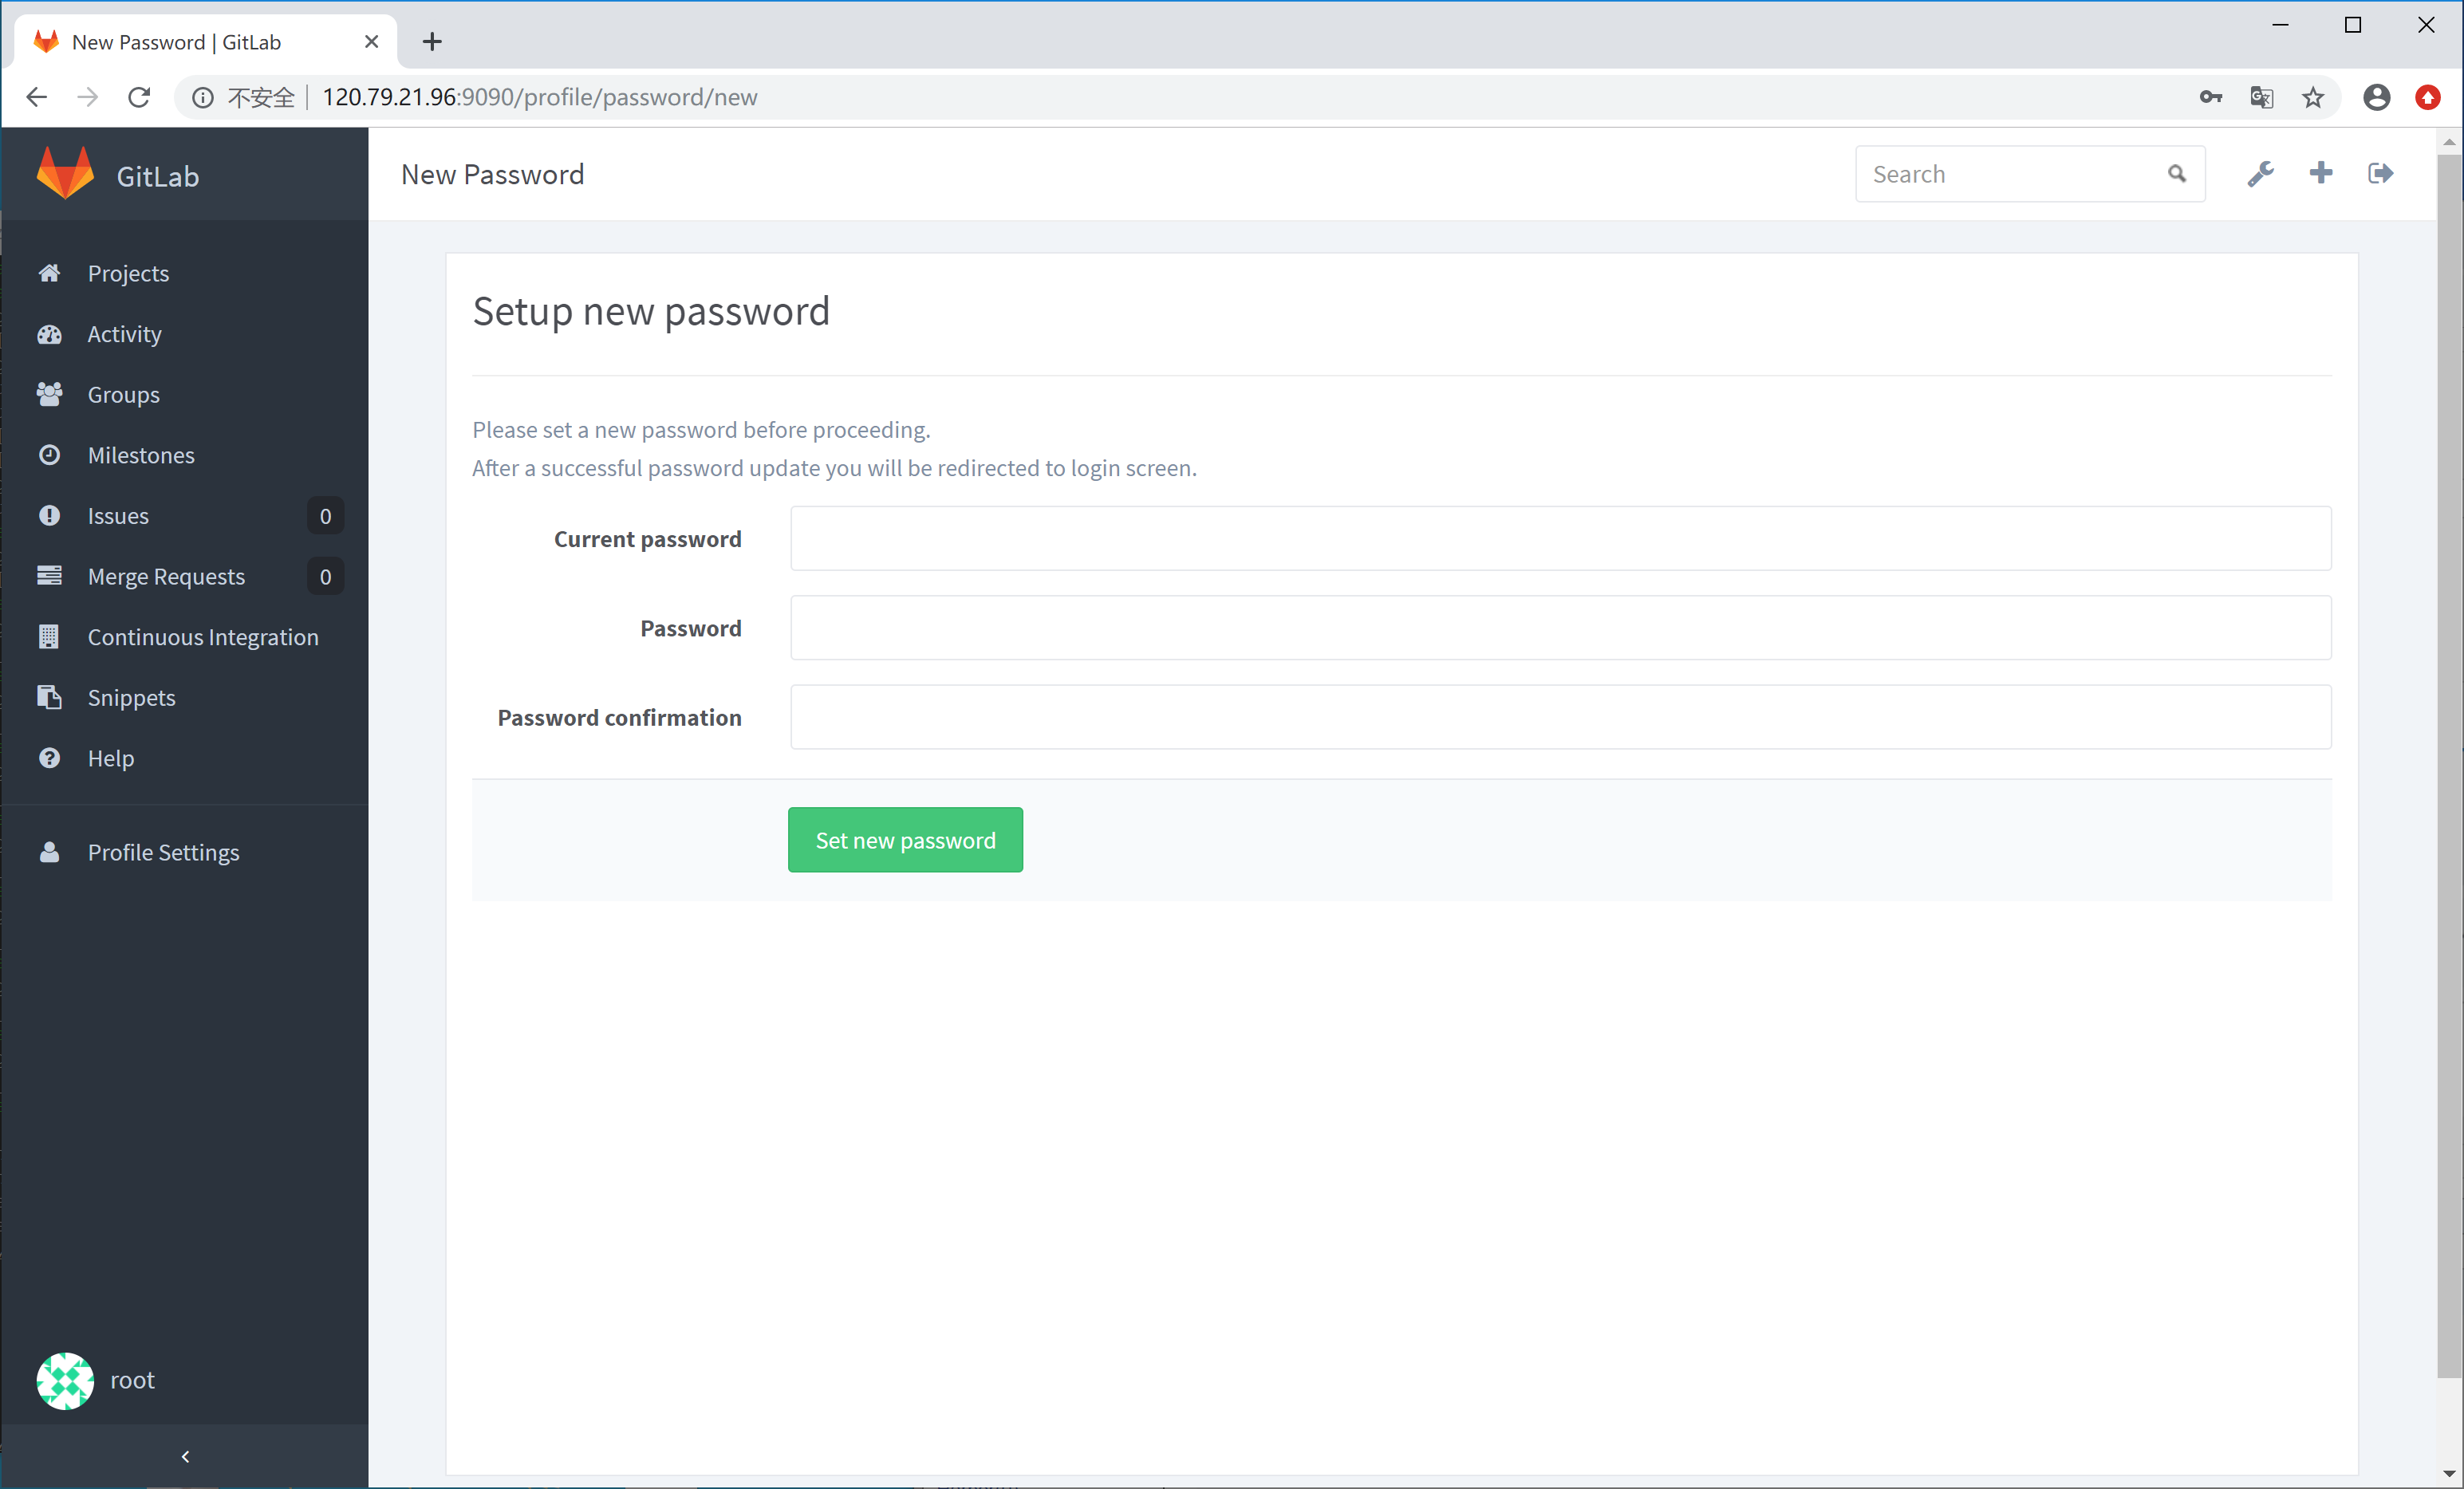
注意:必须更改密码,否则,点击菜单会一直在更改密码页面内。
六、

二、设置邮箱
1、开启QQ邮箱的SMTP服务(打开第一个SMTP服务即可如图)

经过此链接邮箱发送无效,报错(8.0.0版本过低)
