一、底部菜单组件封装使用
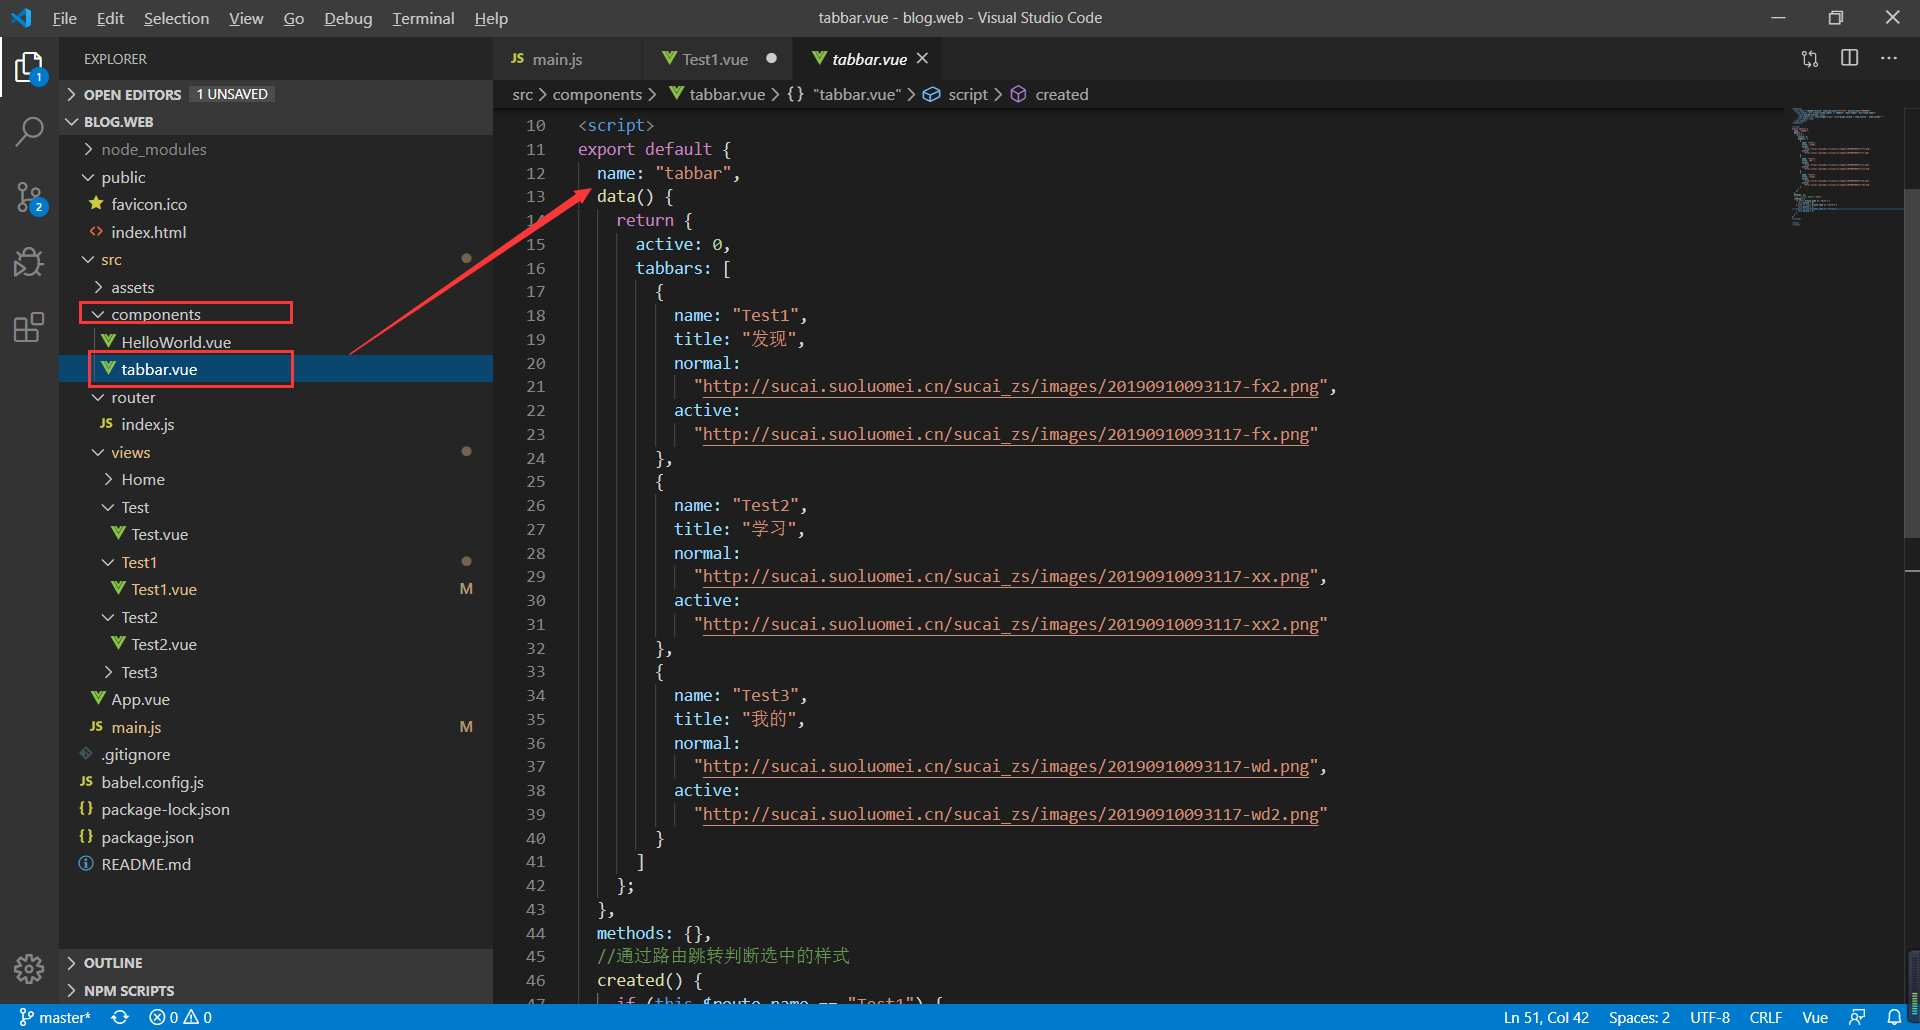
1、components目录下新建tabbar.vue文件夹代码如下:
代码如下:
<template>
  <van-tabbar v-model="active" inactive-color="#777777" active-color="#000000">
    <van-tabbar-item v-for="(item,index) in tabbars" :key="index" :to="(item.name)">
      <span>{{item.title}}</span>
      <img slot="icon" slot-scope="props" :src="props.active ? item.active : item.normal" />
    </van-tabbar-item>
  </van-tabbar>
</template>

<script>
export default {
  name: "tabbar",
  data() {
    return {
      active: 0,
      tabbars: [
        {
          name: "Test1",
          title: "发现",
          normal:
            "http://sucai.suoluomei.cn/sucai_zs/images/20190910093117-fx2.png",
          active:
            "http://sucai.suoluomei.cn/sucai_zs/images/20190910093117-fx.png"
        },
        {
          name: "Test2",
          title: "学习",
          normal:
            "http://sucai.suoluomei.cn/sucai_zs/images/20190910093117-xx.png",
          active:
            "http://sucai.suoluomei.cn/sucai_zs/images/20190910093117-xx2.png"
        },
        {
          name: "Test3",
          title: "我的",
          normal:
            "http://sucai.suoluomei.cn/sucai_zs/images/20190910093117-wd.png",
          active:
            "http://sucai.suoluomei.cn/sucai_zs/images/20190910093117-wd2.png"
        }
      ]
    };
  },
  methods: {},
  //通过路由跳转判断选中的样式
  created() {
    if (this.$route.name == "Test1") {
      this.active = 0;
    } else if (this.$route.name == "Test2") {
      this.active = 1;
    } else if (this.$route.name == "Test3") {
      this.active = 2;
    }
  }
};
</script>

<style>
</style>
如图如下:
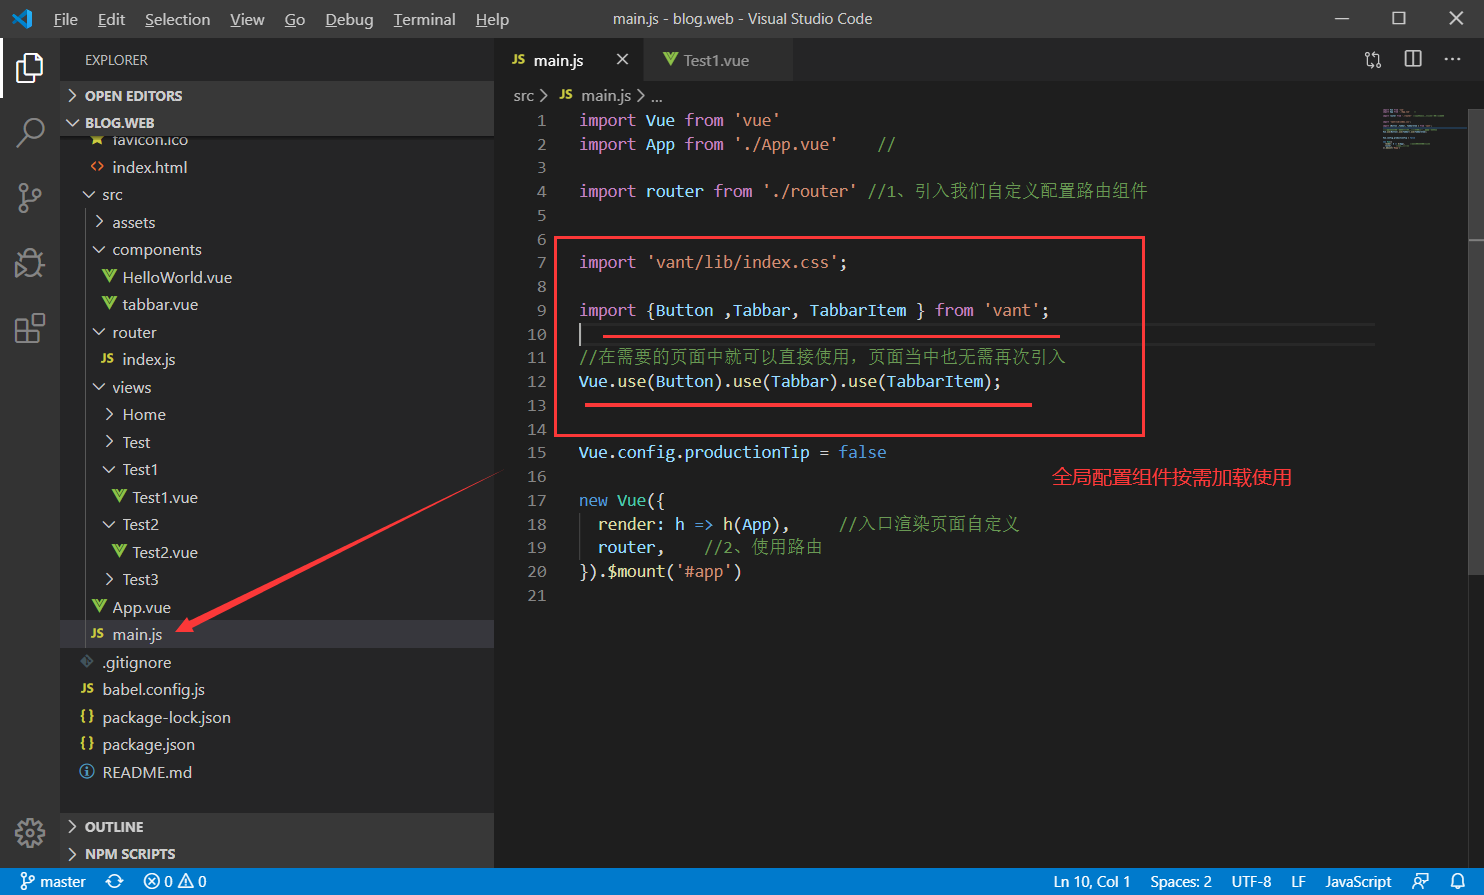
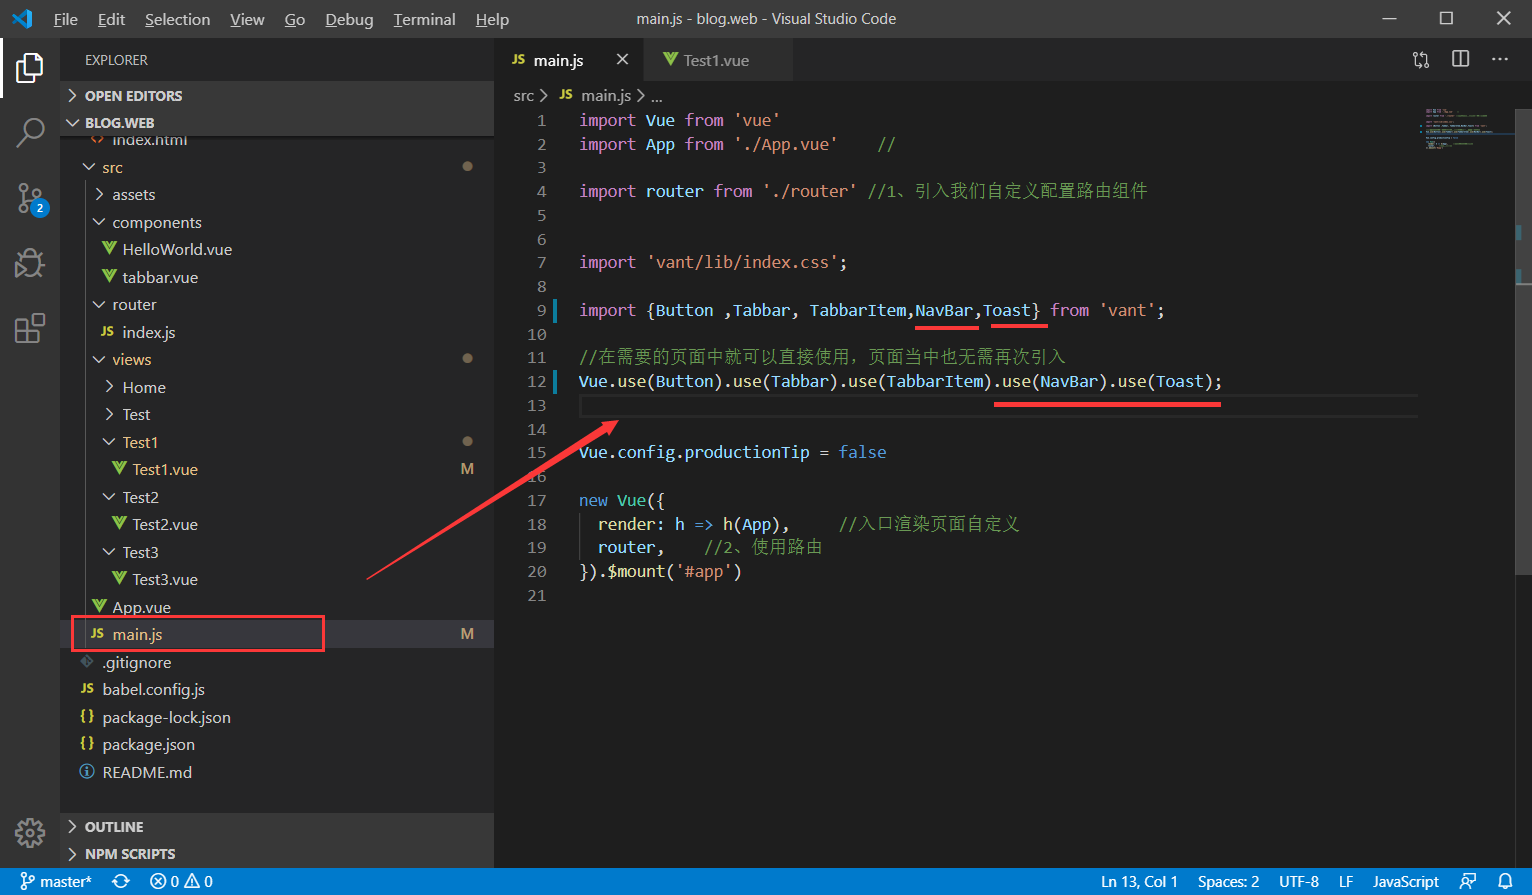
2、全局配置组件按需使用
代码如下:
import 'vant/lib/index.css';

import {Button ,Tabbar, TabbarItem } from 'vant';

//在需要的页面中就可以直接使用,页面当中也无需再次引入
Vue.use(Button).use(Tabbar).use(TabbarItem);
如图所示:
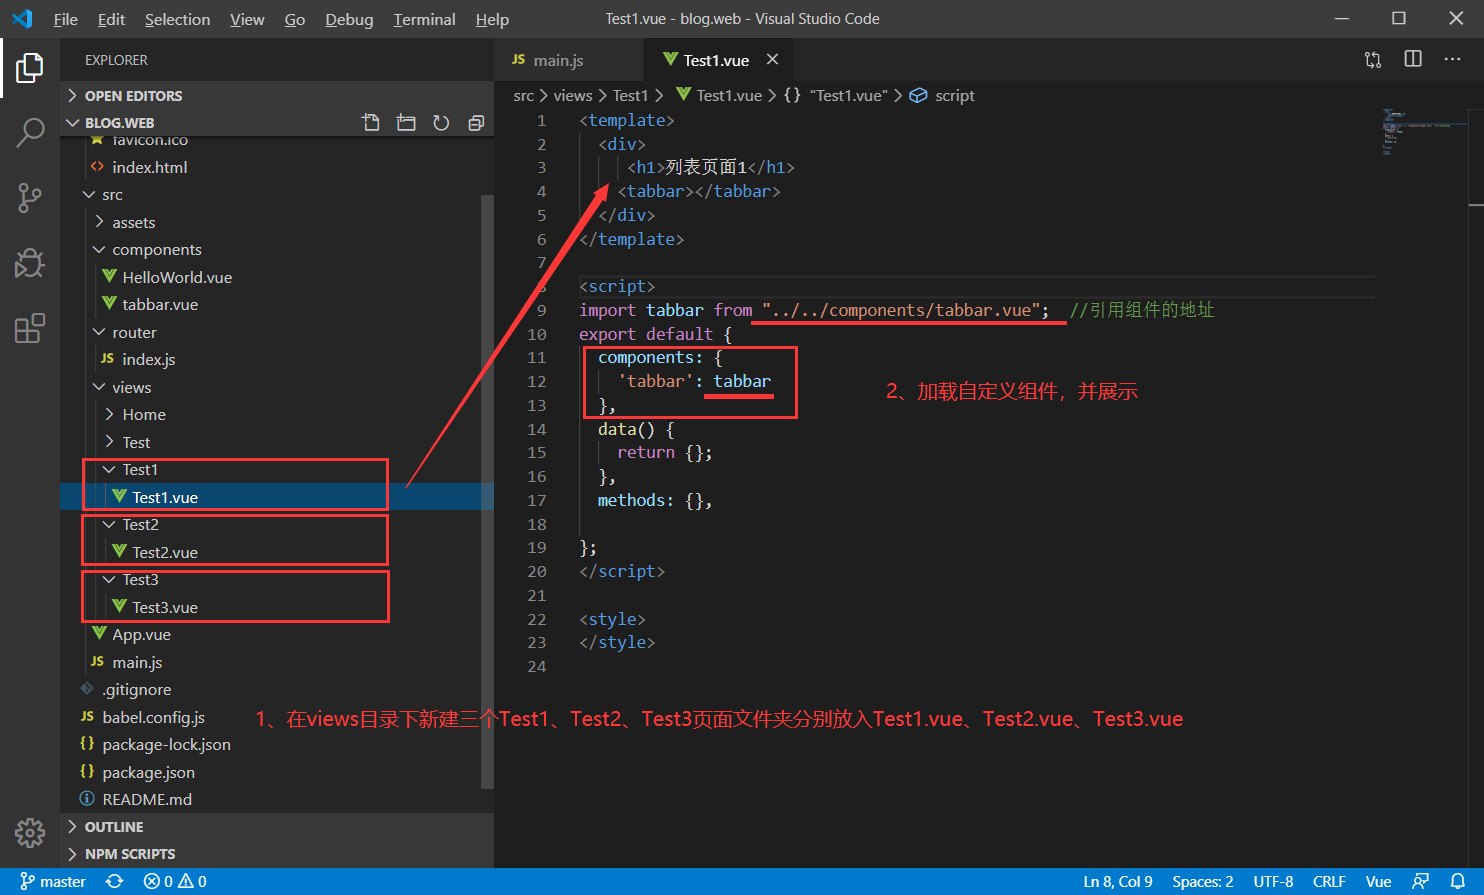
3、页面使用组件
代码如下:
<template>
  <div>
     <h1>列表页面1</h1>
    <tabbar></tabbar>
  </div>
</template>

<script>
import tabbar from "../../components/tabbar.vue";  //引用组件的地址
export default {
  components: {
    'tabbar': tabbar
  },
  data() {
    return {};
  },
  methods: {},

};
</script>

<style>
</style>
如图所示:
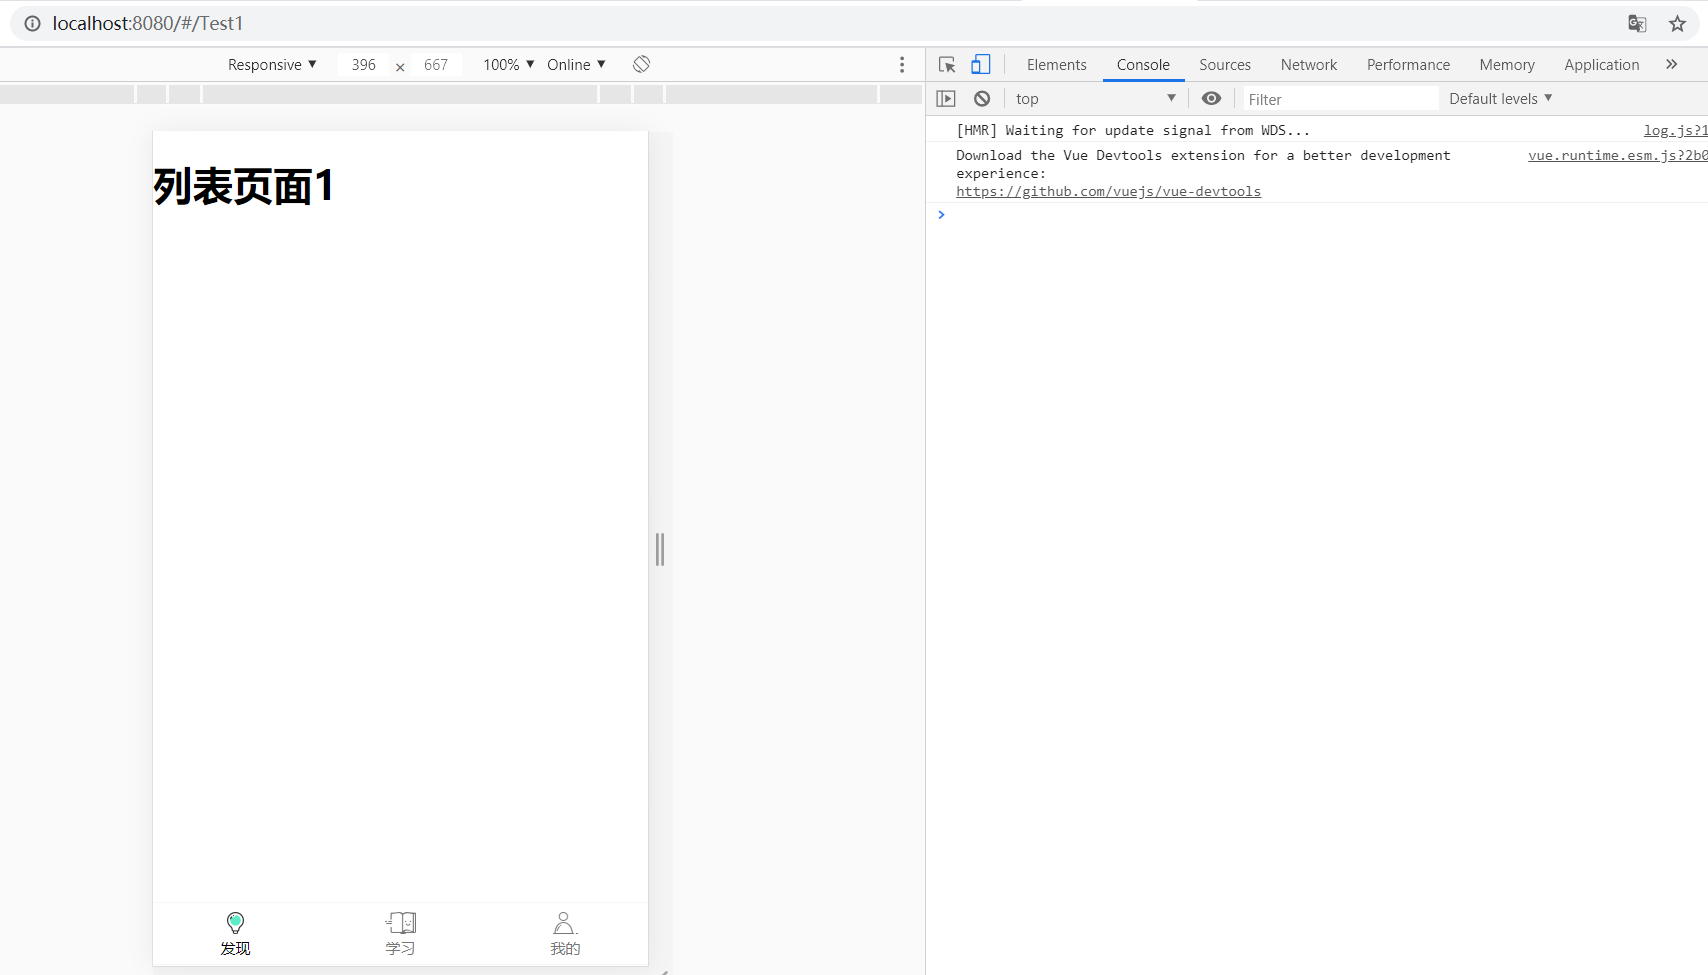
效果如下:
二、配置顶部导航栏
1、main添加
test1.vue
