第一步:搭建zookeeper伪集群
1.下载zookeeper并解压备用
2.新建zoo.cfg文件

3.修改其中的配置


# The number of milliseconds of each tick
tickTime=2000
# The number of ticks that the initial
# synchronization phase can take
initLimit=10
# The number of ticks that can pass between
# sending a request and getting an acknowledgement
syncLimit=5
# the directory where the snapshot is stored.
# do not use /tmp for storage, /tmp here is just
# example sakes.
dataDir=D:\dubbo+zookeeper_install\zookeeper\log1
# the port at which the clients will connect
clientPort=2181
# the maximum number of client connections.
# increase this if you need to handle more clients
#maxClientCnxns=60
#
# Be sure to read the maintenance section of the
# administrator guide before turning on autopurge.
#
# http://zookeeper.apache.org/doc/current/zookeeperAdmin.html#sc_maintenance
#
# The number of snapshots to retain in dataDir
#autopurge.snapRetainCount=3
# Purge task interval in hours
# Set to "0" to disable auto purge feature
#autopurge.purgeInterval=1
clientPort:2181
server.1=127.0.0.1:2887:3887
server.2=127.0.0.1:2888:3888
server.3=127.0.0.1:2889:3889
注意:

log文件夹需要分别建立


4.log1/log2/log3下面分别建立无后缀文件myid,内容分别为1/2/3和zoo.cfg配置中server.1/2/3对应
5.新建zkServer.cmd文件

每个文件中添加:set ZOOCFG=..confzoo1.cfg
1、2、3对应上即可
6.将三个zkServer.cmd启动起来
bin>zkServer1.cmd
bin>zkServer2.cmd
bin>zkServer3.cmd
先启动的1会报错,当三个都起起来后错误停止。
7.使用jps查看进程

8.控制台查看是否成功:bin>zkCli.cmd -server 127.0.0.1:2181

看到welcome to ZooKeeper! 算成功咯。
补充:
添加环境zookeeper环境变量:
解决上图红框中的问题,


Path中添加bin和conf路径

问题解决,大功告成。bin>zkCli.cmd -server 127.0.0.1:2181 访问时不会再出现path null的问题。
第二步:部署dubbo-admin
1.下载war包

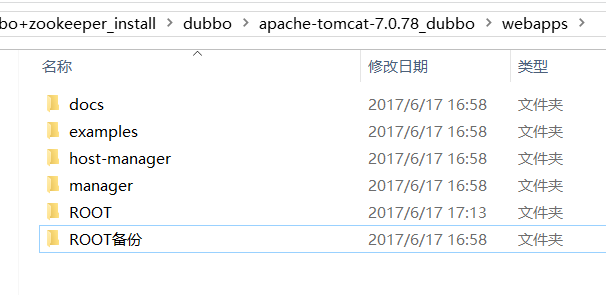
2.解压war包,放入tomcat下,替换ROOT文件夹
3.将第一步中配置的zookeeper都启动起来。
然后浏览器中访问:http://127.0.0.1:8080/governance/providers --用户名密码均为root
