MarkdownPad 2有插入代码块的功能,但样式却不尽人意,但又不想换个编辑器,找了挺多相关资料,最后在MarkdownPad 2集成prettify高亮插件。
如下相关资料:
详解Google Code Prettify代码高亮Prettify.js库使用及其应用
你可以下载后引用,也可以直接引用bootcdn。
具体步骤:
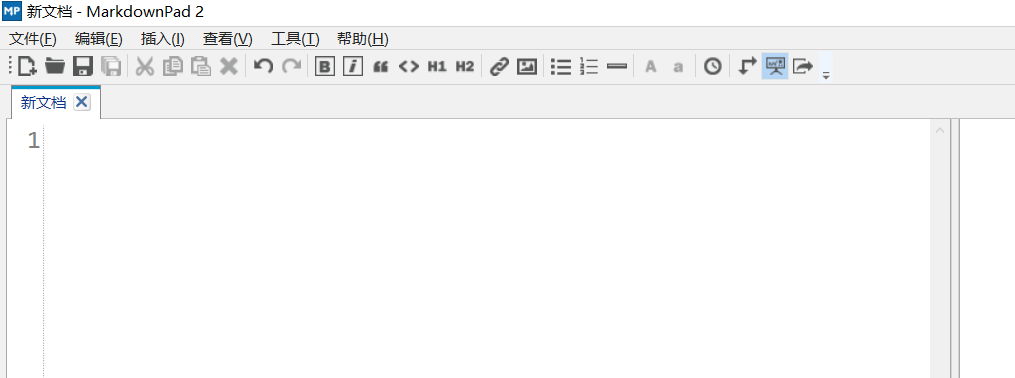
1.打开MarkdownPad2
2.打开链接http://www.bootcdn.cn/prettify/ 分别复制这两个文件标签

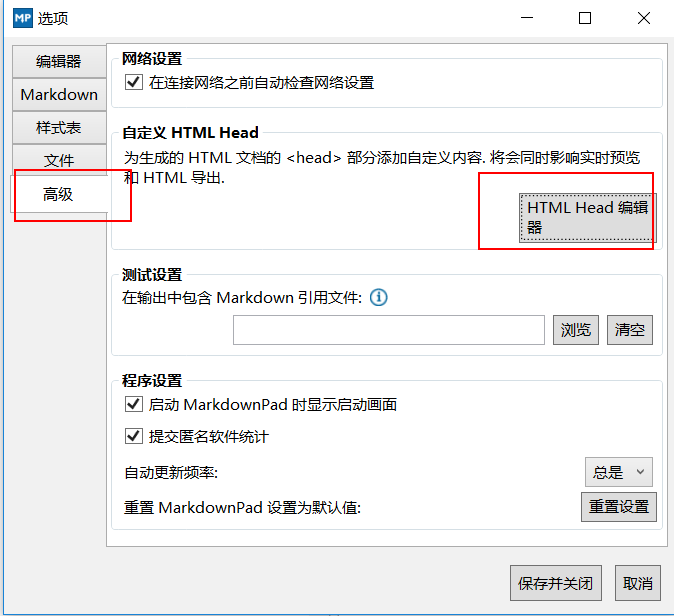
3.在MarkdownPad2中的菜单中,点击【工具】——【选项】或者直接F7可以看到如下图

4.点击【高级】——【HTML Head编辑器】
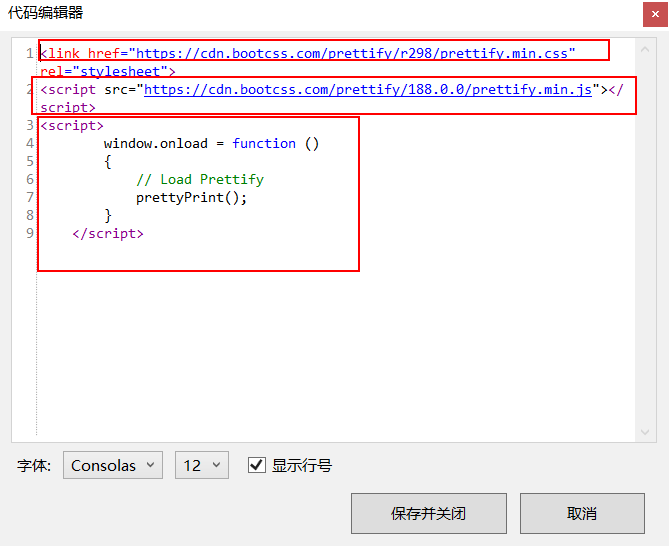
5.分别将复制的引用的标签粘贴上去,并且加上片段代码,保存并关闭
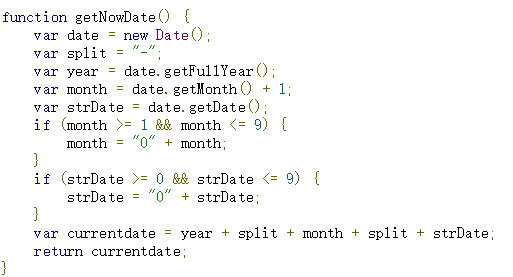
6.现在加入代码块的要求
<pre class="prettyprint lang-javascript">
function getNowDate() {
    var date = new Date();
    var split = "-";
    var year = date.getFullYear();
    var month = date.getMonth() + 1;
    var strDate = date.getDate();
    if (month >= 1 && month <= 9) {
        month = "0" + month;
    }
    if (strDate >= 0 && strDate <= 9) {
        strDate = "0" + strDate;
    }
    var currentdate = year + split + month + split + strDate;
    return currentdate;
}
</pre>
插入的代码必须放到
<pre class="prettyprit lang-指定样式">
</pre>
现在看下效果:

我们都知道MarkdownPad2是实时预览,跟浏览器是有区别的,我们按F6浏览器查看
或许这不是实时预览的效果,但我们没必要非得编辑的时候看到高亮效果,比如说我们每次去阅读自己的写md笔记,每次都得打开
MarkdownPad2来查看,我们把代码高亮配置好了,直接插入代码就行了,写完以后我们可以导出html,导出pdf是没有效果的,这里说下
因为我引用的是线上的链接,所以导出来的html要有网络才能看到高亮效果,如果没网络,可以下载下来,添加css和javascript
下面改下高亮主题:
打开github https://github.com/google/code-prettify/tree/master/styles
里面有多个主题,相关资料也有提到,这里我就直接用sunburst.css的主题样式
步骤如下:
1.按F7,点击【样式表】,添加sunburst.css,把样式粘贴,点击保存并关闭
/* Pretty printing styles. Used with prettify.js. */
/* Vim sunburst theme by David Leibovic */

pre .str, code .str { color: #65B042; } /* string  - green */
pre .kwd, code .kwd { color: #E28964; } /* keyword - dark pink */
pre .com, code .com { color: #AEAEAE; font-style: italic; } /* comment - gray */
pre .typ, code .typ { color: #89bdff; } /* type - light blue */
pre .lit, code .lit { color: #3387CC; } /* literal - blue */
pre .pun, code .pun { color: #fff; } /* punctuation - white */
pre .pln, code .pln { color: #fff; } /* plaintext - white */
pre .tag, code .tag { color: #89bdff; } /* html/xml tag    - light blue */
pre .atn, code .atn { color: #bdb76b; } /* html/xml attribute name  - khaki */
pre .atv, code .atv { color: #65B042; } /* html/xml attribute value - green */
pre .dec, code .dec { color: #3387CC; } /* decimal - blue rgb(47, 54, 64) */

pre.prettyprint, code.prettyprint {
    background-color: #000;
    border-radius: 8px;
}

pre.prettyprint {
    width: 95%;
    margin: 1em auto;
    padding: 1em;
    white-space: pre-wrap;
}


/* Specify class=linenums on a pre to get line numbering */
ol.linenums { margin-top: 0; margin-bottom: 0; color: #AEAEAE; } /* IE indents via margin-left */
li.L0,li.L1,li.L2,li.L3,li.L5,li.L6,li.L7,li.L8 { list-style-type: none }
/* Alternate shading for lines */
li.L1,li.L3,li.L5,li.L7,li.L9 { }

@media print {
  pre .str, code .str { color: #060; }
  pre .kwd, code .kwd { color: #006; font-weight: bold; }
  pre .com, code .com { color: #600; font-style: italic; }
  pre .typ, code .typ { color: #404; font-weight: bold; }
  pre .lit, code .lit { color: #044; }
  pre .pun, code .pun { color: #440; }
  pre .pln, code .pln { color: #000; }
  pre .tag, code .tag { color: #006; font-weight: bold; }
  pre .atn, code .atn { color: #404; }
  pre .atv, code .atv { color: #060; }
}
实时效果如下:

浏览器效果:
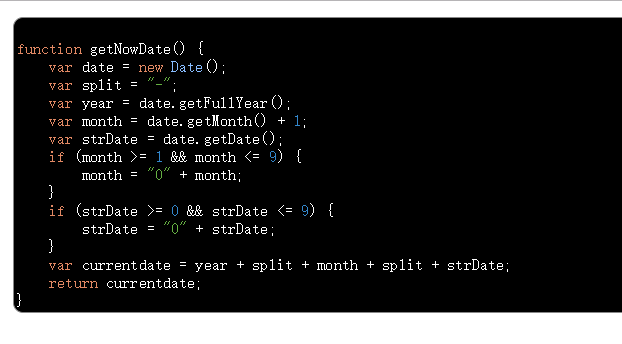
我们不能总是实时看到的代码块乌漆嘛黑,总得能看到代码嘛,所以改下样式
前面我们插入的主题样式代码
pre.prettyprint, code.prettyprint {
    background-color: #000;
    border-radius: 8px;
}
把背景色#000改为:rgb(47, 54, 64),再看效果。

此次代码高亮只能改善下导出html能高亮(浏览器查看),至于其他能实时看到高亮效果的办法目前没有找到,其他
md编辑器或许有实时高亮这里就不再累赘,喜欢用MarkdownPad2的朋友还是不错的,当然也可以自定义自己喜欢的高亮样式。