复习基础知识
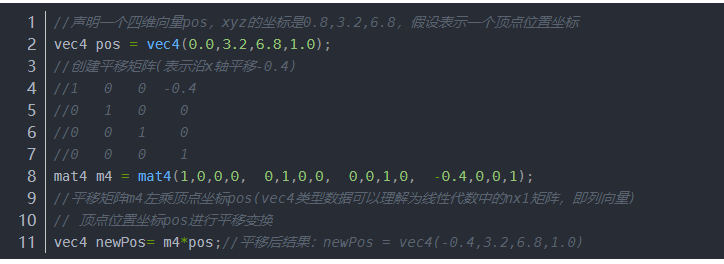
1,GLSL Mat矩阵全部是列向量 优先构造矩阵。
2,GLM同样以列为主:
#include <iostream>
#include <glm/glm.hpp>
#include <glm/gtc/matrix_transform.hpp>
#include <glm/gtc/type_ptr.hpp>
using namespace std;

ostream & operator<<(ostream & os , const glm::mat4 &inputMat){
    //         col:1 row:1           col:2 row:1          col:3 row:1             col:4 row:1
    cout << inputMat[0][0] <<" " <<inputMat[1][0] << " " <<inputMat[2][0] << " " << inputMat[3][0] << endl;
    //         col:1 row:2           col:2 row:2          col:3 row:2             col:4 row:2
    cout << inputMat[0][1] <<" " <<inputMat[1][1] << " " <<inputMat[2][1] << " " << inputMat[3][1] << endl;
    //         col:1 row:3           col:2 row:3          col:3 row:3            col:4 row:3
    cout << inputMat[0][2] <<" " <<inputMat[1][2] << " " <<inputMat[2][2] << " " << inputMat[3][2] << endl;

    //         col:1 row:4           col:2 row:4          col:3 row:4             col:4 row:4
    cout << inputMat[0][3] <<" " <<inputMat[1][3] << " " <<inputMat[2][3] << " " << inputMat[3][3] << endl;
    return os;
}

ostream & operator << (ostream &os , const glm::vec4 &vec){
    cout << vec.x << " " << vec.y << " " << vec.z << " " <<vec.w ;
    return os;
}

void debug(const glm::mat4 &inputMat){
    cout << "col 1->" <<inputMat[0] << endl;       // access col 1
    cout << "col 2->" <<inputMat[1] << endl;       // access col 2
    cout << "col 3->" <<inputMat[2] << endl;       // access col 3
    cout << "col 4->" <<inputMat[3] << endl;       // access col 4
}

int main() {

    glm::mat4 m01(1.0f);
    cout << m01 <<endl;

    // use array to construct matrix
    glm::mat4 m02(1,2,3,4,
            5,6,7,8,
            9,10,11,12,
            13,14,15,16);
    cout << m02 << endl;

    // Use vector to construct matrix
    glm::mat4 m03(glm::vec4(1,1,1,1),
            glm::vec4(2,2,2,2),
            glm::vec4(3,3,3,3),
            glm::vec4(4,4,4,4));
    cout << m03 << endl;

    debug(m03);

    return 0;
}
结果:
D:plugin_devopenglglm_testCP_01cmake-build-debugCP_01.exe
1 0 0 0
0 1 0 0
0 0 1 0
0 0 0 1

1 5 9 13
2 6 10 14
3 7 11 15
4 8 12 16

1 2 3 4
1 2 3 4
1 2 3 4
1 2 3 4

col 1->1 1 1 1
col 2->2 2 2 2
col 3->3 3 3 3
col 4->4 4 4 4

Process finished with exit code 0
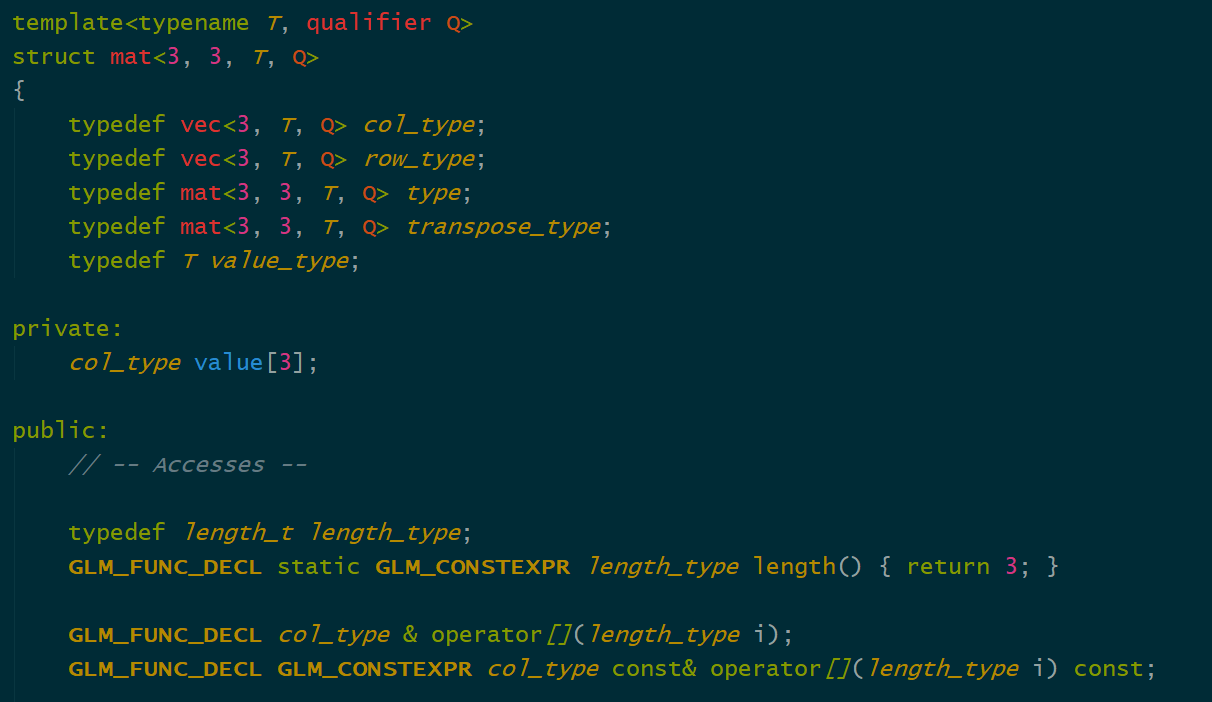
3,同样观查GLM源码,operator[]确实返回列为主得向量
4,把GLM向量放到vector中,展平访问:
#include <iostream>
#include <glm/gtc/matrix_transform.hpp>
#include <glm/gtc/type_ptr.hpp>
#include <glm/glm.hpp>
#include <vector>
using namespace std;

int main()
{
    vector <glm::vec3> points;
    points.emplace_back(glm::vec3(1,2,3));
    points.emplace_back(glm::vec3(4,5,6));
    points.emplace_back(glm::vec3(7,8,9));

    float *dataPointer = (float*) (points.data());

    cout << *( dataPointer + 0)  << endl; // -> 1
    cout << *( dataPointer + 1)  << endl; // -> 2
    cout << *( dataPointer + 2)  << endl; // -> 3
    cout << *( dataPointer + 3)  << endl; // -> 4
    return 0;
}
5,而我们houdini却是个用行向量。
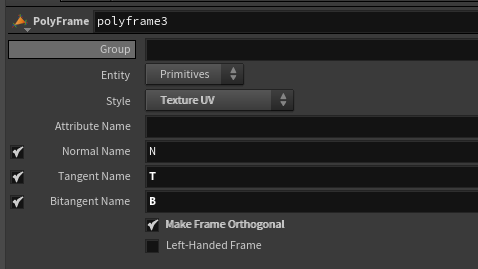
6, NormalMap:
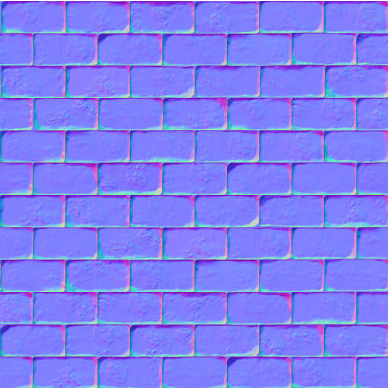
Houdini需要normalMalMap:
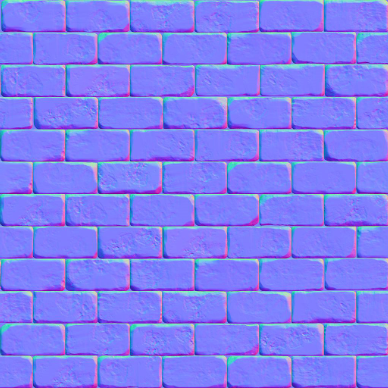
OPENGL需要的NormalMap,可以看到Y轴向是反的:
https://learnopengl-cn.github.io/05%20Advanced%20Lighting/04%20Normal%20Mapping/ 给的贴图必须在Houdini下选择linear 模式。
首先 法线贴图是在切线空间,在切线空间法线全部对齐z轴向。
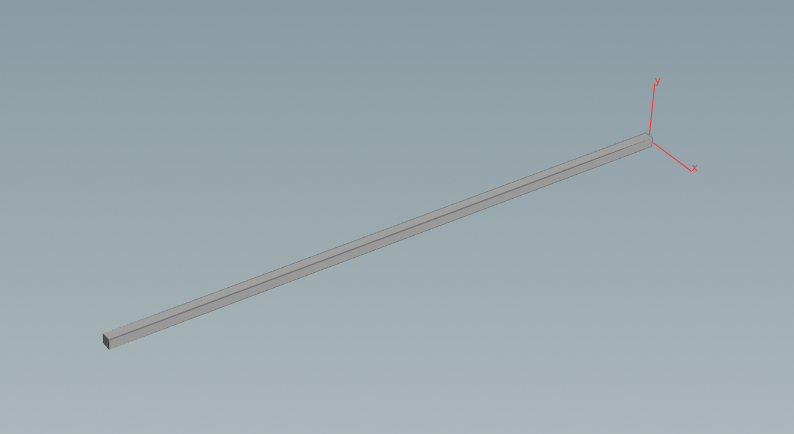
用houdini理解最简单,平常一个物体比如box对齐到z轴向。如图:
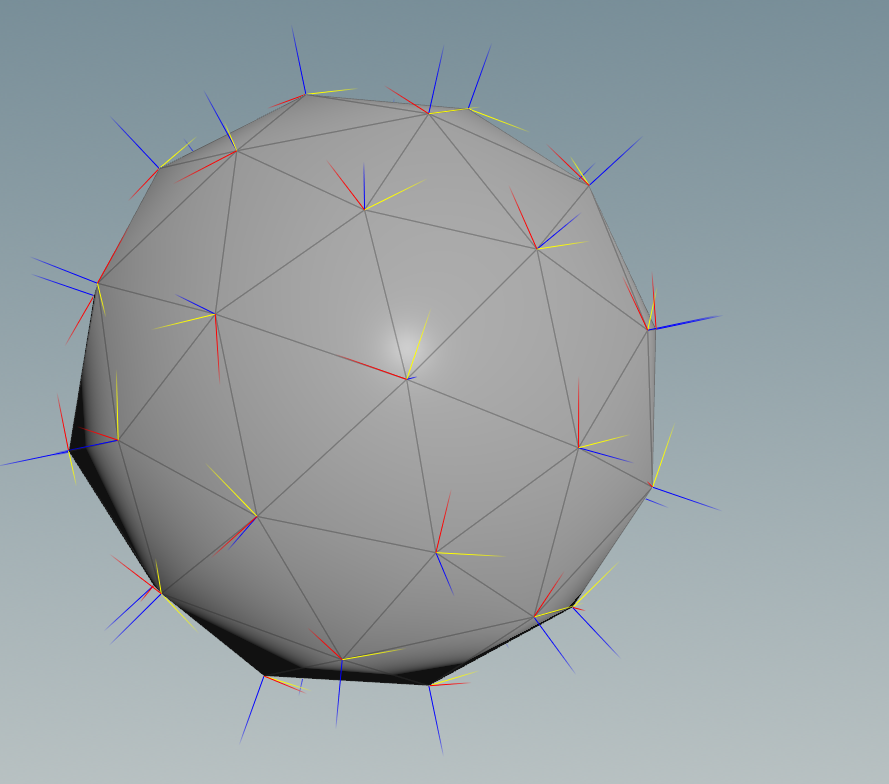
如果把这玩意拷贝到球上:相当于将把长方体 转到 法线形成的正交矩阵空间,此时这个法线空间就是我们的世界空间,(一般用个up向量和这个球上法线形成3个正交向量就行,但是也可以是TBN矩阵):


当然转到 这个球的法线空间(世界物体法线空间),也可以形成TBN正交矩阵:
Houdini IMP the normalMap at world space:
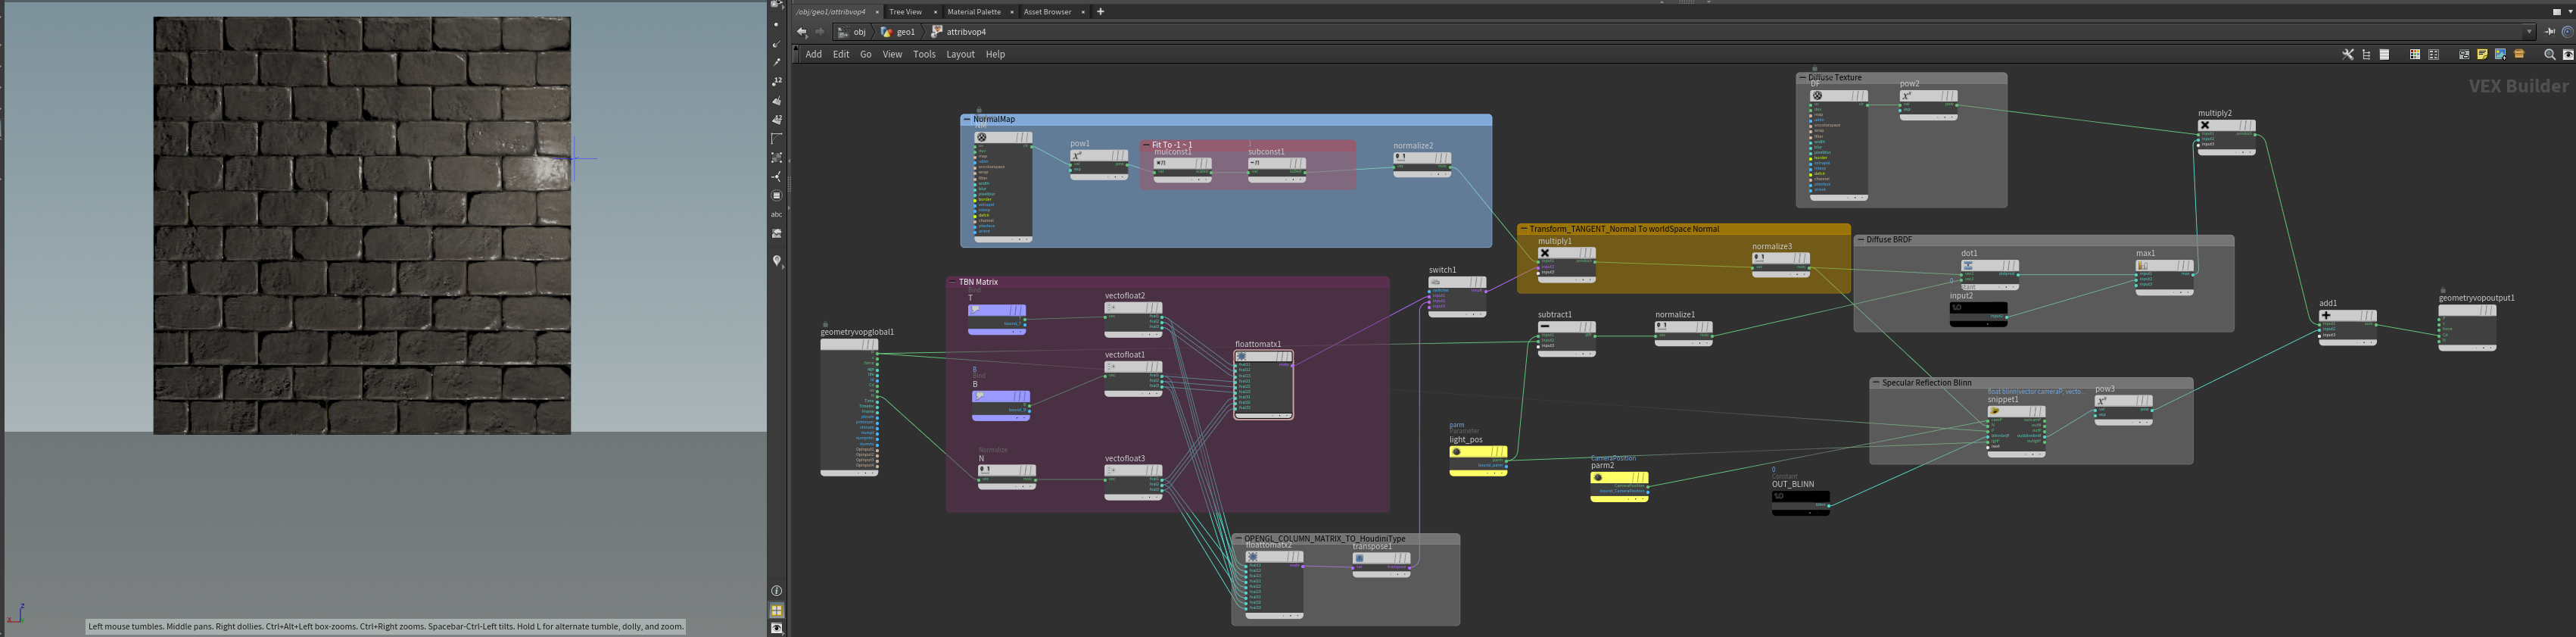


float blinn(vector cameraP; vector P; vector N; vector LgtP){
    vector wo = normalize(cameraP - P);
    vector wi = normalize(LgtP - P);
    vector nn = normalize(N);
    // cal the blinn specular
    vector h = normalize(wi + wo);
    float ndoth = max(dot(nn,h),0.0f);
    float blinn_brdf = pow(ndoth,60.0f) ;
    return blinn_brdf;
}


blinnbrdf = blinn(camP,P,N,lgtP);
所以:
1,只要把 TBN矩阵 * 法线贴图形成的vector 相当于把法线贴图转到真正的 世界空间可以直接用的法线,此时这个法线做灯光用,细节多的一批。
2,也可以直接把世界空间的向量(比如灯光向量)变换到这个法线贴图所在的 切线空间。方法就是TBN的逆矩阵 * 灯光向量,而正交矩阵的逆矩阵=正交矩阵的转置矩阵,求逆矩阵运算量太大,所以教程中也是转到转置矩阵。接下来就是正常的材质运算。