1.rest风格增删改查及druid数据源的配置及mybatis的配置
@AllArgsConstructor
@NoArgsConstructor
@Data
@Accessors(chain = true)//lombok
public class Book implements Serializable {
    private   Integer  id;
    private    String   name;
    private    Integer  price;
}
public interface BookMapper {

    @Select("select isbn id,book_name name,price from books where  isbn=#{id}")
    public Book  getBookById(Integer id);

    @Update("<script>" +
            "update books " +
                "<set>" +
                    "<if  test= "name!=null">" +
                         "book_name=trim(#{name})," +
                     "</if>" +
                    "<if  test= "price!=null">" +
                         "price=trim(#{price})," +
                    "</if>" +
                "</set>"+
            "where  isbn=#{id} </script>")
    public void updateBook(Book book);

    @Delete("delete from books where  isbn=#{id}")
    public void deleteBookById(Integer id);

    @Insert("insert into  books(isbn,book_name,price)  values(trim(#{id}),trim(#{name}),trim(#{price}))")
    @Options(useGeneratedKeys = true)
    public void insertBook(Book book);

}
@org.springframework.web.bind.annotation.RestController
public class RestController {
      @Autowired
      private BookMapper  bookMapper;

      @GetMapping("/book/{id:\d+}")
      public Book get(@PathVariable Integer id){
            return  bookMapper.getBookById(id);
      }

      @PutMapping("/book")
      public Book  put(Book  book){
            bookMapper.updateBook(book);
            Book bookNew = bookMapper.getBookById(book.getId());
            return  bookNew;
      }

      @DeleteMapping("/book/{id:\d+}")
      public String   post(@PathVariable Integer id){
            bookMapper.deleteBookById(id);
            return   id+"删除成功";
      }

      @PostMapping("/book")
      public Book  post(Book  book){
            bookMapper.insertBook(book);
          Book bookNew = bookMapper.getBookById(book.getId());
          return  bookNew;
      }
}
@Configuration
@ComponentScan(value = "springmvc.demo")
@MapperScan("springmvc.demo.dao")
public class MVCConfig  {

}
@Configuration
public class MVCConfigBean {
    @ConfigurationProperties(prefix ="spring.datasource")
    @Bean
    public DataSource  getDataSource(){
        return new DruidDataSource();
    }


    //配置druid监控页面
    @Bean
    //添加servlet
    public ServletRegistrationBean   statViewServlet(){
        ServletRegistrationBean<StatViewServlet> servlet = new ServletRegistrationBean<>(new StatViewServlet(), "/druid/*");
        HashMap<String, String> map = new HashMap<>();
        map.put("loginUsername", "admin");//账户
        map.put("loginPassword", "123456");//密码
        map.put("allow", "");//允许所以用户登录,默认允许所有用户登录
        map.put("deny", "");//拒绝用户登录,可以是ip地址等
        servlet.setInitParameters(map);
        return  servlet;
    }

    @Bean
    //添加过滤器
    public  FilterRegistrationBean  webStatFilter(){//假如拦截所有那么与标注@component注解作用一样,其他的也是
        FilterRegistrationBean<Filter> filter = new FilterRegistrationBean<>();
        filter.setFilter(new WebStatFilter());
        HashMap<String, String> map = new HashMap<>();
        map.put("exclusions", "*.js,*.css,*/druid/*,*.gif,*.jpg,*.png,*.ico");
        filter.setInitParameters(map);
        filter.setUrlPatterns(Arrays.asList("/*"));
        return filter;
    }

    //添加配置mybatis的配置
    @Bean
    public  ConfigurationCustomizer  configurationCustomizer(){
        ConfigurationCustomizer configurationCustomizer = x->{
            //设置驼峰命名法
            x.setMapUnderscoreToCamelCase(true);
        };
        return configurationCustomizer;
    }
}
#编码处理
spring.http.encoding.charset=UTF-8
spring.http.encoding.force=true
spring.http.encoding.enabled=true
server.tomcat.uri-encoding=UTF-8

#日志
logging.level.springmvc.demo.mvcdemo=debug

#与mysql数据库连接
spring.datasource.driver-class-name=com.mysql.jdbc.Driver
spring.datasource.url=jdbc:mysql://localhost:3306/book?useUnicode=true&characterEncoding=utf-8&serverTimezone=GMT%2B8&useSSL=false&verifyServerCertificate=false
spring.datasource.username=root
spring.datasource.password=cgz12345678

#使用druid连接池
spring.datasource.type=com.alibaba.druid.pool.DruidDataSource

#druid连接池连接池参数配置
#初始化时建立物理连接的个数。初始化发生在显示调用init方法,或者第一次getConnection时
spring.datasource.initialSize=5
#最大连接池数量
spring.datasource.maxActive=10
#获取连接时最大等待时间
spring.datasource.maxWait=3000
#最小连接池数量
spring.datasource.minIdle=3

# 配置间隔多久才进行一次检测,检测需要关闭的空闲连接,单位是毫秒
spring.datasource.timeBetweenEvictionRunsMillis=60000
# 配置一个连接在池中最小生存的时间,单位是毫秒
spring.datasource.minEvictableIdleTimeMillis=300000
#验证数据库连接的有效性
spring.datasource.validationQuery=SELECT 1 FROM DUAL
spring.datasource.testWhileIdle=true
spring.datasource.testOnBorrow=false
spring.datasource.testOnReturn=false
spring.datasource.poolPreparedStatements=true
spring.datasource.maxPoolPreparedStatementPerConnectionSize=20
#stat功能(监控)、wall功能(sql防火墙)、logback功能(监控日志输出),需要配置添加相应的配置文件否则会报错
spring.datasource.filters=stat,wall,logback

# 通过connectProperties属性来打开mergeSql功能;慢SQL记录
spring.datasource.connectionProperties=druid.stat.mergeSql=true;druid.stat.slowSqlMillis=5000
@RunWith(SpringRunner.class)
@SpringBootTest
public class MvcDemoApplicationTests {
    @Autowired
    WebApplicationContext context;

    MockMvc mockMvc;

    Logger  logger;
    @Before
    public void init() {
        mockMvc = MockMvcBuilders.webAppContextSetup(context).build();
        logger=LoggerFactory.getLogger(MvcDemoApplicationTests.class);
    }

    @Test
    public void testGet() throws Exception {
        String contentAsString = mockMvc.perform(MockMvcRequestBuilders.get("/book/1001")
                .contentType(MediaType.APPLICATION_JSON_UTF8)).andReturn()
                .getResponse().getContentAsString();
        logger.debug(contentAsString);
        System.out.println(contentAsString);
    }

    @Test
    public void testInsert() throws Exception {
        String contentAsString = mockMvc.perform(MockMvcRequestBuilders.post("/book")
                .param("name", "     dokcer  ")
                .param("price", "150")
                .contentType(MediaType.APPLICATION_JSON_UTF8))
                .andReturn().getResponse().getContentAsString();
        System.out.println(contentAsString);
    }

    @Test
    public  void   testDelete() throws Exception {
        String contentAsString = mockMvc.perform(MockMvcRequestBuilders.delete("/book/1003")
                .contentType(MediaType.APPLICATION_JSON_UTF8)).andReturn()
                .getResponse().getContentAsString();
        System.out.println(contentAsString);
    }

    @Test
    public  void  testUpdate() throws Exception {
        String contentAsString = mockMvc.perform(MockMvcRequestBuilders.put("/book")
                .param("id","1009")
                .param("price", "1500")
                .contentType(MediaType.APPLICATION_JSON_UTF8))
                .andReturn().getResponse().getContentAsString();
        System.out.println(contentAsString);
    }
}
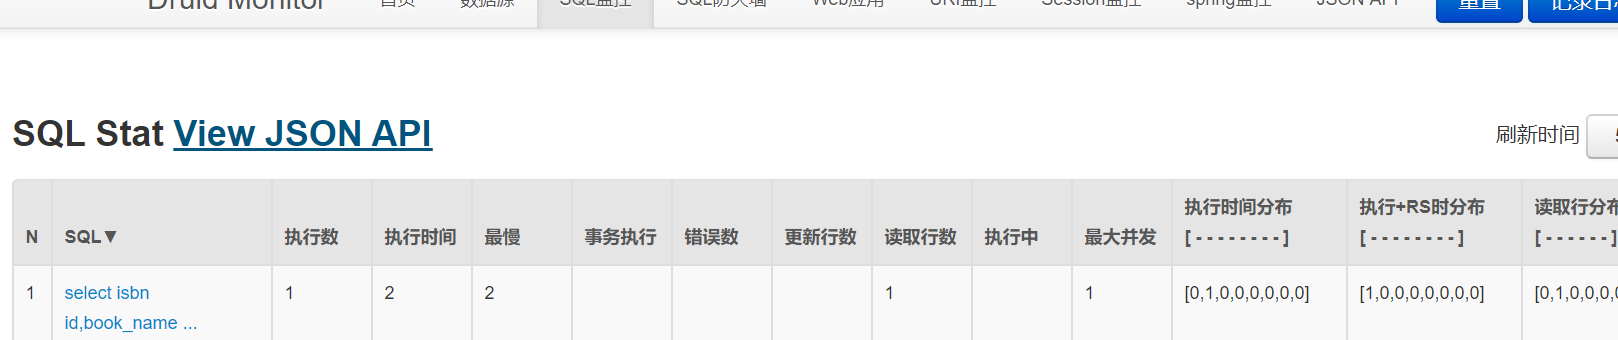
检查数据源是否配置成功

druid监控页面
2.@Pathvariable注解
2.1配置正则实例
@AllArgsConstructor
@NoArgsConstructor
@Data
@Accessors(chain = true)  //lombok
public class User implements Serializable {
    private  String  name;
}
@RestController //responsebody +controller
public class UserController {
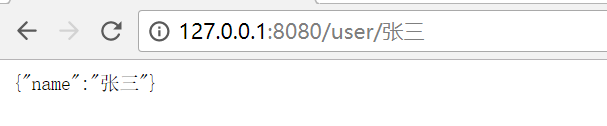
@GetMapping("/user/{name:.*}")
public User testUser(@PathVariable(required = false,value = "name") User user){
System.out.println(user.getClass());
return user;
}
}
@SpringBootApplication
public class MvcDemoApplication  {

    public static void main(String[] args) {
        SpringApplication.run(MvcDemoApplication.class, args);
    }
}
@Configuration
@ComponentScan(value = "springmvc.demo")//扫描包
public class MVCConfig  {

}
spring.http.encoding.charset=UTF-8
spring.http.encoding.force=true
spring.http.encoding.enabled=true
server.tomcat.uri-encoding=UTF-8
3.@valid与@Validated
@valid与@Validated的区别,@Validated是spring中的,是在@valid基础上而来的,在@valid的基础上增加分组功能,这里就直接说@Validated,没有加分组都需要认证,加了分组只有符合分组的才需要认证,一般不使用分组
3.1基本使用
@AllArgsConstructor
@NoArgsConstructor
@Data
@Accessors(chain = true)
public class User implements Serializable {
    @NotNull(message="不能为空")//含有属性groups
    private  String  name;
}
@RestController
public class UserController {
    @GetMapping("/user")
    public User  testUser(@Validated User user, BindingResult  result){
        result.getAllErrors().stream().forEach((x)->{
            System.out.println(x.getObjectName()+":"+x.getDefaultMessage());
        });
        return  user;
    }
}
输出结果:user:不能为空
备注:假如没有BindingResult result,那么在进入testUser之前就会被拦截,message="不能为空"并没有什么作用,加入BindingResult result之后,才会进入testUser方法,在没有进入方法时的异常页面见后该篇4
3.2自定义符合valid的注解
这里定义的是@NoNull注解
//会自动加载,不需要其他的配置
public class MyValidAnnotation implements ConstraintValidator<MyNotNull,Object> {
    /*
    obj:需要验证的参数
     */
    @Override
    public boolean isValid(Object obj, ConstraintValidatorContext constraintValidatorContext) {
        System.out.println(obj);
        return false;
    }

    @Override
    public void initialize(MyNotNull constraintAnnotation) {

    }
}
@Target({ElementType.METHOD, ElementType.FIELD})
@Retention(RetentionPolicy.RUNTIME)
@Constraint(validatedBy =MyValidAnnotation.class )//添加在@validated的必要注解
public @interface MyNotNull {
    String message() default "{javax.validation.constraints.NotNull.message}";
    Class<?>[] groups() default {};
    Class<? extends Payload>[] payload() default {};
}
@AllArgsConstructor
@NoArgsConstructor
@Data
@Accessors(chain = true)
public class User implements Serializable {
    @MyNotNull(message="不能为空---MyNotNull")
    private  String  name;
}
@RestController
public class UserController {
    @GetMapping("/user")
    public User  testUser(@Validated User user, BindingResult  result){
        result.getAllErrors().stream().forEach((x)->{
            System.out.println(x.getObjectName()+":"+x.getDefaultMessage());
        });
        return  user;
    }
}


4.异常消息的处理
4.1验证异常消息的处理上述已经说明
4.2直接被拦截的异常处理

springboot会相应的转向我们在resources下新建的resources的error的相应的错误代码的页面
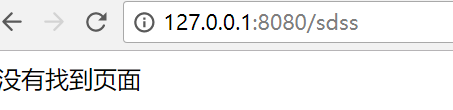
还可以是如下这样,表示以4开头的错误页面,例如

4.3运行过程中出现的异常
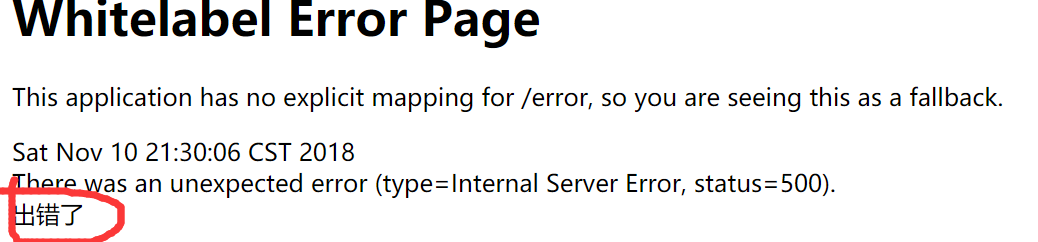
4.3.1直接抛出异常
@GetMapping("/user/error")
    public User  testUser1(@Validated User user, BindingResult  result) throws Exception {
        throw  new Exception("出错了");
    }
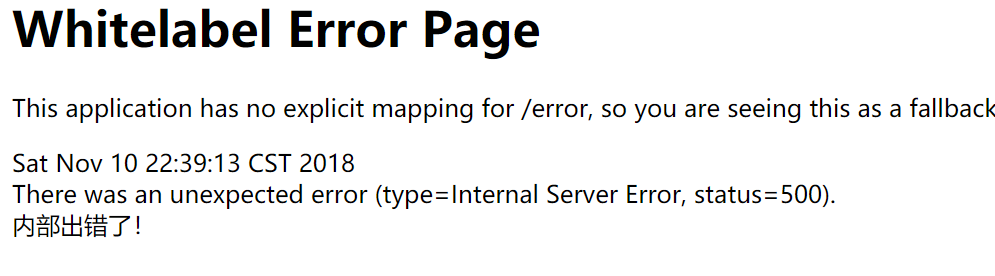
4.3.2 throw自定义异常类
@ResponseStatus(value = HttpStatus.INTERNAL_SERVER_ERROR,reason = "内部出错了!")
public class MyException extends RuntimeException {
}
 @GetMapping("/user/error")
    public User  testUser1(@Validated User user, BindingResult  result) throws Exception {
        throw  new MyException();
    }
4.3.3 使用@ExceptionHandler注解
  @ResponseBody
    @GetMapping("/testExceptionHandler")
    public User  testUser1(@Validated User user, BindingResult  result) throws Exception {
        int  i=10/0;
        return user;
    }
@ExceptionHandler({Exception.class})
    public String  testExceptionHandler(){
        return   "redirect:/error.html"; //重定向,/站点目录
    }
4.3.4 修改状态码及原因,@ResponseStatus也能在
   @ExceptionHandler({Exception.class})
    @ResponseStatus(value = HttpStatus.INTERNAL_SERVER_ERROR,reason = "内部错误")
    public void  testExceptionHandler(){
    }
备注:这样之后不会去相应的页面,也就是加入有返回值例如return "redirect:/error.html";,会失效
4.3.5@ControllerAdvice定制全局的异常,类中的@ExceptionHandler优先级高于@ControllerAdvice中的@ExceptionHandler优先级
@ControllerAdvice
public class MyExceptionHandler {
    @ExceptionHandler({Exception.class})
    @ResponseStatus(value = HttpStatus.INTERNAL_SERVER_ERROR,reason = "内部错误")
    public void  testExceptionHandler(){
    }
}
5.jsonview
@NoArgsConstructor
@AllArgsConstructor
@Data
@Accessors(chain = true)
public class User implements Serializable {
    public   interface  UserSimpleView{} ;
    public   interface  UserDetailView  extends UserSimpleView{} ;
   @JsonView(UserSimpleView.class)
    private  String username;
   @JsonView(UserDetailView.class)
    private   Integer password;
}
@RestController
public class UserController {
    @Autowired
    UserMapper userMapper;

    @GetMapping("/user/{username}")
    @JsonView(User.UserSimpleView.class)
    public  User   testGet(@PathVariable String  username){
        User user = userMapper.getUserById(username);
        return user;
    }
}

6.异步
6.1直接使用callable
@RestController
public class AsyncController {
    @Autowired
    UserMapper  userMapper;

    @GetMapping("/async/{username}")
    @JsonView(User.UserSimpleView.class)
    public  Callable<User>   get(@PathVariable  String  username){
        long id = Thread.currentThread().getId();
       long  start= Instant.now().atZone(ZoneId.of("Asia/Shanghai")).toInstant().toEpochMilli();
        Callable<User> callable = ()->{
            long id1 = Thread.currentThread().getId();
            long  start1= Instant.now().atZone(ZoneId.of("Asia/Shanghai")).toInstant().toEpochMilli();
            User user = userMapper.getUserById(username);
            long  end1= Instant.now().atZone(ZoneId.of("Asia/Shanghai")).toInstant().toEpochMilli();
            System.out.println("副线程"+id1+":"+(end1-start1));
            return  user;
        };
        long  end= Instant.now().atZone(ZoneId.of("Asia/Shanghai")).toInstant().toEpochMilli();
        System.out.println("主线程"+id+":"+(end-start));
        return  callable;
    }
}


6.2 使用DeferredResult实现异步
 @Bean("queue")
    public ConcurrentLinkedQueue<String>   concurrentLinkedQueue() throws IOException {
        ConcurrentLinkedQueue<String> queue = new ConcurrentLinkedQueue<>();
        return queue;
    }
    @Bean("map")
    public Map<String, DeferredResult<String>>   map(){
        return  new HashMap();
    }
 @Autowired
    ConcurrentLinkedQueue<String>  queue;

@Autowired
    Map  map;

 @GetMapping("/async/deferredResult")
    public Object  message(@RequestParam(required = false) String message){
        if(StringUtils.isNotBlank(message)){
            queue.add(message);
            DeferredResult<String> result = new DeferredResult<>();
            map.put(message, result);
            return result;
        }
        return "输入格式不正确";
    }
@Component
public class QueueListener implements ApplicationListener {//启动监听器
    @Autowired
    ConcurrentLinkedQueue<String>  queue;

    @Autowired
    Map<String, DeferredResult<String>> map;
    @Override
    public void onApplicationEvent(ApplicationEvent applicationEvent) {
        new Thread(()->{
            while (true){
                try {
                    Thread.sleep(3000);
                } catch (InterruptedException e) {
                    e.printStackTrace();
                }
                if(queue.size()>0){
                    String msg = queue.poll();
                    System.out.println(msg);
                    map.get(msg).setResult(msg);
                    map.remove(msg);
                }else {
                    try {
                        Thread.sleep(10000);
                    } catch (InterruptedException e) {
                        e.printStackTrace();
                    }
                }
            }
        }).start();
    }
}
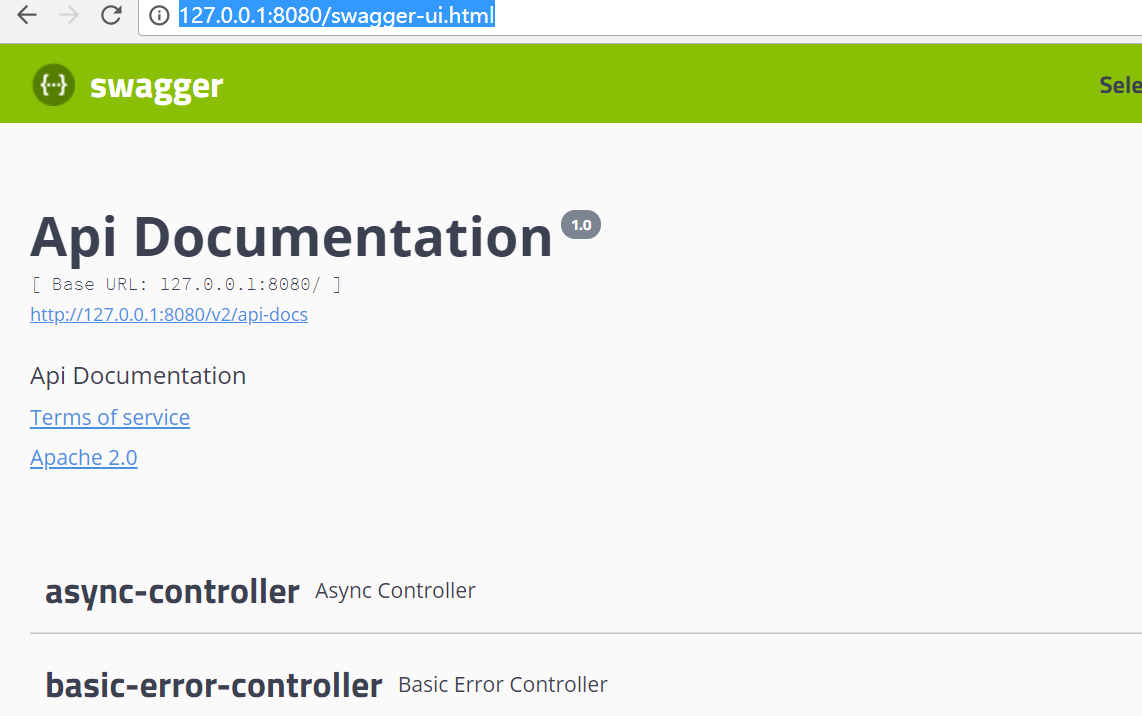
7.swagger
依赖
<dependency>
    <groupId>io.springfox</groupId>
    <artifactId>springfox-swagger-ui</artifactId>
    <version>2.9.2</version>
</dependency>

<dependency>
            <groupId>io.springfox</groupId>
            <artifactId>springfox-swagger2</artifactId>
            <version>2.9.2</version>
</dependency>
添加注解
@EnableSwagger2
public class ControllerTest {
访问页面
http://127.0.0.1:8080/swagger-ui.html
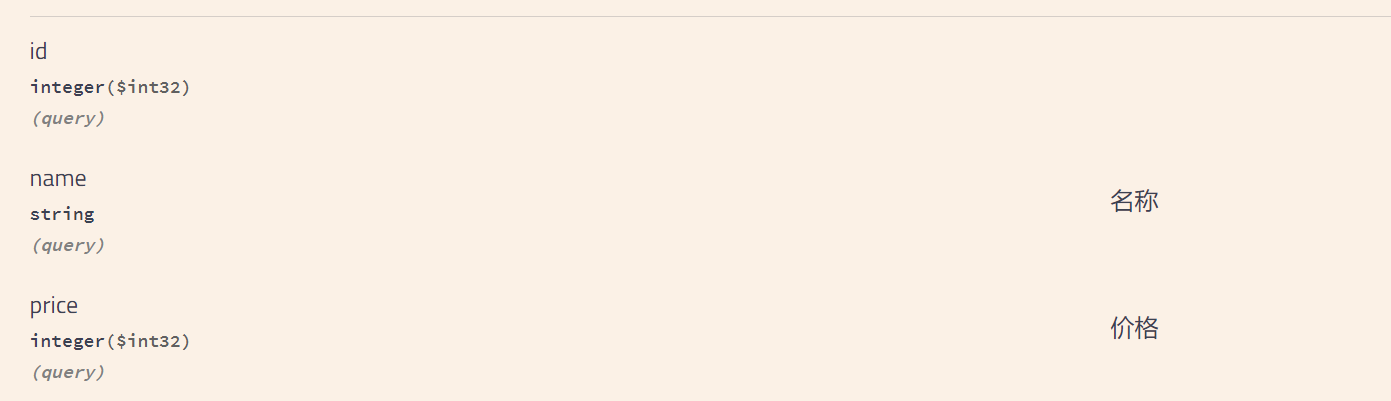
增加描述信息
public class Book implements Serializable {
    private   Integer  id;
    @ApiModelProperty("名称")
    private    String   name;
    @ApiModelProperty("价格")
    private    Integer  price;
}
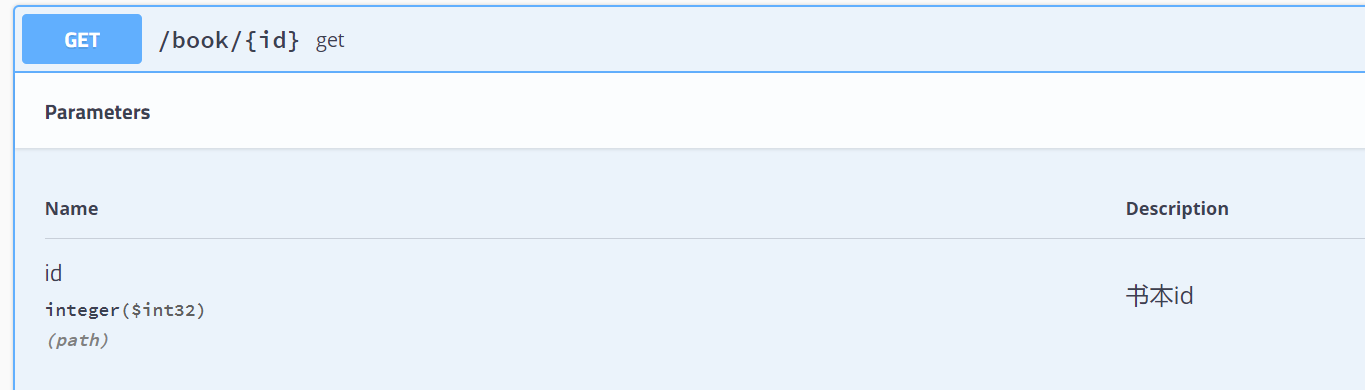
@GetMapping("/book/{id:\d+}")
      public Book get(@PathVariable @ApiParam("书本id") Integer id){
            return  bookMapper.getBookById(id);
      }
8.拦截器
8.1 HandlerInterceptor
@Component
public class MyHandlerIntercepter implements HandlerInterceptor {
    //在调用目标方法之前执行
    @Override
    public boolean preHandle(HttpServletRequest request, HttpServletResponse response, Object handler) throws Exception {

        return true;//false表示后续拦截器不在执行
    }
    //在调用目标方法之后, 但渲染视图之前,
    // 可以对请求域中的属性或视图做出修改.,出现异常不会执行该方法
    @Override
    public void postHandle(HttpServletRequest request, HttpServletResponse response, Object handler, ModelAndView modelAndView) throws Exception {
       //能获取类名,方法名,但是不能获取方法的参数
        System.out.println(((HandlerMethod)handler).getBean().getClass().getName());
        System.out.println(((HandlerMethod)handler).getMethod().getName());
    }
    //之后执行,出现异常也会执行
    @Override
    public void afterCompletion(HttpServletRequest request, HttpServletResponse response, Object handler, Exception ex) throws Exception {

    }
}
@Configuration
@ComponentScan(value = "springmvc.demo")
@MapperScan("springmvc.demo.dao")
public class MVCConfig implements WebMvcConfigurer {
    @Autowired
    MyHandlerIntercepter myHandlerIntercepter;
    @Override
    public void addInterceptors(InterceptorRegistry registry) {
        registry.addInterceptor(myHandlerIntercepter);
    }
}
8.2 AOP(拦截的增强版)
 <dependency>
            <groupId>org.springframework.boot</groupId>
            <artifactId>spring-boot-starter-aop</artifactId>
 </dependency>
@Aspect
@Component
public class MyAOP {
    @Pointcut("execution(* springmvc.demo.controller..*(*))")
    public  void pointcut(){}

    @Around("pointcut()")
    public  Object before(ProceedingJoinPoint joinPoint)  {
        try {
            Object[] args = joinPoint.getArgs();
            Arrays.stream(args).forEach(System.out::println);
            Object proceed = joinPoint.proceed();//相当于拦截器的dochain方法,否则不会执行下去
            return proceed;//返回结果后才会有值
        } catch (Throwable throwable) {
            return throwable.getMessage();
        }
    }
}