接着上文[js高手之路] html5 canvas系列教程 - 文本样式(strokeText,fillText,measureText,textAlign,textBaseline)继续,本文介绍的内容是canvas开发,特别是游戏中,比较常用的内容:图片处理。在游戏中的资源大多数都是加载图片.
一、canvas怎么加载图片?
canvas提供3种图片加载的API调用方式.
drawImage( image, dx, dy )
drawImage( image, dx, dy, dw, dh )
drawImage( image, sx, sy, sw, sh, dx, dy, dw, dh )
image:就是图片对象, 这个图片对象可以是动态创建出来的,也可以是页面上已经存在的图片元素
dx, dy: 就是图片需要加载到canvas上的坐标位置
dw,dh:如果加载之后的图片尺寸不对,可以通过这两个参数,调整宽度与高度
sx,sy,sw,sh: s就是source的意思,这四个参数是第三种调用方式特有的, 第三种调用方式就是允许裁剪图片的某部分,然后在加载到canvas画布上.
1,动态创建图片
 1 <meta charset='utf-8' />
 2 <style>
 3 #canvas{
 4     border:1px dashed #aaa;
 5 }
 6 </style>
 7 <script>
 8 window.onload = function(){
 9     var oCanvas = document.querySelector( "#canvas" ),
10         oGc = oCanvas.getContext( '2d' );
11
12     var oImg = new Image();
13     oImg.src = './img/mv.jpg';
14     oImg.onload = function(){
15         oGc.drawImage( oImg, 100, 100 );
16     }
17 }
18 </script>
19 </head>
20 <body>
21 <canvas id="canvas" width="500" height="400"></canvas>
22 </body>

对于动态创建的图片对象,一定要用onload把这张图片加载完成之后,才能渲染在canvas上,否则是不会渲染的.
2,把页面上已经存在的图片加载进来
 1 <meta charset='utf-8' />
 2 <style>
 3 #canvas{
 4     border:1px dashed #aaa;
 5 }
 6 </style>
 7 <script>
 8 window.onload = function(){
 9     var oCanvas = document.querySelector( "#canvas" ),
10         oGc = oCanvas.getContext( '2d' ),
11         oImg = document.querySelector( "img" );
12         oGc.drawImage( oImg, 100, 100 );
13 }
14 </script>
15 </head>
16 <body>
17 <canvas id="canvas" width="500" height="400"></canvas>
18 <img src="./img/mv.jpg" alt="">
19 </body>
页面上已经存在的图片,是不需要加载的,因为他已经加载出来了,用选择器直接获取就可以加载到canvas中.
3,调整图片大小
1     var oCanvas = document.querySelector( "#canvas" ),
2         oGc = oCanvas.getContext( '2d' ),
3         oImg = document.querySelector( "img" );
4         oGc.drawImage( oImg, 100, 100, 100, 100 );
这张图片的原始尺寸是200x200,加载到canvas中,把他调整成100x100
如果是动态创建的图片,也没有问题
1     var oCanvas = document.querySelector( "#canvas" ),
2         oGc = oCanvas.getContext( '2d' );
3
4     var oImg = new Image();
5     oImg.src = './img/mv.jpg';
6     oImg.onload = function(){
7         oGc.drawImage( oImg, 100, 100, 100, 100 );
8     }
4,裁剪某部分图片,再渲染到canvas上面
 1 <meta charset='utf-8' />
 2 <style>
 3 #canvas{
 4     border:1px dashed #aaa;
 5 }
 6 </style>
 7 <script>
 8 window.onload = function(){
 9     var oCanvas = document.querySelector( "#canvas" ),
10         oGc = oCanvas.getContext( '2d' );
11
12     var oImg = new Image();
13     oImg.src = './img/mv.jpg';
14     oImg.onload = function(){
15         oGc.drawImage( oImg, 20, 20, 100, 100, 100, 100, 100, 100 );
16     }
17 }
18 </script>
19 </head>
20 <body>
21 <canvas id="canvas" width="500" height="400"></canvas>
22 </body>
从原图的20, 20这个位置,裁剪出100 x 100这个区域,再渲染到canvas.
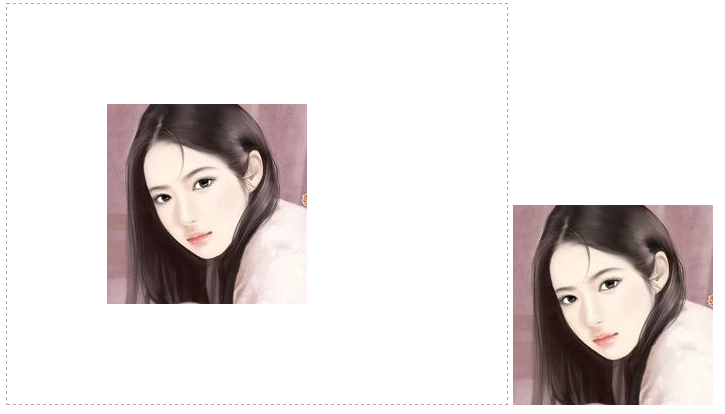
二、图片的平铺
css的background有平铺样式background-repeat,他有4个值( no-repeat【不平铺】, repeat-x【水平平铺】,repeat-y【垂直平铺】,repeat【水平和垂直两个方向都平铺】)。
canvas跟这个是类似的,用法:
var pattern = cxt.createPattern( image, type )
cxt.fillStyle = pattern
cxt.fillRect()
image就是图片对象,type就是平铺样式( no-repeat, repeat-x, repeat-y, repeat ).
fillStyle可以给它赋3种值:颜色、图案、渐变色。颜色在之前已经使用过很多次了.
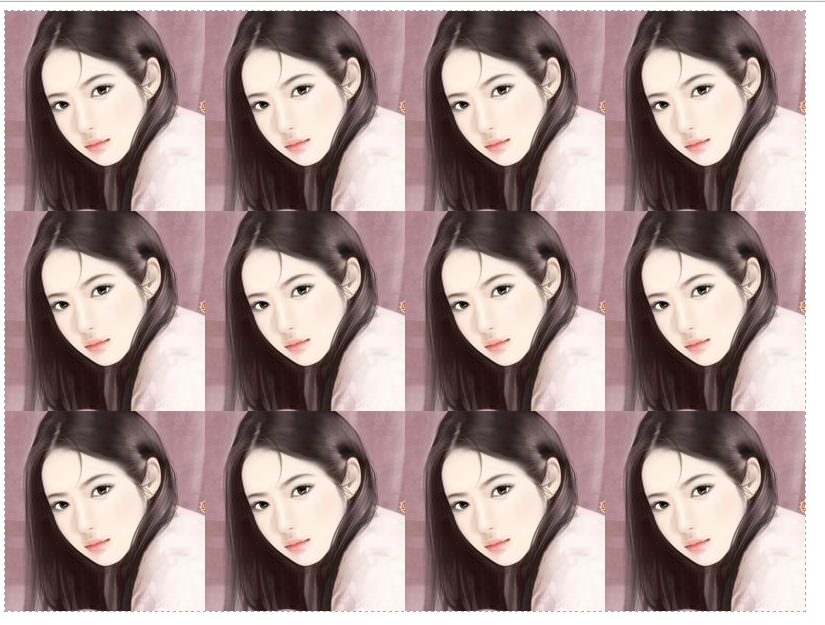
 1 <meta charset='utf-8' />
 2 <style>
 3 #canvas{
 4     border:1px dashed #aaa;
 5 }
 6 </style>
 7 <script>
 8 window.onload = function(){
 9     var oCanvas = document.querySelector( "#canvas" ),
10         oGc = oCanvas.getContext( '2d' ),
11         width = oCanvas.width, height = oCanvas.height;
12
13     var oImg = new Image();
14     oImg.src = './img/mv.jpg';
15     oImg.onload = function(){
16         var pattern = oGc.createPattern( oImg, 'repeat' );
17         oGc.fillStyle = pattern;
18         oGc.fillRect( 0, 0, width, height );
19     }
20 }
21 </script>
22 </head>
23 <body>
24 <canvas id="canvas" width="800" height="600"></canvas>
25 </body>
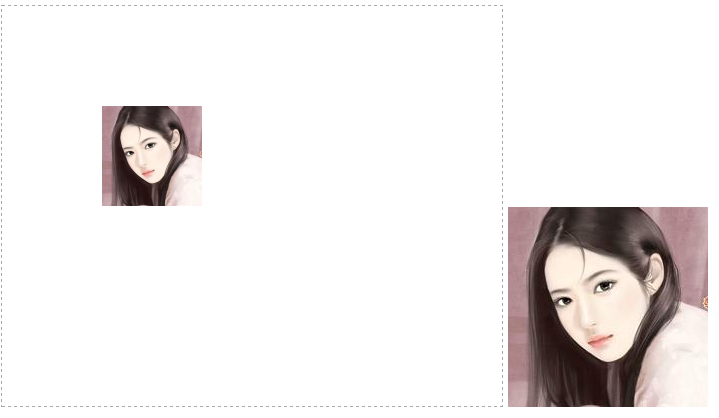
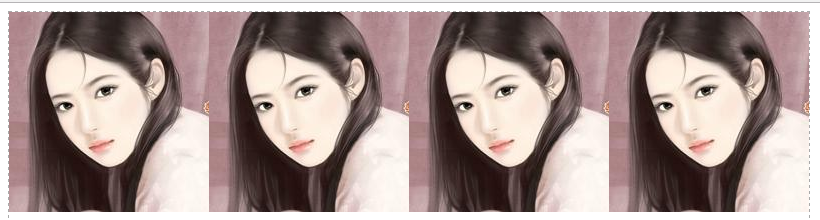
repeat-x:
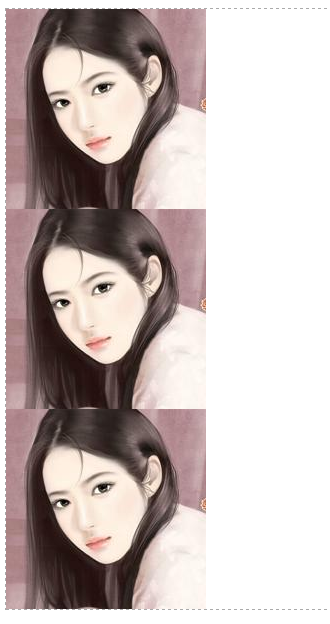
repeat-y
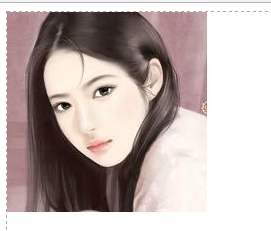
no-repeat:
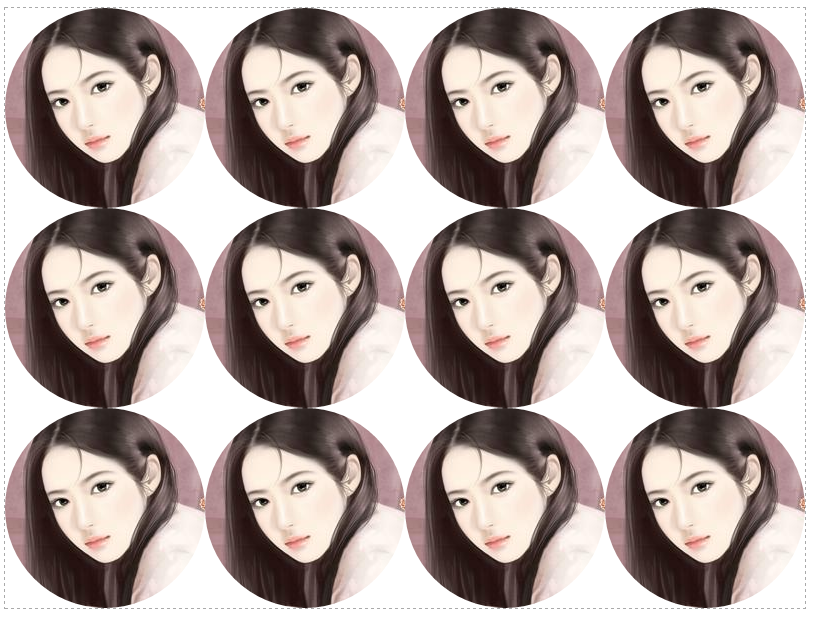
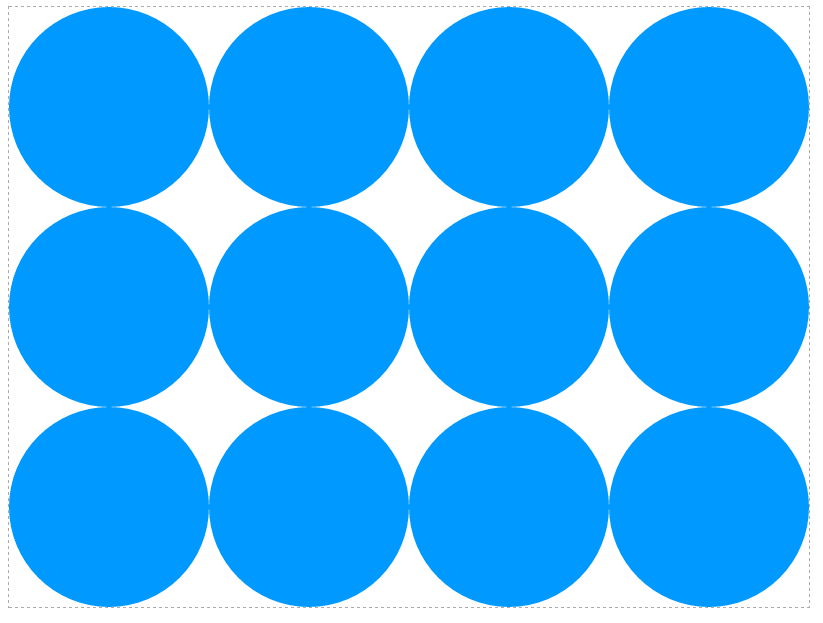
用canvas填充canvas:
创建一个新的canvas,200,height:200, 然后再创建一个原心100, 100,半径100的圆,用这个圆作为填充样式填充到canvas.
 1 <meta charset='utf-8' />
 2 <style>
 3 #canvas{
 4     border:1px dashed #aaa;
 5 }
 6 </style>
 7 <script>
 8 window.onload = function(){
 9     var oCanvas = document.querySelector( "#canvas" ),
10         oGc = oCanvas.getContext( '2d' ),
11         width = oCanvas.width, height = oCanvas.height;
12
13     var oNewCanvas = document.createElement( "canvas" );
14         oNewCanvas.width = 200,
15         oNewCanvas.height = 200,
16         oNewGc = oNewCanvas.getContext( '2d' );
17         oNewGc.beginPath();
18         oNewGc.fillStyle = '#09f';
19         oNewGc.arc( 100, 100, 100, 0, 360 * Math.PI / 180, false );
20         oNewGc.closePath();
21         oNewGc.fill();
22
23         var pattern = oGc.createPattern( oNewCanvas, 'repeat' );
24         oGc.fillStyle = pattern;
25         oGc.fillRect( 0, 0, width, height );
26 }
27 </script>
28 </head>
29 <body>
30 <canvas id="canvas" width="800" height="600"></canvas>
31 </body>
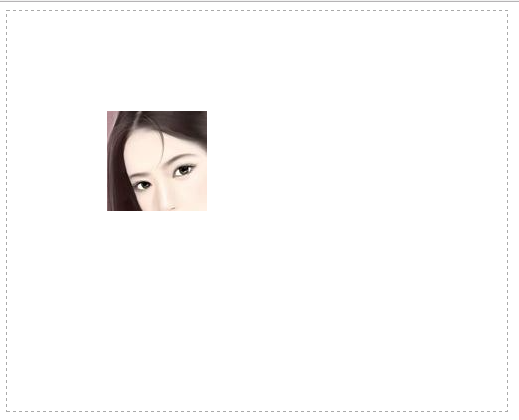
三、切割图片clip
用法:
cxt.clip()
步骤:
1,绘制剪切区域
2,调用裁剪方法clip
3,加载被剪切的素材(图片或者图形等)
 1 <meta charset='utf-8' />
 2 <style>
 3 #canvas{
 4     border:1px dashed #aaa;
 5 }
 6 </style>
 7 <script>
 8 window.onload = function(){
 9     var oCanvas = document.querySelector( "#canvas" ),
10         oGc = oCanvas.getContext( '2d' ),
11         width = oCanvas.width, height = oCanvas.height;
12
13     oGc.beginPath();
14     oGc.arc( 200, 200, 100, 0, 360 * Math.PI / 180, false );
15     oGc.closePath();
16
17     oGc.clip();
18
19     var oImg = new Image();
20     oImg.src = './img/mv.jpg';
21     oImg.onload = function(){
22         oGc.drawImage( oImg, 100, 100 );
23     }
24 }
25 </script>
26 </head>
27 <body>
28 <canvas id="canvas" width="800" height="600"></canvas>
29 </body>
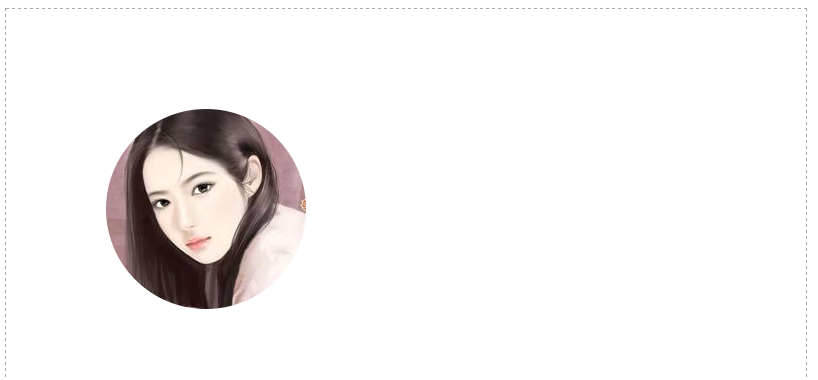
裁剪的区域坐标还是相对canvas.
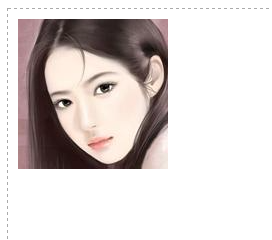
矩形裁剪:
 1 <meta charset='utf-8' />
 2 <style>
 3 #canvas{
 4     border:1px dashed #aaa;
 5 }
 6 </style>
 7 <script>
 8 window.onload = function(){
 9     var oCanvas = document.querySelector( "#canvas" ),
10         oGc = oCanvas.getContext( '2d' ),
11         width = oCanvas.width, height = oCanvas.height;
12
13     oGc.beginPath();
14     oGc.rect( 10, 10, 150, 150 )
15     oGc.closePath();
16
17     oGc.clip();
18
19     var oImg = new Image();
20     oImg.src = './img/mv.jpg';
21     oImg.onload = function(){
22         oGc.drawImage( oImg, 0, 0 );
23     }
24 }
25 </script>
26 </head>
27 <body>
28 <canvas id="canvas" width="800" height="600"></canvas>
29 </body>
用canvas裁剪的图案,填充canvas
 1 <meta charset='utf-8' />
 2 <style>
 3     #canvas {
 4         border: 1px dashed #aaa;
 5     }
 6 </style>
 7 <script>
 8     window.onload = function () {
 9         var oCanvas = document.querySelector("#canvas"),
10             oGc = oCanvas.getContext('2d'),
11             width = oCanvas.width, height = oCanvas.height;
12
13         var oNewCanvas = document.createElement( "canvas" );
14             oNewCanvas.width = 200,
15             oNewCanvas.height = 200,
16             oNewGc = oNewCanvas.getContext( '2d' );
17
18         oNewGc.beginPath();
19         oNewGc.arc(100, 100, 100, 0, 360 * Math.PI / 180, false);
20         oNewGc.closePath();
21
22         oNewGc.clip();
23
24         var oImg = new Image();
25         oImg.src = './img/mv.jpg';
26         oImg.onload = function () { //这个一个异步加载,一定要把填充放在图片完成之后额
27             oNewGc.drawImage(oImg, 0, 0);
28             var pattern = oGc.createPattern( oNewCanvas, 'repeat' );
29             oGc.fillStyle = pattern;
30             oGc.fillRect( 0, 0, width, height );
31         }
32     }
33
34 </script>
35 </head>
36
37 <body>
38     <canvas id="canvas" width="800" height="600"></canvas>
39 </body>