MVVM模式开发WinForm-ReactiveUI
本文链接:https://blog.csdn.net/wang_j90/article/details/80469750
一、引言
谈到MVVM设计模式,首先让人想到的是WPF。没错,MVVM的概念是微软在2005年提出的,并首次将其应用到WPF中。最近非常火的Vue.js也是使用了MVVM的设计模式。MVVM设计模式的核心部分是DataBinding机制。
顾名思义,其功能就是将Model的数据绑定到View层,并且将View层控件的变换绑定到Model的双向绑定。
MVVM的优点是业务逻辑层不用关注View,只专注对Model的处理,开发效率提升很大。
二、背景
最近公司在开发一套管理系统的桌面客户端程序,由于各种原因,最终选型使用WinForm进行开发。由于好几年没有再接触过WinForm了,起初一段时间非常的不适应,开发效率极低,不仅要考虑不同分辨率的适应情况(这里稍微吐槽一下:WinForm本身就难以处理不同分辨率的自适应),同时还要处理数据的显示及提交。
既然要提升开发效率,我们先从设计模式下手。今天要为大家带来的是ReactiveUI。
ReactiveUI是实现了MVVM模式的框架,它的核心目标是可以在ViewModel中相关属性发生变化时可以可执行相应的命令。ReactiveUI支持Xamarin、WPF、WinForm、Windows Phone、UWP。这里我们选择WinForm对应的版本ReactiveUI.WinForms。
三、示例
下面为大家带来ReactiveUI.WinForms的一个简单的示例,来一起认识ReactiveUI.WinForms。
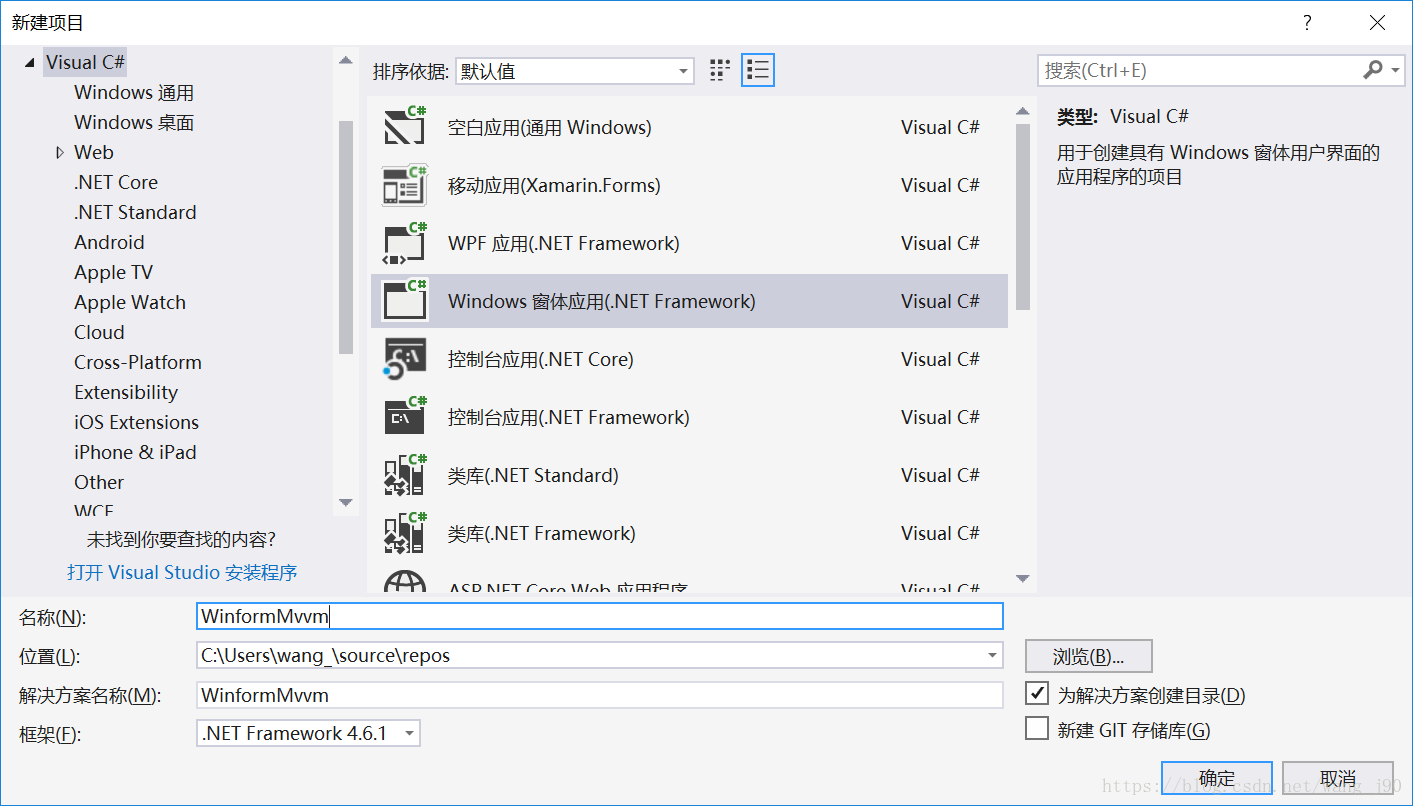
1、创建WinForm项目
打开vs,我们创建一个WinForm的项目:
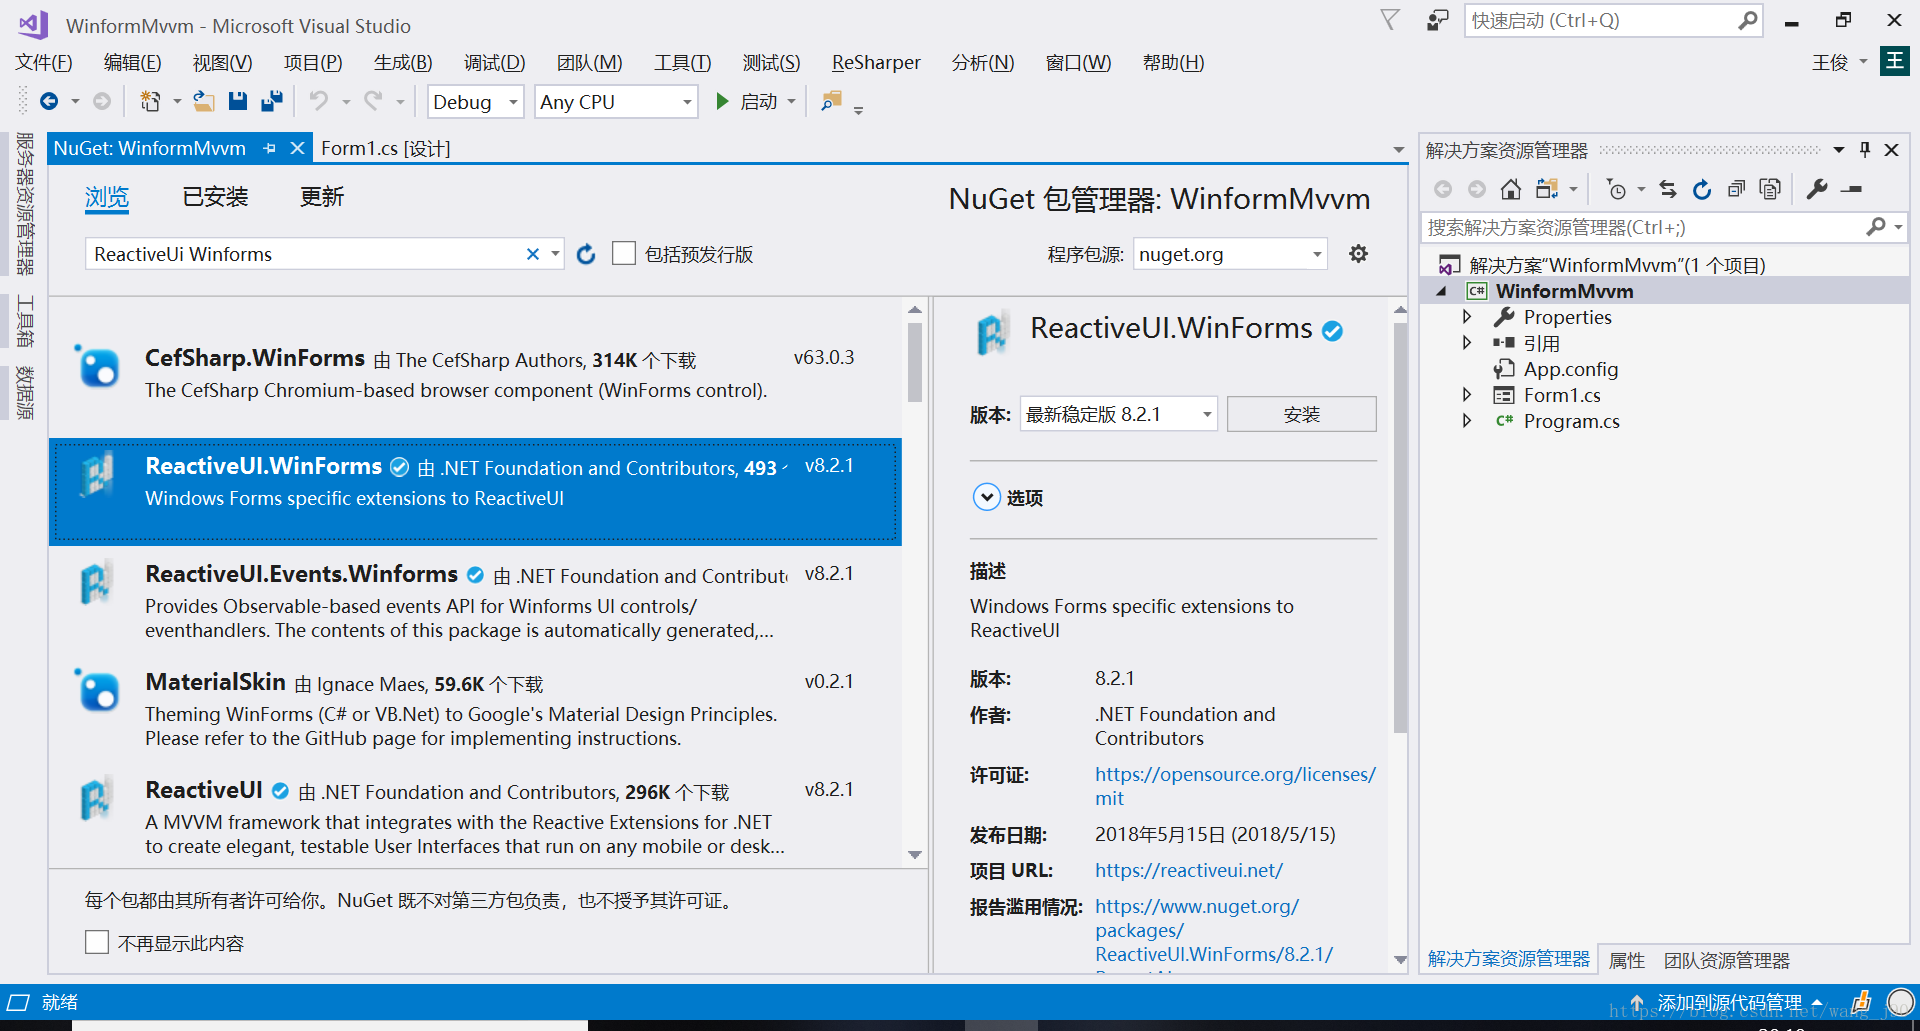
2、安装ReactiveUI.WinForms
项目创建完成后,鼠标右键单击当前项目,选择“管理NuGet程序包”,在打开的窗口中选择“浏览”,并搜索ReactiveUI.WinForms进行安装
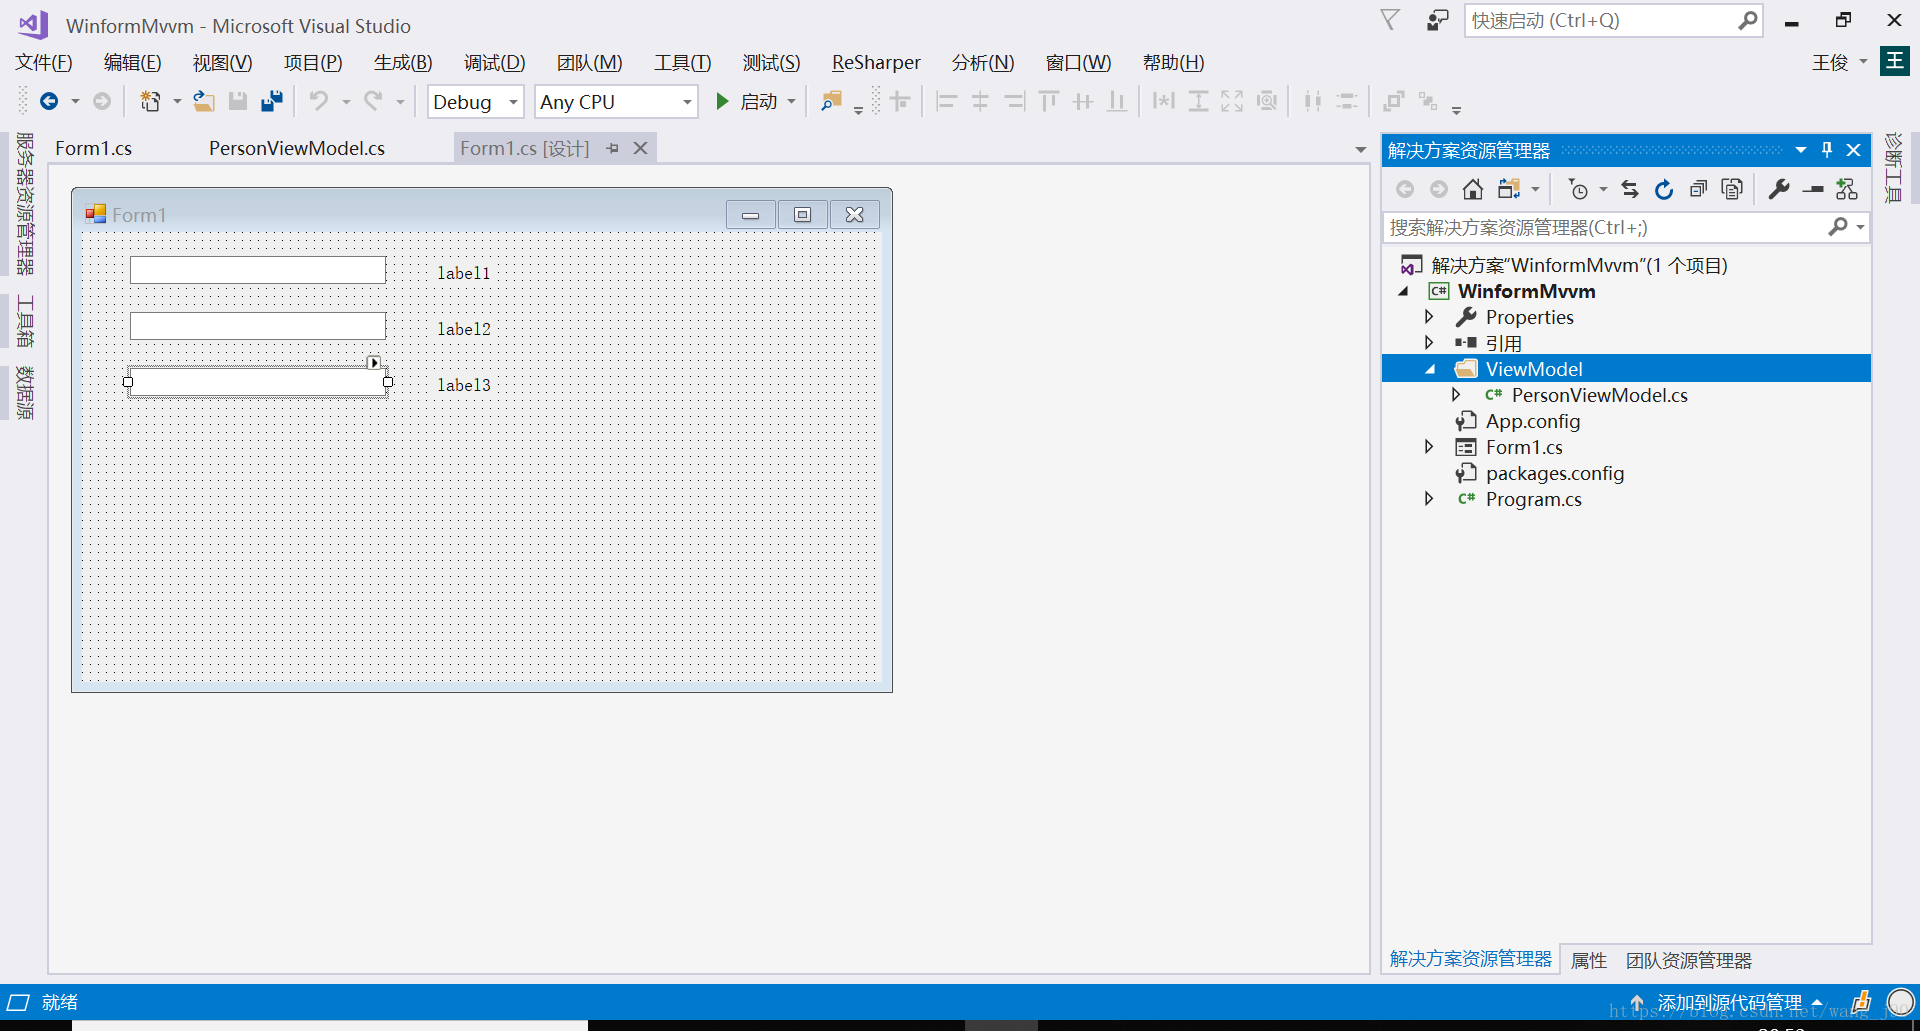
3、创建ViewModel
在项目目录下新建文件夹ViewModel,并在文件夹下新建一个PersonViewModel类,写入如下代码:
using ReactiveUI;

namespace WinformMvvm.ViewModel
{
    //ViewModel需要继承自ReactiveObject
    public class PersonViewModel : ReactiveObject
    {
        private int _id;
        private string _name;
        private int _age;

        public PersonViewModel()
        {
            Id = 1;
            Name = "张三";
            Age = 18;
        }

        public int Id
        {
            get => _id;
            set => this.RaiseAndSetIfChanged(ref _id, value);
        }

        public string Name
        {
            get => _name;
            set => this.RaiseAndSetIfChanged(ref _name, value);
        }

        public int Age
        {
            get => _age;
            set => this.RaiseAndSetIfChanged(ref _age, value);
        }
    }
}
- 注意:ViewModel类需要继承自ReactiveObject
4、给窗体拖入相应的控件并修改相关代码
在项目默认的Form1窗体上拖入3个textbox和3个label控件
右键单击Form1窗体,选择“查看代码”,进入代码窗口,写入如下代码:
using ReactiveUI;
using System.Windows.Forms;
using WinformMvvm.ViewModel;

namespace WinformMvvm
{
    //视图窗体需要实现IViewFor接口,并以需要绑定的ViewModel类(本例中的ViewModel是PersonViewModel)作为泛型传入接口
    public partial class Form1 : Form, IViewFor<PersonViewModel>
    {
        public Form1()
        {
            InitializeComponent();
            this.WhenActivated(a =>
            {
                a(this.Bind(ViewModel, vm => vm.Id, v => v.textBox1.Text));
                a(this.Bind(ViewModel, vm => vm.Name, v => v.textBox2.Text));
                a(this.Bind(ViewModel, vm => vm.Age, v => v.textBox3.Text));
                a(this.OneWayBind(ViewModel, vm => vm.Id, v => v.label1.Text));
                a(this.OneWayBind(ViewModel, vm => vm.Name, v => v.label2.Text));
                a(this.OneWayBind(ViewModel, vm => vm.Age, v => v.label3.Text));
            });
            ViewModel = new PersonViewModel();
        }

        object IViewFor.ViewModel
        {
            get => ViewModel;
            set => ViewModel = (PersonViewModel)value;
        }

        public PersonViewModel ViewModel { get; set; }
    }
}
- 注意:视图窗体需要实现IViewFor接口,并以需要绑定的ViewModel类(本例中的ViewModel是PersonViewModel)作为泛型传入接口
-
Form1构造函数中WhenActivated里的代码即为绑定相关。this.Bind表示双向绑定,this.OneWayBind表示单向绑定。3个textBox分别双向绑定ViewModel对应的属性字段用作显示及输入更新,3个label分别单向绑定ViewModel对应的属性字段用做显示。
下图即为整个示例项目的结构:
5、运行项目
至此,项目的编码已经完成,我们来运行当前项目,查看效果。 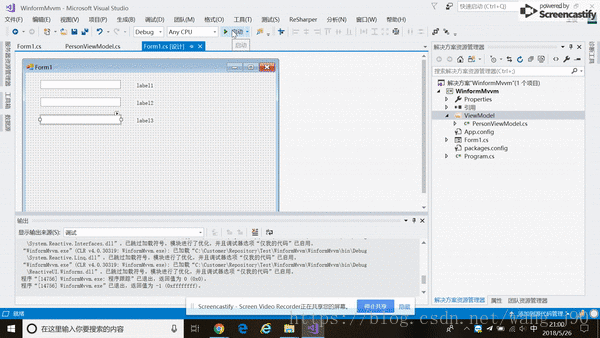
可以看到,由于ReactiveUI中MVVM的实现,我们在修改textBox中的内容时,ViewModel中相应的属性也会跟着改变,并将改变反应在textBox和label中。
四、总结
以上便是运用ReactiveUI框架使用MVVM模式开发WinForm的一个简单示例。希望本文能为想要在WinForm下使用MVVM模式进行开发的童鞋们提供帮助。