前言
前面我们说了linux下安装python3,hrun是需要依赖数据库,我们用docker进行安装mysql5.7让数据库能正常连接。安装mysql5.7请参考:https://www.cnblogs.com/gsxl/p/11747493.html
一、准备工作
- 已安装python3和pip3环境、mysql5.7(如果未完成上述,继续加油哈);
- 将hrun项目包上传至服务器家目录下(自定):httprunnermanger_web.zip
hrun包可在此链接下载:链接:https://pan.baidu.com/s/1OdwP-ngV-nenzZbMMLcTSQ
提取码:oxlx
二、开始部署hrun项目
1、首先安装压缩zip的软件(我这里已经安装过了),输入:yum install -y unzip zip
[root@iZbp19lugf22zbsubsf1y6Z ~]# yum install -y unzip zip
Loaded plugins: fastestmirror
Determining fastest mirrors
base | 3.6 kB 00:00:00
docker-ce-stable | 3.5 kB 00:00:00
epel | 5.4 kB 00:00:00
extras | 2.9 kB 00:00:00
updates | 2.9 kB 00:00:00
(1/3): epel/x86_64/updateinfo | 1.0 MB 00:00:00
(2/3): updates/7/x86_64/primary_db | 2.8 MB 00:00:00
(3/3): epel/x86_64/primary_db | 6.9 MB 00:00:00
Package unzip-6.0-20.el7.x86_64 already installed and latest version
Package zip-3.0-11.el7.x86_64 already installed and latest version
Nothing to do
2、进入文件目录,进行解压httprunnermanger_web.zip文件,输入:unzip httprunnermanger_web.zip
[root@iZbp19lugf22zbsubsf1y6Z home]# pwd
/home
[root@iZbp19lugf22zbsubsf1y6Z home]# unzip httprunnermanger_web.zip
Archive: httprunnermanger_web.zip
creating: httprunnermanger_web/
inflating: httprunnermanger_web/.gitattributes
inflating: httprunnermanger_web/.gitignore
creating: httprunnermanger_web/.idea/
inflating: httprunnermanger_web/.idea/encodings.xml
inflating: httprunnermanger_web/.idea/misc.xml
inflating: httprunnermanger_web/.idea/modules.xml
inflating: httprunnermanger_web/.idea/web.iml
inflating: httprunnermanger_web/.idea/workspace.xml
creating: httprunnermanger_web/ApiManager/
inflating: httprunnermanger_web/ApiManager/admin.py
inflating: httprunnermanger_web/ApiManager/apps.py
inflating: httprunnermanger_web/ApiManager/managers.py
creating: httprunnermanger_web/ApiManager/migrations/
extracting: httprunnermanger_web/ApiManager/migrations/__i

...
3、更改数据库信息,vi命令输入:vi httprunnermanger_webHttpRunnerManagersettings.py
4、将你的数据库信息对应输入,库名、ip、端口、账号密码。

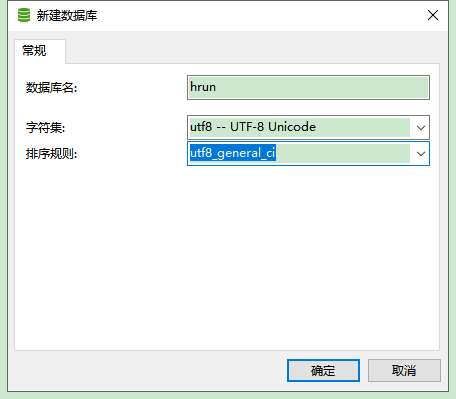
5、工具连接所创建的数据库,创建这个库名需与上面信息对应,如我设置库名为:hrun,则这里也要设置为hrun;
6、pip3开始安装hrun所需的包,首先到cd httprunnermanger_webHttpRunnerManager目录下输入:pip3 install -r requirements.txt
[root@iZbp19lugf22zbsubsf1y6Z hrun_web]# pip3 install -r requirements.txt
Looking in indexes: http://mirrors.cloud.aliyuncs.com/pypi/simple/
Collecting Django==2.0.3
Downloading http://mirrors.cloud.aliyuncs.com/pypi/packages/3d/81/7e6cf5cb6f0f333946b5d3ee22e17c3c3f329d3bfeb86943a2a3cd861092/Django-2.0.3-py3-none-any.whl (7.1MB)
|████████████████████████████████| 7.1MB 719kB/s
Collecting PyYAML==3.12
Downloading http://mirrors.cloud.aliyuncs.com/pypi/packages/4a/85/db5a2df477072b2902b0eb892feb37d88ac635d36245a72a6a69b23b383a/PyYAML-3.12.tar.gz (253kB)
|████████████████████████████████| 256kB 4.0MB/s
Collecting requests==2.18.4
Downloading http://mirrors.cloud.aliyuncs.com/pypi/packages/49/df/50aa1999ab9bde74656c2919d9c0c085fd2b3775fd3eca826012bef76d8c/requests-2.18.4-py2.py3-none-any.whl (88kB)
|████████████████████████████████| 92kB 10.6MB/s
Collecting eventlet==0.22.1
Downloading http://mirrors.cloud.aliyuncs.com/pypi/packages/61/1a/d1ff6e4f1dc652dfdda4a674f807c842eaa15f1ed9b76938a3be313bbac9/eventlet-0.22.1-py2.py3-none-any.whl (409kB)
|████████████████████████████████| 409kB 14.0MB/s
Collecting mysqlclient==1.3.12
Downloading http://mirrors.cloud.aliyuncs.com/pypi/packages/6f/86/bad31f1c1bb0cc99e88ca2adb7cb5c71f7a6540c1bb001480513de76a931/mysqlclient-1.3.12.tar.gz (89kB)
7、同步hrun数据库表结构到mysql5.7中,cd .. 回到httprunnermanger_web目录下,依次运行:
① python3 manage.py makemigrations
② python3 manage.py migrate
[root@iZbp19lugf22zbsubsf1y6Z httprunnermanger_web]# python3 manage.py makemigrations
Migrations for 'ApiManager':
ApiManager/migrations/0001_initial.py
- Create model DebugTalk
- Create model EnvInfo
- Create model ModuleInfo
- Create model ProjectInfo
- Create model TestCaseInfo
- Create model TestReports
- Create model TestSuite
- Create model UserInfo
- Create model UserType
- Add field belong_project to moduleinfo
- Add field belong_project to debugtalk
[root@iZbp19lugf22zbsubsf1y6Z hrun_web]# python3 manage.py migrate
Operations to perform:
Apply all migrations: ApiManager, admin, auth, contenttypes, djcelery, sessions
Running migrations:
Applying ApiManager.0001_initial... OK
Applying contenttypes.0001_initial... OK
Applying auth.0001_initial... OK
Applying admin.0001_initial... OK
Applying admin.0002_logentry_remove_auto_add... OK
Applying contenttypes.0002_remove_content_type_name... OK
Applying auth.0002_alter_permission_name_max_length... OK
Applying auth.0003_alter_user_email_max_length... OK
Applying auth.0004_alter_user_username_opts... OK
Applying auth.0005_alter_user_last_login_null... OK
Applying auth.0006_require_contenttypes_0002... OK
Applying auth.0007_alter_validators_add_error_messages... OK
Applying auth.0008_alter_user_username_max_length... OK
Applying auth.0009_alter_user_last_name_max_length... OK
Applying djcelery.0001_initial... OK
Applying sessions.0001_initial... OK
8、用nohup命令执行后台运行hrun服务即可,运行:nohup python3 manage.py runserver 0.0.0.0:8000 >hrun.out 2>&1 &
--hrun.out是指定控制台的日志输出文件(平时就可以在这里查看日志了)
[root@iZbp19lugf22zbsubsf1y6Z hrun_web]# nohup python3 manage.py runserver 0.0.0.0:8000 >hrun.out 2>&1 &
[2] 17473
9、添加软链接,查看hrun版本:
ln -s /root/python36/bin/hrun /usr/bin/hrun
hrun -V
[root@iZbp19lugf22zbsubsf1y6Z hrun_web]# ln -s /root/python3/bin/hrun /usr/bin/hrun

[root@iZbp19lugf22zbsubsf1y6Z hrun_web]# hrun -V
1.5.8
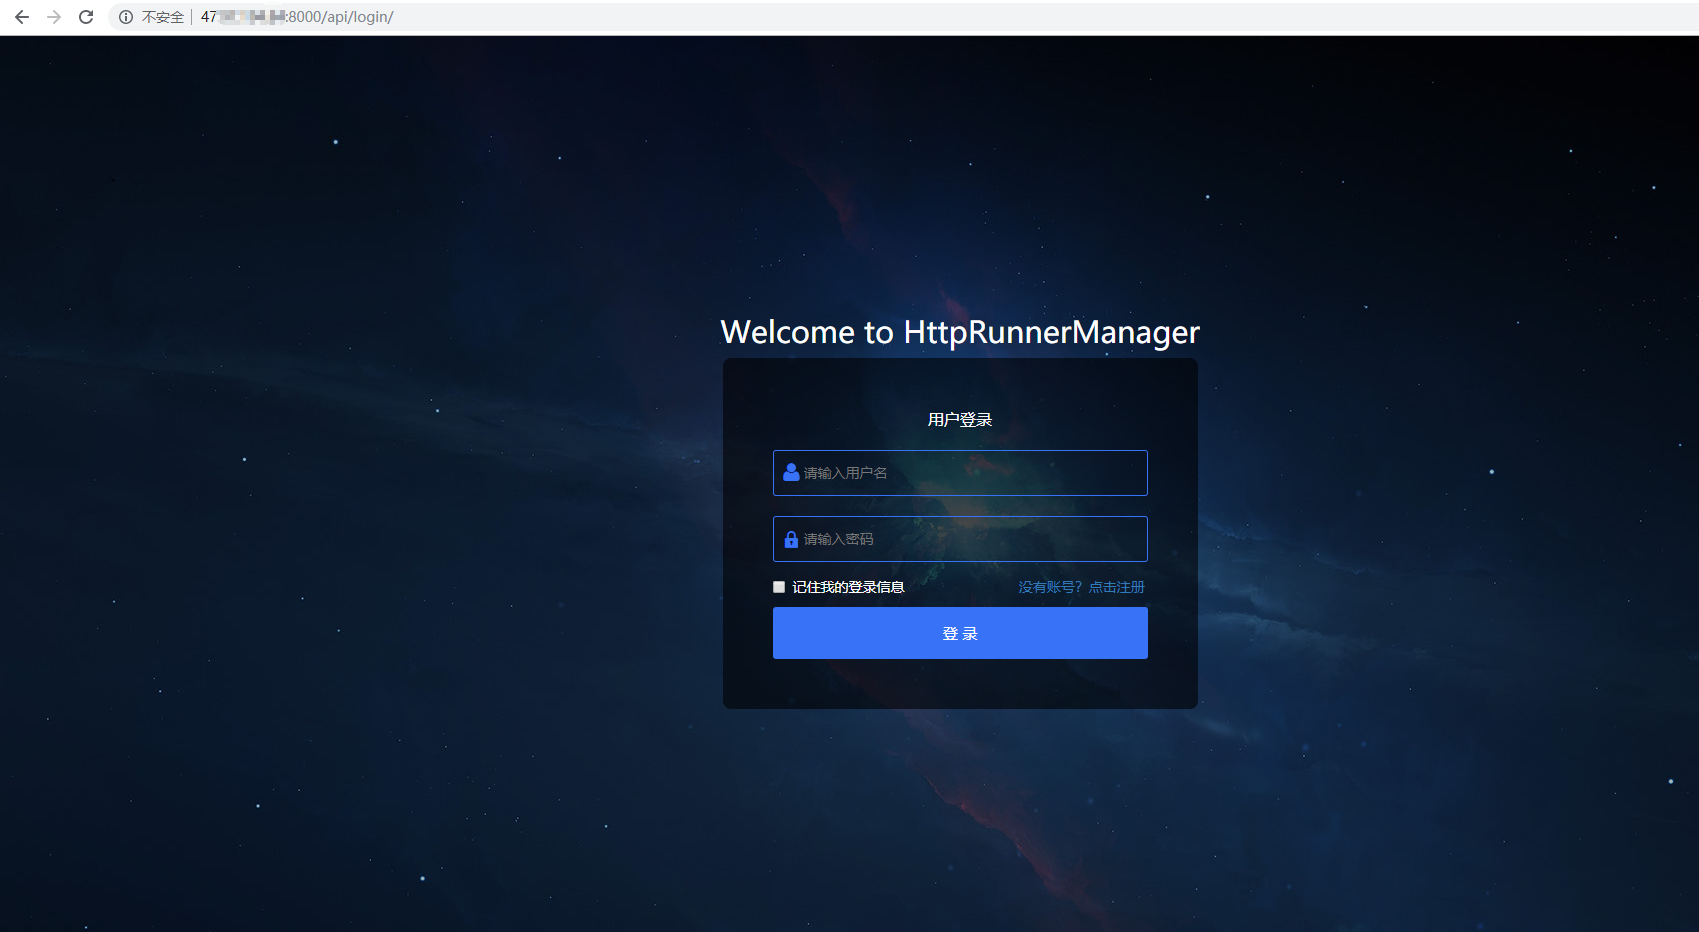
10、访问前端浏览器输入:http://47.xx.xxx.08:8000/api/login/注册用户,开始尽情享用平台吧,这里需要自己新注册一个账号。
11、创建后台管理账号,运行:python3 manage.py createsuperuser
[root@iZbp19lugf22zbsubsf1y6Z hrun_web]# python3 manage.py createsuperuser
Username (leave blank to use 'root'): admin
Email address: 772262624@qq.com
Password:
Password (again):
Superuser created successfully.
12、浏览器输入http://127.0.0.1:8000/admin/ 输入步骤6设置的用户名、密码,登录后台运维管理系统,可后台管理数据

如需设置hrun开机自启请参考这篇文章:https://www.cnblogs.com/gsxl/p/11830147.html
欢迎来QQ交流群:482713805