IdentityServer4 + SignalR Core +RabbitMQ 构建web即时通讯(二)
IdentityServer4 用户中心生成数据库
上文已经创建了所有的数据库上下文迁移代码,这里开始数据库的迁移和种子数据,EF Core 2.1刚好新增了种子数据的功能,文档地址,一开始的想法是使用这种方式,看起来很简洁与方便,但需要在OnModelCreating中配置,不过IdentityServer4中的2个数据库上下文我不知道怎么配置进去了,所以还是用比较原始的方式吧。
1.在SeedData添加客户端Client ApiResource IdentityRecouse的种子数据;
        public static List<Client> Clients()
        {
            return new List<Client>
            {
                new Client{
                    // 客户端id
                    ClientId ="chat_client",
                    // 客户端名称
                    ClientName ="chat client",
                    // TOKEN有效时长
                    AccessTokenLifetime = 3600,
                    // 配置TOKEN类型,reference为引用类型,数据不会存在TOKEN中
                    AccessTokenType= AccessTokenType.Jwt,
                    // 配置客户端授权模式
                    AllowedGrantTypes= GrantTypes.ResourceOwnerPassword,
                    // 配置客户端连接密码
                    ClientSecrets={ new Secret("123123".Sha256())},
                    // 客户端允许的请求范围
                    AllowedScopes={
                        "chatapi",
                        IdentityServerConstants.StandardScopes.OfflineAccess,
                        IdentityServerConstants.StandardScopes.OpenId,
                        IdentityServerConstants.StandardScopes.Profile },
                    //允许离线,即开启refresh_token
                    AllowOfflineAccess =true,
                    RequireClientSecret=false
                }
            };
        }

        public static IEnumerable<ApiResource> ApiResources()
        {
            return new List<ApiResource>
            {
                // 定义api资源 这里如果使用构造函数传入Name会默认创建一个同名的Scope,
                // 这点需要注意,因为这个Api如果没有Scope,那根本无法访问
                new ApiResource
                {
                    Name="chatapi",
                    DisplayName="chat api",
                    ApiSecrets= { new Secret("123123".Sha256()) },
                    Scopes={
                        new Scope("chatapi","chat api")
                    }
                }
            };
        }

        public static IEnumerable<IdentityResource> IdentityResources()
        {
            return new List<IdentityResource>
                {
                    new IdentityResources.OpenId(),
                    new IdentityResources.Profile()
                };
        }
2.StartUp中增加迁移方法,Database.Migrate() 实际就是Update-Database命令,那为什么这样用呢?生产环境总不能让我去执行Update-Database吧?,当我们修改了实体代码与配置时,不用做任何处理,程序运行时就能自动更新数据库结构。Configure中调用 Migration(app).Wait();
        public static async Task Migration(IApplicationBuilder app)
        {
            using (var scope = app.ApplicationServices.CreateScope())
            {
                // 迁移DemoDbContext上下文
                scope.ServiceProvider.GetRequiredService<DemoDbContext>().Database.Migrate();
                // 迁移PersistedGrantDbContext上下文
                scope.ServiceProvider.GetRequiredService<PersistedGrantDbContext>().Database.Migrate();
                var configurationDbContext = scope.ServiceProvider.GetRequiredService<ConfigurationDbContext>();
                // 迁移ConfigurationDbContext上下文
                configurationDbContext.Database.Migrate();

                // 注入用户管理 增加用户
                var userManager = scope.ServiceProvider.GetRequiredService<UserManager<DemoUser>>();
                foreach (var user in SeedData.Users())
                {
                    if (userManager.FindByNameAsync(user.UserName).Result == null)
                    {
                        await userManager.CreateAsync(user, "123123");
                    }
                }

                // 增加ApiResources IdentityResources Clients
                if (!configurationDbContext.ApiResources.Any())
                    configurationDbContext.ApiResources.AddRange(SeedData.ApiResources().Select(r => r.ToEntity()));
                if (!configurationDbContext.IdentityResources.Any())
                    configurationDbContext.IdentityResources.AddRange(SeedData.IdentityResources().Select(r => r.ToEntity()));
                if (!configurationDbContext.Clients.Any())
                    configurationDbContext.Clients.AddRange(SeedData.Clients().Select(r => r.ToEntity()));
                await configurationDbContext.SaveChangesAsync();
            }
        }
这里有个不算坑的坑,Add-Migration命令创建迁移代码时需要把Migration(app).Wait()注释掉,为什么呢?这个命令实际上会启动应用,并执行里面的代码,当首次执行时,数据库并不存在,迁移代码也不存在,所以数据结构都还不存在,如果执行种子数据操作肯定会失败了,当然Add-Migration本身就算是一个代码生成器,属于开发时操作,所以这是一个不算坑的坑。
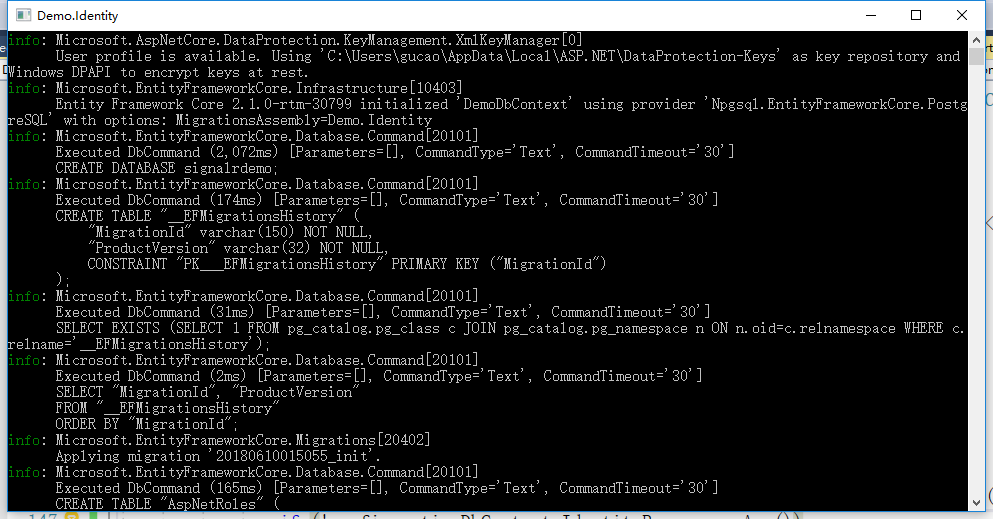
4.启动程序,控制台能看到迁移信息,

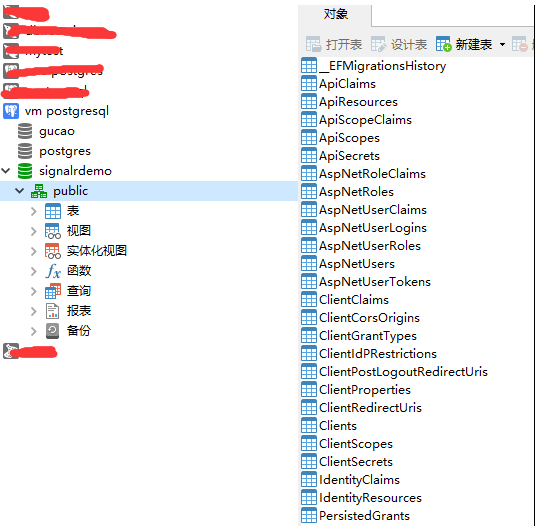
好了,数据库已经给我们创建好了

看看AspNetUsers,用户数据也没问题

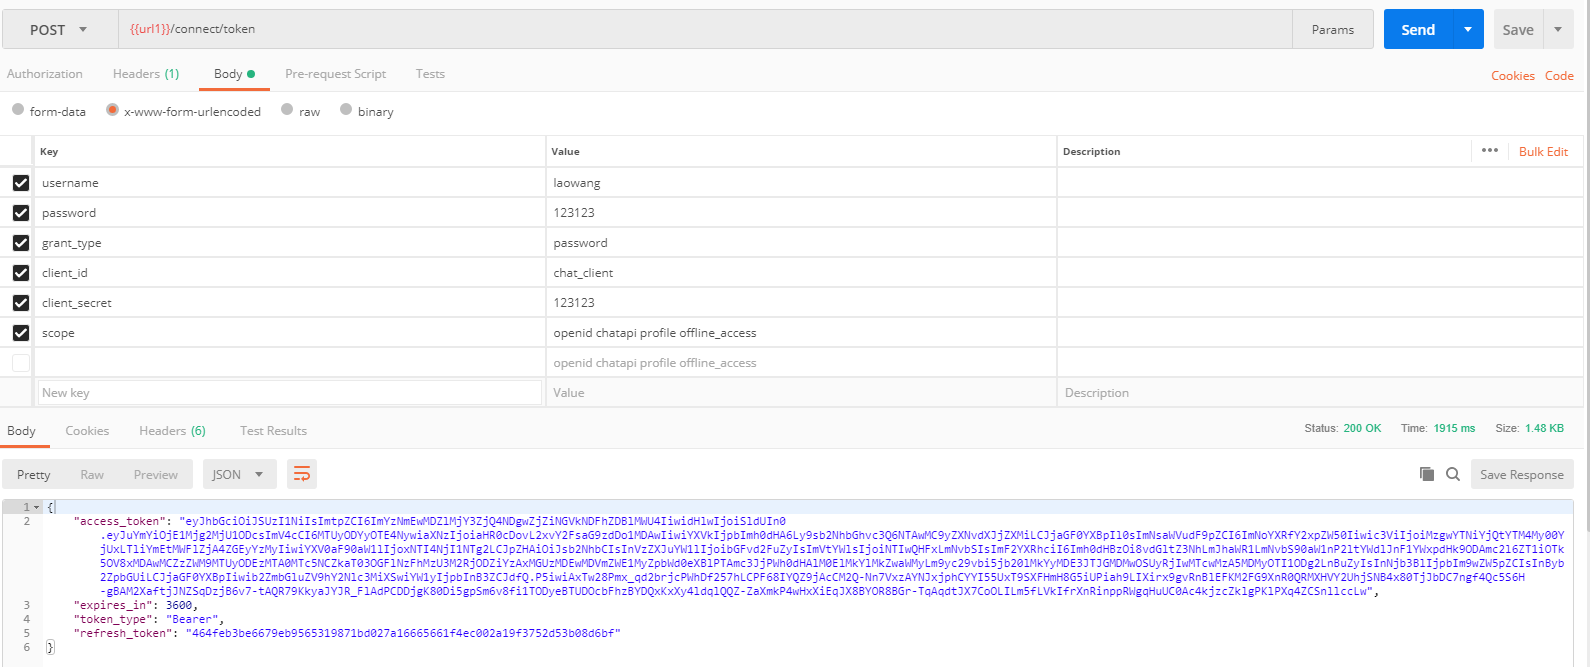
现在打开Postman,用laowang这个用户试一试token能否拿到,token获取的地址为/connect/token,刷新token也是这个地址

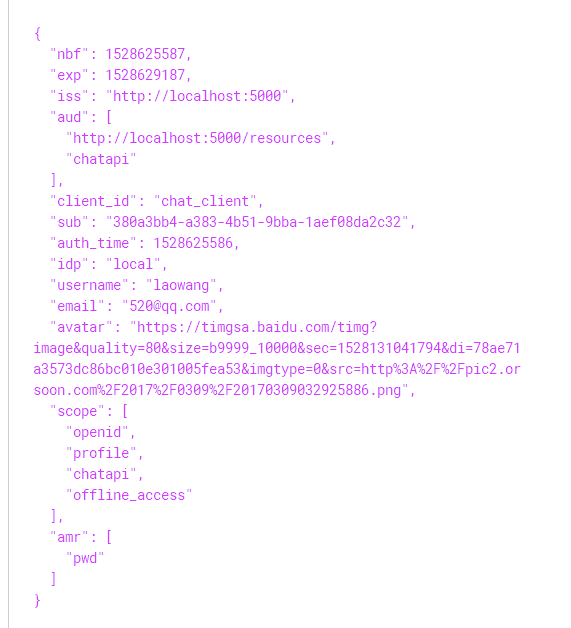
没问题,我们把token复制下拿到jwt.io看看是否带有用户信息,

可以看到username,email,avatar,没有问题。
好了,这篇就到这,下一篇开始写聊天室后端服务。