SpringBoot搭建API文档插件Swagger并美化
博客说明
文章所涉及的资料来自互联网整理和个人总结,意在于个人学习和经验汇总,如有什么地方侵权,请联系本人删除,谢谢!
地址
导入依赖
<!-- swagger用于定义API文档 -->
<dependency>
    <groupId>io.springfox</groupId>
    <artifactId>springfox-swagger2</artifactId>
    <version>2.9.2</version>
</dependency>

<!-- https://mvnrepository.com/artifact/io.springfox/springfox-swagger-ui -->
<dependency>
    <groupId>io.springfox</groupId>
    <artifactId>springfox-swagger-ui</artifactId>
    <version>2.9.2</version>
</dependency>

<!--美化swagger-->
<dependency>
    <groupId>com.github.xiaoymin</groupId>
    <artifactId>swagger-bootstrap-ui</artifactId>
    <version>1.9.3</version>
</dependency>
创建配置文件
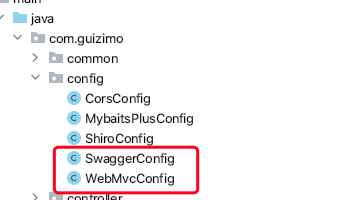
SwaggerConfig
package com.guizimo.config;

import org.springframework.context.annotation.Bean;
import org.springframework.context.annotation.Configuration;
import springfox.documentation.builders.ApiInfoBuilder;
import springfox.documentation.builders.PathSelectors;
import springfox.documentation.builders.RequestHandlerSelectors;
import springfox.documentation.service.ApiInfo;
import springfox.documentation.service.Contact;
import springfox.documentation.spi.DocumentationType;
import springfox.documentation.spring.web.plugins.Docket;
import springfox.documentation.swagger2.annotations.EnableSwagger2;

@Configuration
@EnableSwagger2
public class SwaggerConfig {

    @Bean
    public Docket createRestApi() {
        return new Docket(DocumentationType.SWAGGER_2)
                .apiInfo(apiInfo())
                .select()
                .apis(RequestHandlerSelectors.basePackage("com.guizimo.controller")) //此次每次使用须换成自己的web接口的全限定类名
                //.paths(AppUtility.isProd() ? PathSelectors.none() : PathSelectors.any())
                .paths(PathSelectors.any())
                .build();
    }
    private ApiInfo apiInfo() {
        return new ApiInfoBuilder()
                .title("测试swagger")
                .description("展示swagger界面")
                .termsOfServiceUrl("http://localhost:8081/swagger-ui.html")
                .contact(new Contact("guizimo", "http://localhost:8081/swagger-ui.html", "2500568424@qq.com"))
                .version("1.0")
                .build();
    }

}
WebMvcConfig
package com.guizimo.config;

import org.springframework.context.annotation.Configuration;
import org.springframework.web.servlet.config.annotation.ResourceHandlerRegistry;
import org.springframework.web.servlet.config.annotation.WebMvcConfigurationSupport;

@Configuration
public class WebMvcConfig extends WebMvcConfigurationSupport {

    @Override
    protected void addResourceHandlers(ResourceHandlerRegistry registry) {

        //排除静态文件

        registry.addResourceHandler("swagger-ui.html")
                .addResourceLocations("classpath:/META-INF/resources/");

        registry.addResourceHandler("doc.html")
                .addResourceLocations("classpath:/META-INF/resources/");

        registry.addResourceHandler("/webjars/**")
                .addResourceLocations("classpath:/META-INF/resources/webjars/");
        super.addResourceHandlers(registry);
    }

}
注意导入包的时候别导入错了
配置一个接口
在controller中选择我们的一个接口
package com.guizimo.controller;


import com.guizimo.common.Result;
import com.guizimo.entity.Banner;
import com.guizimo.service.BannerService;
import io.swagger.annotations.Api;
import io.swagger.annotations.ApiOperation;
import org.springframework.beans.factory.annotation.Autowired;
import org.springframework.web.bind.annotation.GetMapping;
import org.springframework.web.bind.annotation.RequestMapping;
import org.springframework.web.bind.annotation.RestController;

/**
 * <p>
 * banner子项表 前端控制器
 * </p>
 *
 * @author guizimo
 * @since 2020-08-19
 */
@RestController
@RequestMapping("/banner")
@Api(value="轮播图",tags = "轮播图",description = "首页轮播图")
public class BannerController {
    @Autowired
    BannerService bannerService;

    // 根据Id查询用户的信息
    @ApiOperation(value = "获取轮播图",notes ="获取当前的轮播图")
    @GetMapping("/index")
    public Object index(){
        Banner banner = bannerService.getById(1L);
        return Result.success(banner);
    }
}
运行
mvn install
运行SpringBoot项目,运行成功之后
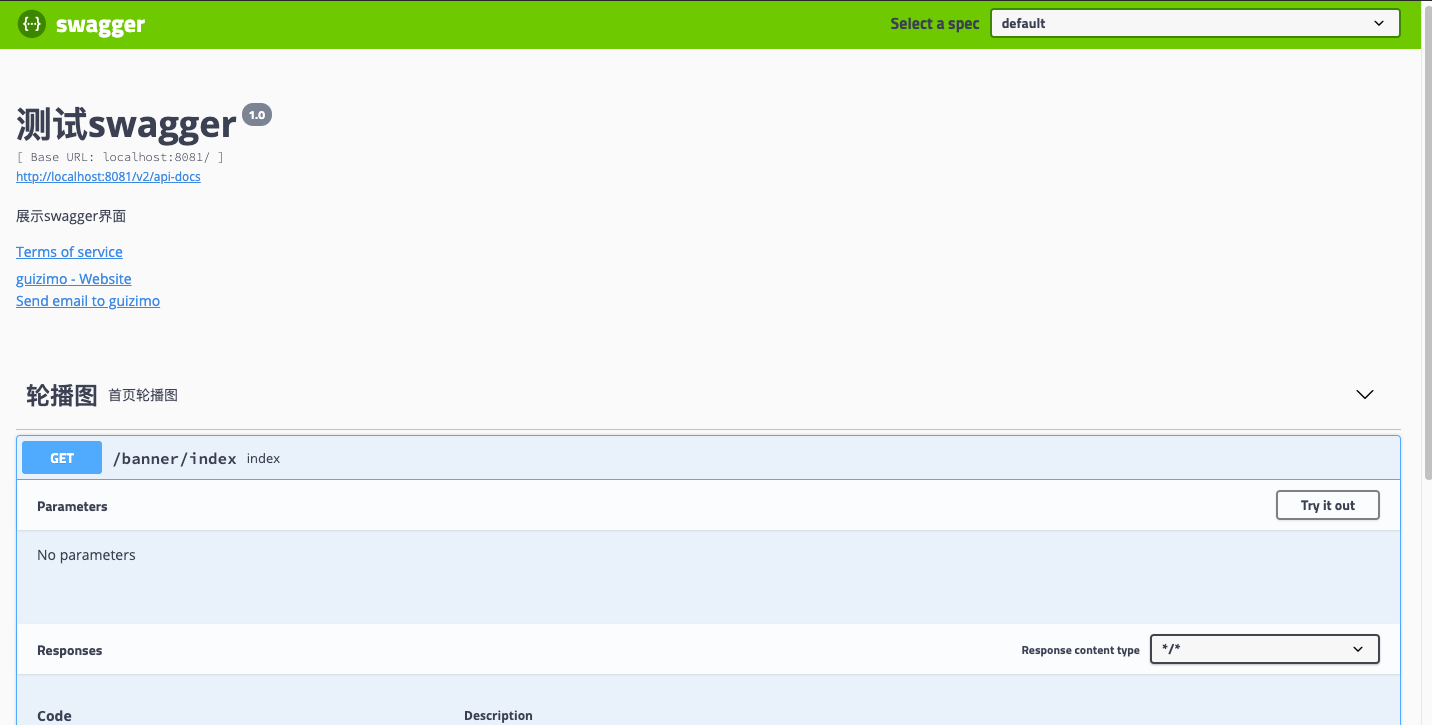
原版swagger-ui http://localhost:8081/swagger-ui.html
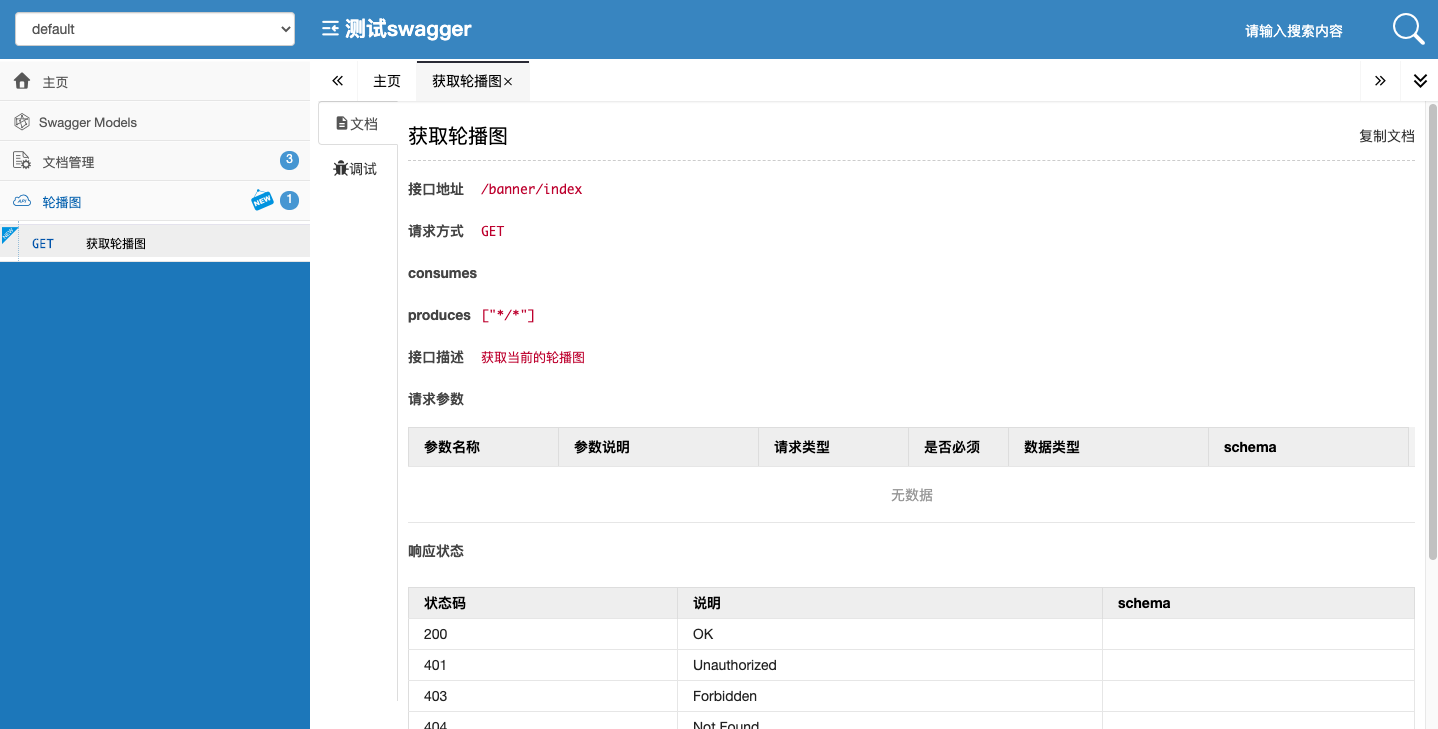
新版swagger-bootstrap-ui http://localhost:8081/doc.html
感谢
万能的网络
以及勤劳的自己
关注公众号: 归子莫,获取更多的资料,还有更长的学习计划