 Read more...
| Purpose | Duration | Application |
|---|---|---|
|
This practice shows you how to develop a page template with layout components that you want to be applied for every single page of your application. Then you see how to create a page using the page template. The file contains two zip files (tutorial.zip and tutorialsolution.zip), one with the starter application, the other the completed solution. |
30 minutes |  |
In this section you open the starter application and create a page template to be used for additional pages you will create: To create the page template perform the following steps:
Page templates let you define entire page layouts, including values for certain attributes of the page. Read more...
-
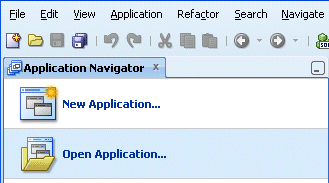
In the Applications Navigator, click Open Application .
-
In the Open Application(s) dialog, locate the folder where you unzipped the application and select Tutorial.jws.
Click Open. If prompted with a migration warning message, continue and finish the migration operation.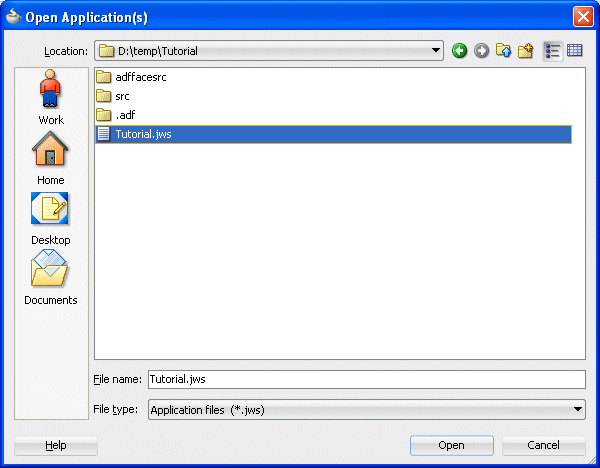
-
The application is loaded up in the Application Navigator, showing the adffacesrc project.

-
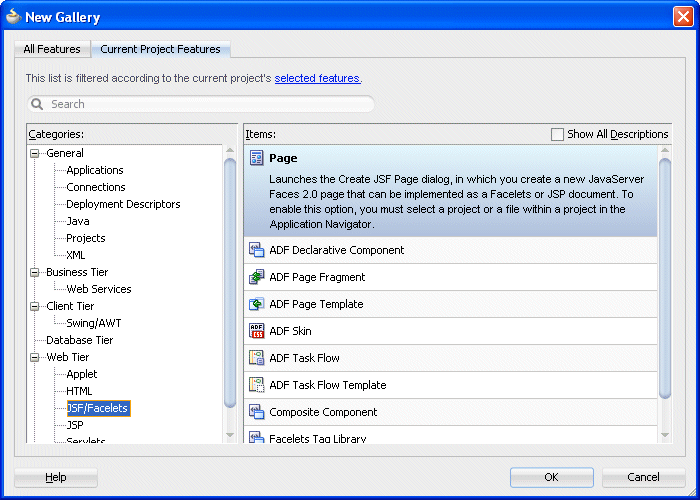
In the Application Navigator, right-click the adffacesrc project and select New from context menu.

-
In the New Gallery, in the Categories pane, select Web Tier | JSF/Facelets, then select the ADF Page Template item.
Then click OK.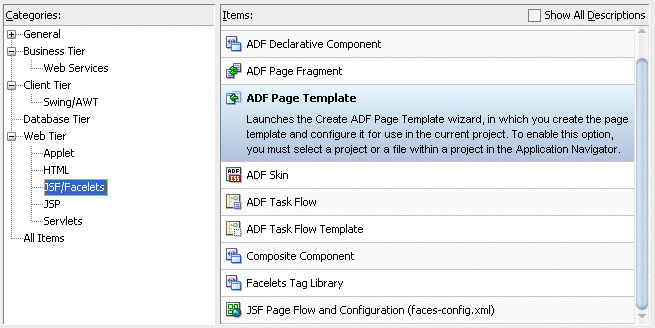
-
In the Create ADF Page Template, type simple for the Page Template Name.

-
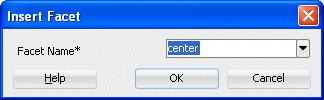
In the Facet Definitions tab, click the Add
 button and type center as the Name.
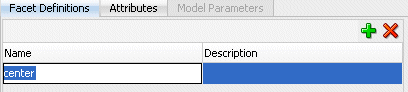
-
Click the Attributes tab, click the Add
button , then type title as the Name and Default Title as the Default Value.
Then click OK.
-
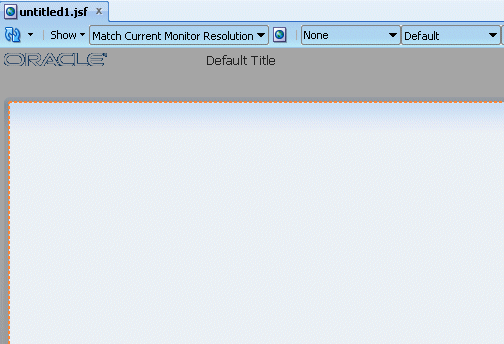
The simple.jspx template page opens up in the design editor.

-
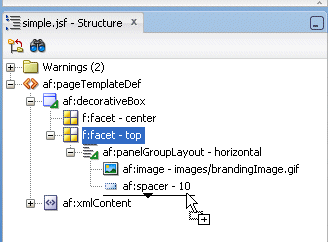
From the Component Palette, expand the ADF Faces - Layout nodes and drag a Decorative Box onto the empty page.

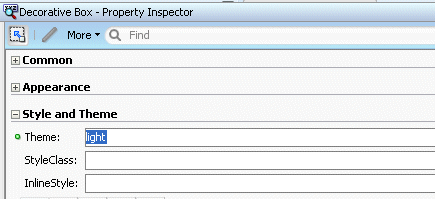
Using the Property Inspector, in the Style and Theme tab, set the Theme property to light from the list .
-
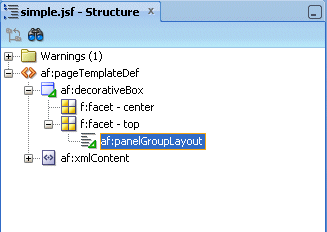
In the Structure Pane, drag and drop a Panel Group Layout into the top facet.
-
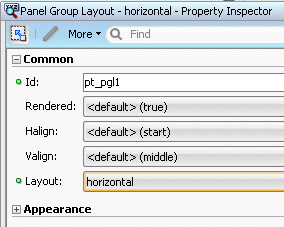
With the panelGroupLayout selected, set the Layout property, in the Property Inspector, to horizontal.
-
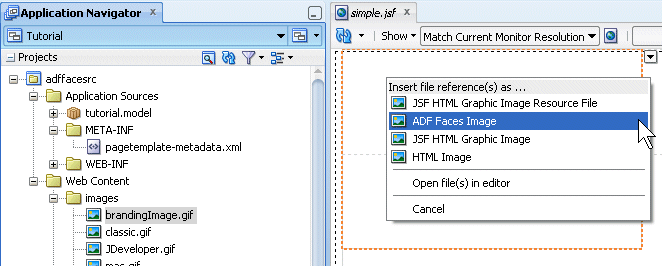
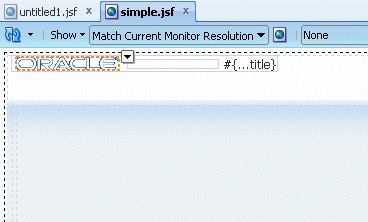
In the Application Navigator, expand the Web Content | images nodes and drag and drop the brandingImage.gif node onto the Panel Group Layout. In the context menu select ADF Faces Image .
-
From the ADF Faces - Layout, drop a Spacer next to the image.
Then set the Width property to 100.
-
From the ADF Faces | Common Components, drop an Output Text under the spacer component.
In the Value field, select Expression Builder from the drop-down list .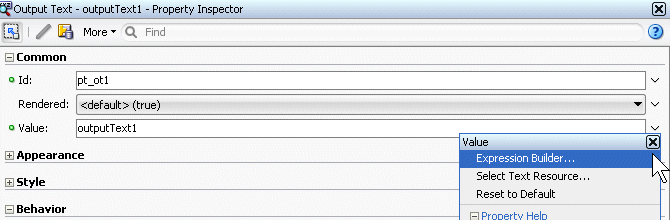
-
In the Expression Builder, clear out the existing expression and set the value to #{attrs.title}.
Then click OK.
-
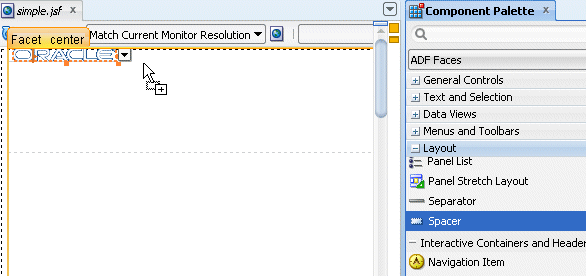
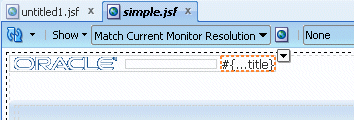
In the Component Palette, under the ADF Faces drop-down, expand the Layout node and scroll down to the Core Structure section. Drag and drop a Facet onto the center facet.
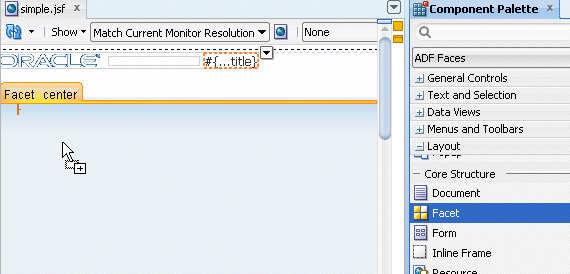
In the Insert Facet Ref dialog, select center as the facet name, then click OK.
-
Click the Save All
 icon in the JDeveloper menu bar, or select File - Save All from the menu to save the page.
Now that the template has been created you can create a new page, and use the template as the default structure for the page. To do this, perform the following steps:
-
Right-click the adffaces project and select New from the context menu.

-
In the New Gallery, expand the Web Tier node and select JSF/Facelets. Then select the Page item and click OK.
-
In the Create JSF Page dialog, leave the file name to the untitled1.jspx default value and ensure the Document Type is set to Facelets. Then select simple from the drop-down list for the Page Layout section.
Then click OK.
-
The untitled1.jspx appears as a new node in the Application Navigator and it opens up in the Design editor using the simple.jspx template.
-
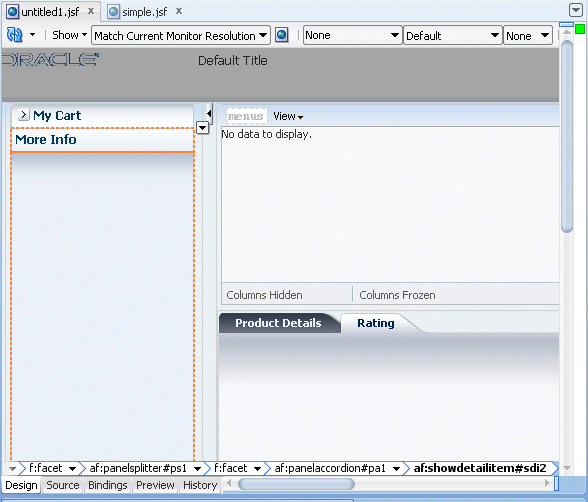
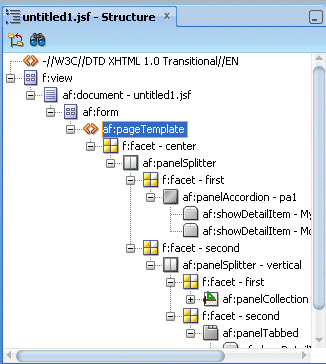
From the component palette, using the ADF Faces | Layout library, drag and drop a Panel Splitter component onto the center facet.
In addition to the Panel Splitter, ADF Faces provides a number of other layout components that can be used to arrange other components on a page.Read more...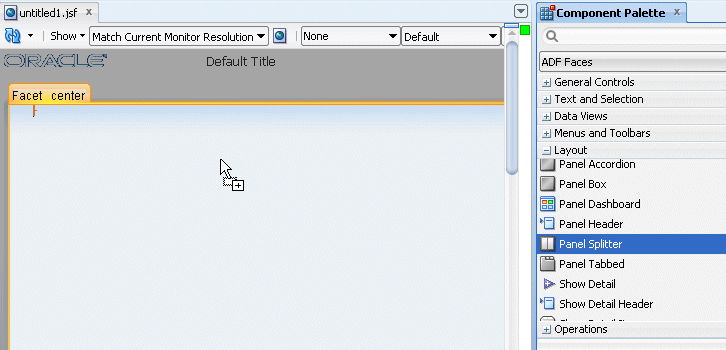
-
Drag and drop another Panel Splitter component onto the 'second' facet of the panel splitter.
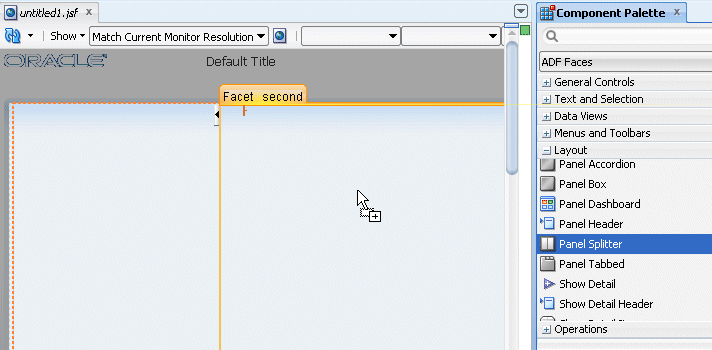
-
In the Structure pane, expand the first panelSplitter component and select the second one. Using the property inspector, set the Orientation to vertical.

-
Drag and drop a Panel Accordion component onto the 'first' facet on the left hand side of the panel splitter.
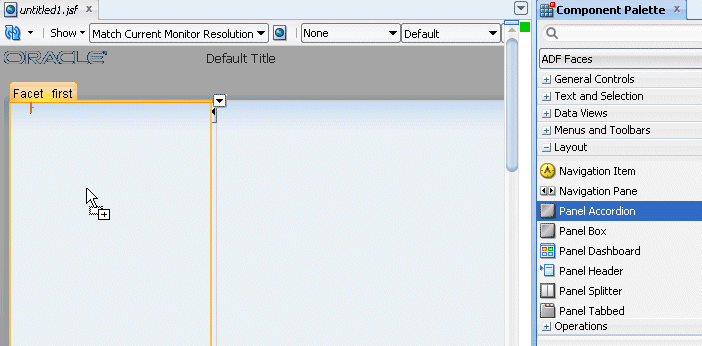
In the Property Inspector, set the Text to My Cart.

-
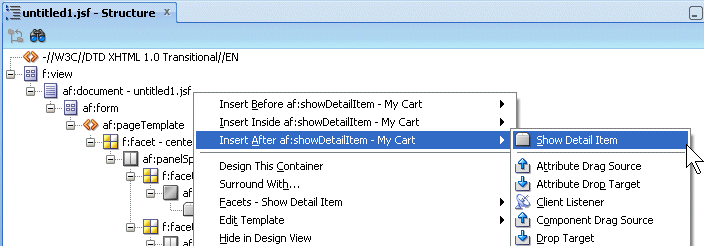
Click within the accordion you just created, then right-click on the showDetailItem and from the context menu select Insert after Show Detail Item - Show Item Detail.
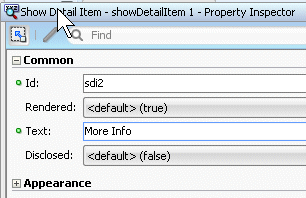
For the show detail item that you just added, using the Common tab of the Property Inspector, change the Text field to More Info.
-
Drag and drop a Panel Collection component onto the right hand side 'first' facet.

-
Drag and drop a Panel Tabbed component onto the right hand side 'second' facet. The component can be found in the Interactive Containers and Headersgrouping.
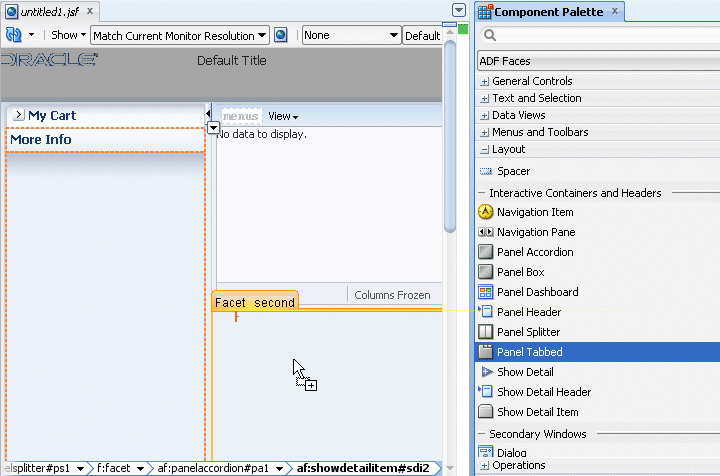
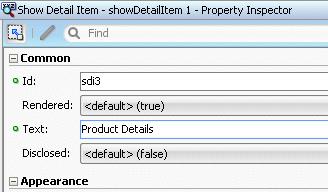
In the Structure pane, select the af:showDetailItem component you just created and In the Property Inspector, enter Product Details in the Text field.
-
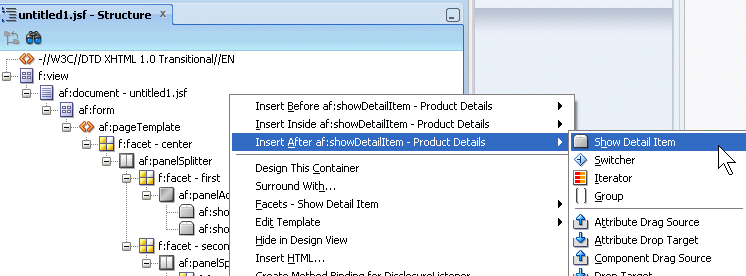
Right click the Product Details tab and select Insert After Show Detail Item - Show Detail Item from context.
In the Structure pane, select the af:showDetailItem component you just created and in the Property Inspector, enter Rating in the Text field.

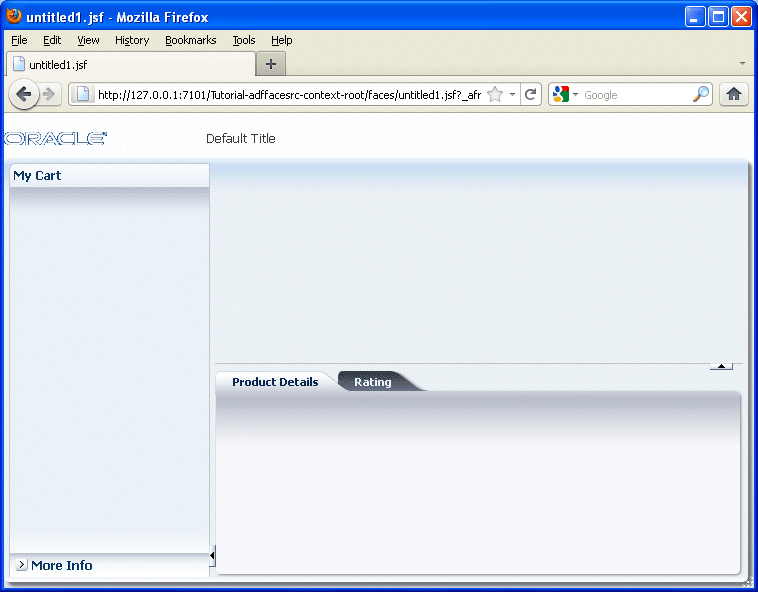
The page should look like the following image.

-
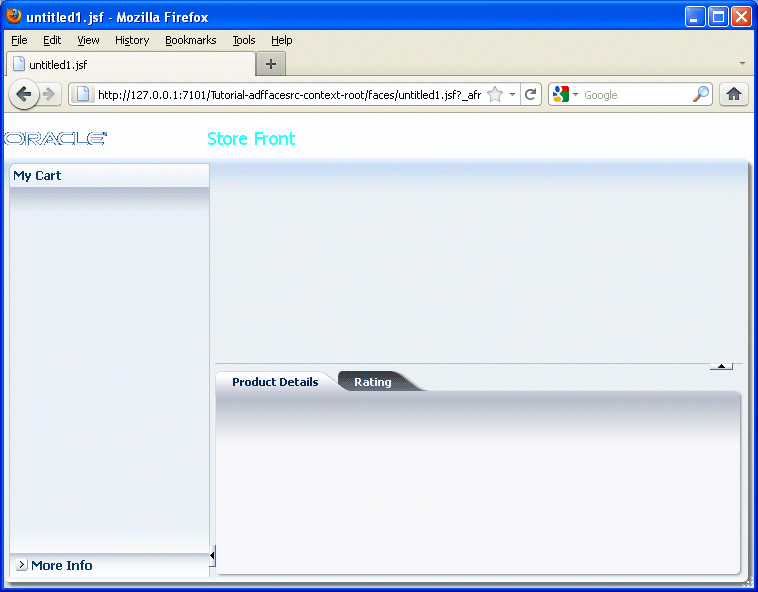
Save all your work. Then right-click in the page and from the context menu, select Run.

-
The page will load in your browser. Experiment with selecting the tabs and expanding the More Info panel. Once you're finished, keep the browser open and return to JDeveloper
-
In the next steps, you customize the page title and see how it is consumed in the existing page. To start the process, open the simple.jsf template page you created earlier.
-
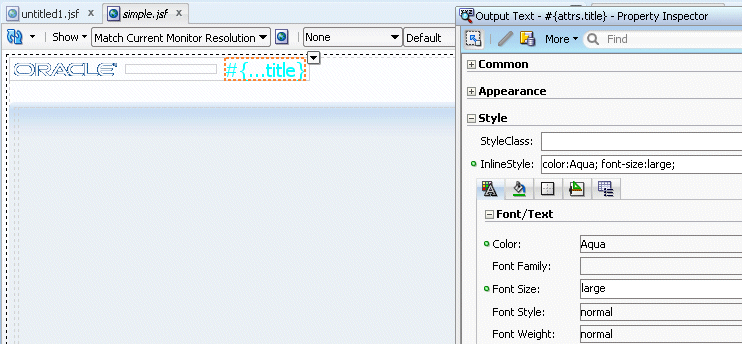
In the page designer, select the title component.
In the Property Inspector, expand the Style node, and using the Font/Text node, in the Color field click the Color drop-down list and select the color of your choice (Aqua in our example).

In the Font Size property, and select large from the drop-down list.
-
Save all your work. Then go back to the browser and reload the page to see the new characteristics.
Note that after saving your JDeveloper application, refreshing your browser window reflects the new changes made to your application as long as you haven't updated any binding component. In that case you will need to reRun the page from JDeveloper in order to have the changes reflected in your browser.
-
Open the untitled page in the design editor.
-
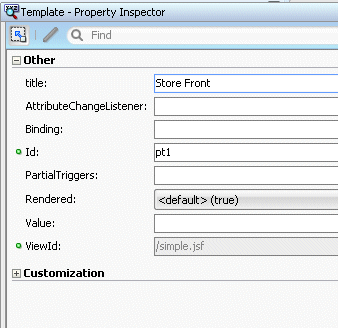
In the Structure pane, select the pageTemplate tag and in the Property Inspector, set the Title property to Store Front.
-
Save all your work. Then go back to the browser and reload the page to see the new characteristics.
In this tutorial you developed a page template, created a page based on the template, added data controls to the page, employed partial page rendering, included DVT components and changed the look and feel of the page using a css file. You learned how to:
- Create a Page Template
- Design a Page using the Page Template
程序员的基础教程:菜鸟程序员