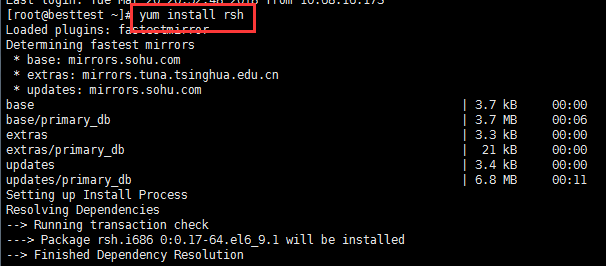
1. 安装rsh,rsh-server
[root@localhost /]# yum install rsh
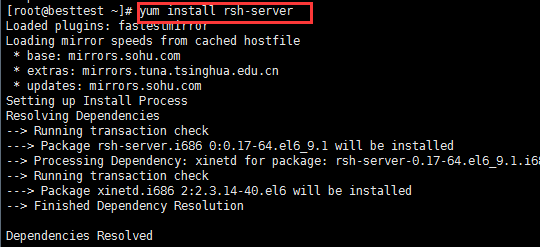
[root@localhost /]# yum install rsh-server
或者
[root@localhost /]#yum -y install rsh*
2. 安装rstatd
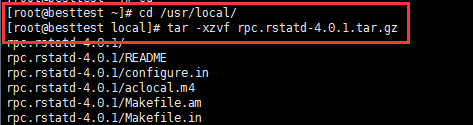
下载并安装rstatd,下载地址:http://sourceforge.net/projects/rstatd(下载rpc.rstatd-4.0.1.tar.gz),上传至/usr/local
查看是否安装,一般来说Linux都没有安装
[root@localhost /]# find / -name rpc.rstatd
安装rstatd
[root@localhost /]# tar -xzvf rpc.rstatd-4.0.1.tar.gz
[root@localhost /]# cd rpc.rstatd-4.0.1

[root@localhost /]# ./configure
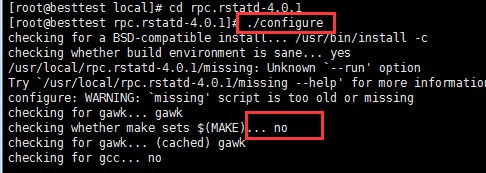 这里会提示失败
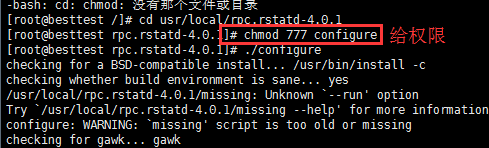 给了权限;
给了权限;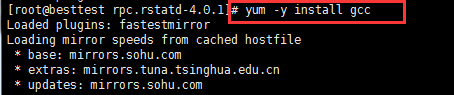 安装gcc后再./configure
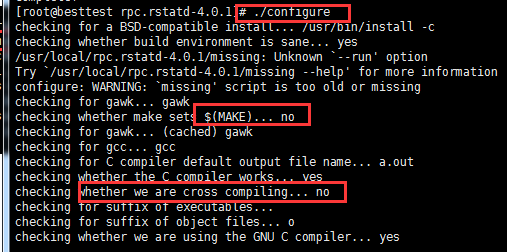 还是失败;
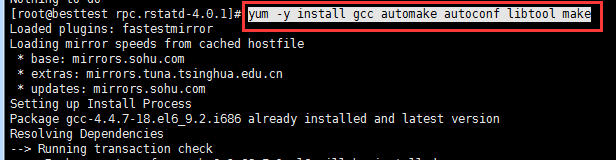
还是失败;继续安装yum -y install gcc gcc-c++
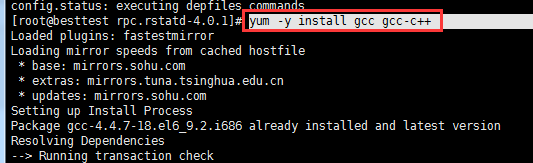
还是失败;继续yum -y install gcc automake autoconf libtool make
再./configure,看下图,显示成功
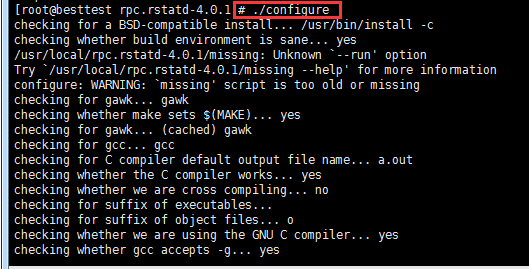
[root@localhost /]# make

[root@localhost /]# make install

3. 安装完成后配置rstatd目标守护进程xinetd,配置文件于/etc/xinet.d目录下修改/etc/xinetd.d目录下面的3个conf(rogin,rsh,rexec)中的disable均设置为no
[root@localhost /]# cd /etc/xinetd.d --进入/etc/xinetd.conf目录中
[root@localhost /]# vi rlogin --编辑disable=no,保存
[root@localhost /]# vi rsh --编辑disable=no,保存
[root@localhost /]# vi rexec --编辑disable=no,保存
4. 启动rpc.rstatd
[root@localhost /]# rpc.rstatd --启动rpc.rstatd进程

注意:
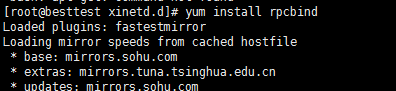
portmap在centos6中改名为rpcbind
yum install rpcbind(centos6)
yum install portmap(centos5)
我的是centos6,所以安装yum install rpcbind(一般系统本身就带有rpcbind)
在检查一下
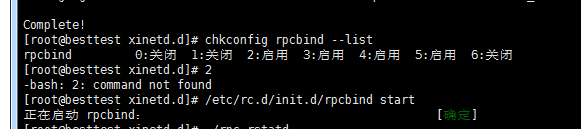

[root@localhost /]# rpcinfo -p --执行此命令检查rpc服务的状态
到这里为止,LR监控Linux必要的服务都已安装好了。
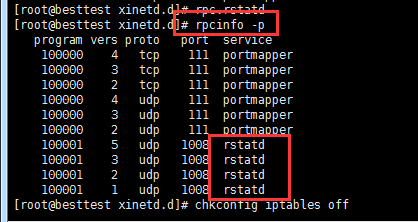
如上图可以看到,如果开启了四个rstatd服务就说明,该rpc守护进程服务启动是成功的(服务安装和启动是成功的)
5. 关闭防火墙
[root@localhost /]# iptables -L 查看防火墙状态
[root@localhost /]# service iptables stop
chkconfig iptables on //永久性启动防火墙
chkconfig iptables off //永久性关闭防火墙
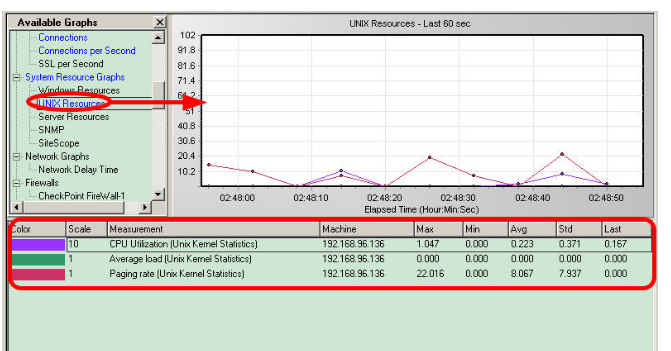
6. LR中的Controller监控Linux资源
在Controller中,将System Resource Graphs中的Unix resources拖到右侧的资源监控区域。鼠标右键选择Add Measurements,添加被监控Linux的IP地址x.x.x.x,选择需要监控的性能指标,确认。
参考:
http://www.51testing.com/html/29/279629-3693914.html
https://blog.csdn.net/kellyruan/article/details/51498530