上一章我们主要讲了镜像的几种构建方式,今天就来用dockerfile构建一下相应的镜像
sshd的镜像构建
- 1.需要有一个centos:7的镜像
-
[root@sshd ~]# docker images
REPOSITORY   TAG       IMAGE ID       CREATED       SIZE
centos       7         8652b9f0cb4c   4 weeks ago   204MB
- 2.创建工作目录谁说的,将生成的密钥对复制到此目录下
-
[root@sshd ~]# mkdir sshd/
[root@sshd ~]# cd sshd/

[root@sshd sshd]# ssh-keygen
Generating public/private rsa key pair.
Enter file in which to save the key (/root/.ssh/id_rsa):
Created directory '/root/.ssh'.
Enter passphrase (empty for no passphrase):
Enter same passphrase again:
Your identification has been saved in /root/.ssh/id_rsa.
Your public key has been saved in /root/.ssh/id_rsa.pub.
The key fingerprint is:
SHA256:yDX1FHHXBt+zr+s3GgvjYRCwY/+htSaGca0Ni9TUypY root@sshd
The key's randomart image is:
+---[RSA 2048]----+
|       .  . +oo.o|
|        o..o . o+|
|       +oo ..  oo|
|     ..o*.=     o|
|      ooSE +   . |
|      . * X o   .|
|       o * X .  .|
|        . = + oo.|
|           . +=o.|
+----[SHA256]-----+

[root@sshd sshd]# cp /root/.ssh/id_rsa.pub ./
- 3.编写sshd的dockerfile
-
[root@sshd sshd]# vim Dockerfile
[root@sshd sshd]# cat Dockerfile
FROM centos:7
MAINTAINER Carrie
RUN yum install -y openssh-server net-tools openssh-devel lsof telnet
RUN sed -i 's/UsePAM yes/UsePAM no/g' /etc/ssh/sshd_config && ssh-keygen -t dsa -f /etc/ssh/ssh_host_dsa_key
RUN ssh-keygen -t rsa -f /etc/ssh/ssh_host_rsa_key
ADD id_rsa.pub /root/.ssh/authorized_keys
EXPOSE 22
CMD ["/usr/sbin/sshd" , "-D"]
~ - 4.构建镜像
-
[root@sshd sshd]# docker build -t sshd:new ./

- 5.成功生成镜像
-
[root@sshd sshd]# docker images
REPOSITORY   TAG       IMAGE ID       CREATED          SIZE
sshd         new       d944bc58cd88   27 seconds ago   294MB
centos       7         8652b9f0cb4c   4 weeks ago      204MB
- 6.验证是否能用ssh登录ssh的容器(成功)
-
[root@sshd ~]# docker run -d -p 2222:22 --name=sshd-test  --restart=always sshd:new
a6b70bcce60653d73f69398c6aea56b7e14f4e5005ab86a24ca26359e9d3d5bb
[root@sshd ~]# ssh root@192.168.2.111 -p 2222
The authenticity of host '[192.168.2.111]:2222 ([192.168.2.111]:2222)' can't be established.
RSA key fingerprint is SHA256:dBr4vL6x/nUflY1URKRDbjtnu5z8m3qIy3cXoR130qw.
RSA key fingerprint is MD5:69:2c:3f:84:82:fa:07:55:8c:69:5e:40:b8:2b:2e:5c.
Are you sure you want to continue connecting (yes/no)? yes
Warning: Permanently added '[192.168.2.111]:2222' (RSA) to the list of known hosts.
[root@a6b70bcce606 ~]#
httpd的镜像构建
- 1.创建目录httpd,进入目录创建Dockerfile
-
[root@httpd httpd]# cat Dockerfile
FROM centos:7
MAINTAINER Carrie
RUN yum install -y httpd &&
echo dockerfile test > /var/www/html/index.html &&
ln -sf /usr/share/zoneinfo/Asia/Shanghai /etc/localtime
EXPOSE 80
CMD ["httpd" , "-DFOPEGROUND"] - 2.构建新的镜像
-
[root@httpd httpd]# docker build -t httpd:new ./
- 3.查看镜像构建成功
-
[root@httpd httpd]# docker images
REPOSITORY   TAG       IMAGE ID       CREATED          SIZE
httpd        new       0b036468af6f   3 minutes ago    324MB
sshd         new       d944bc58cd88   39 minutes ago   294MB
centos       7         8652b9f0cb4c   4 weeks ago      204MB
- 4.检测是否成功

nginx镜像构建
- 1.创建目录,编写启动脚本
-
[root@httpd ~]# mkdir nginx
[root@httpd ~]# cd nginx/
[root@httpd nginx]# vim run.sh
[root@httpd nginx]# cat run.sh
#!/bin/bash
/usr/local/nginx/sbin/nginx
- 2.创建Dockerfile
-
[root@httpd nginx]# vim Dockerfile
[root@httpd nginx]# cat Dockerfile
FROM centos:7
MAINTAINER Carrie
RUN yum install -y wget proc-devel net-tools gcc zlib zlib-devel make openssh-devel pcre-devel
RUN wget http://nginx.org/download/nginx-1.19.0.tar.gz
RUN tar zxf nginx-1.19.0.tar.gz
WORKDIR nginx-1.19.0
RUN ./configure --prefix=/usr/local/nginx && make && make install
EXPOSE 80
RUN echo "daemon off;" >> /usr/local/nginx/conf/nginx.conf
RUN ln -sf /usr/share/zoneinfo/Asia/Shanghai /etc/localtime
WORKDIR /root/nginx
ADD run.sh /run.sh
RUN chmod 775 /run.sh
CMD ["/run.sh"] - 3.构建镜像
-
[root@httpd nginx]# docker build -t nginx:new ./
- 4.查看镜像
-
[root@httpd nginx]# docker images
REPOSITORY   TAG       IMAGE ID       CREATED             SIZE
nginx        new       868be11b3686   7 minutes ago       363MB
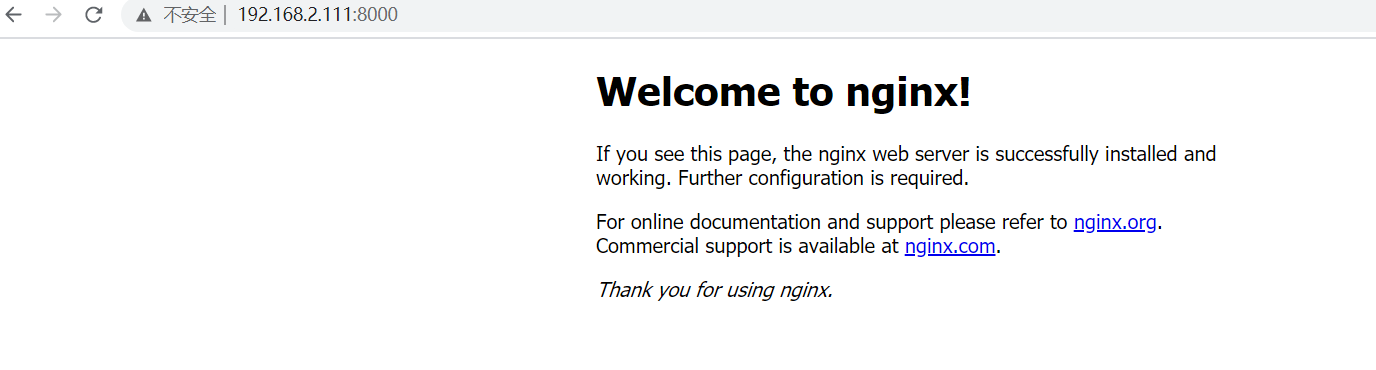
- 5.启动容器,进行测试(成功)
-
[root@httpd nginx]# docker run -d -p 8000:80 --name nginx-test --restart=always nginx:new
b040750d52e4a1993e5a8153293745fe5e8a230afc6147abc82d0ea0cb2adc57
-