原因:由于项目需要,我们有一些下载自中央仓库和第三方的插件。
但是一些机器从svn拉去后,还要手动导入第三方插件,显得很麻烦,
因此引申出了使用 nexus作为代理仓库。
一,下载nexus
https://www.sonatype.com/download-oss-sonatype
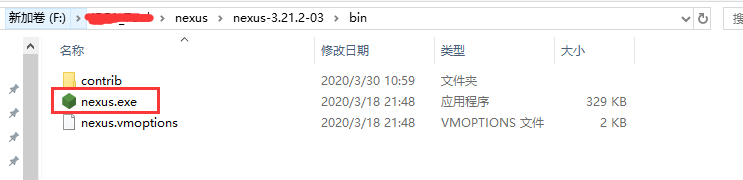
二,运行
在nexus的bin目录下,运行cmd
然后输入 nexus.exe /run
![]()
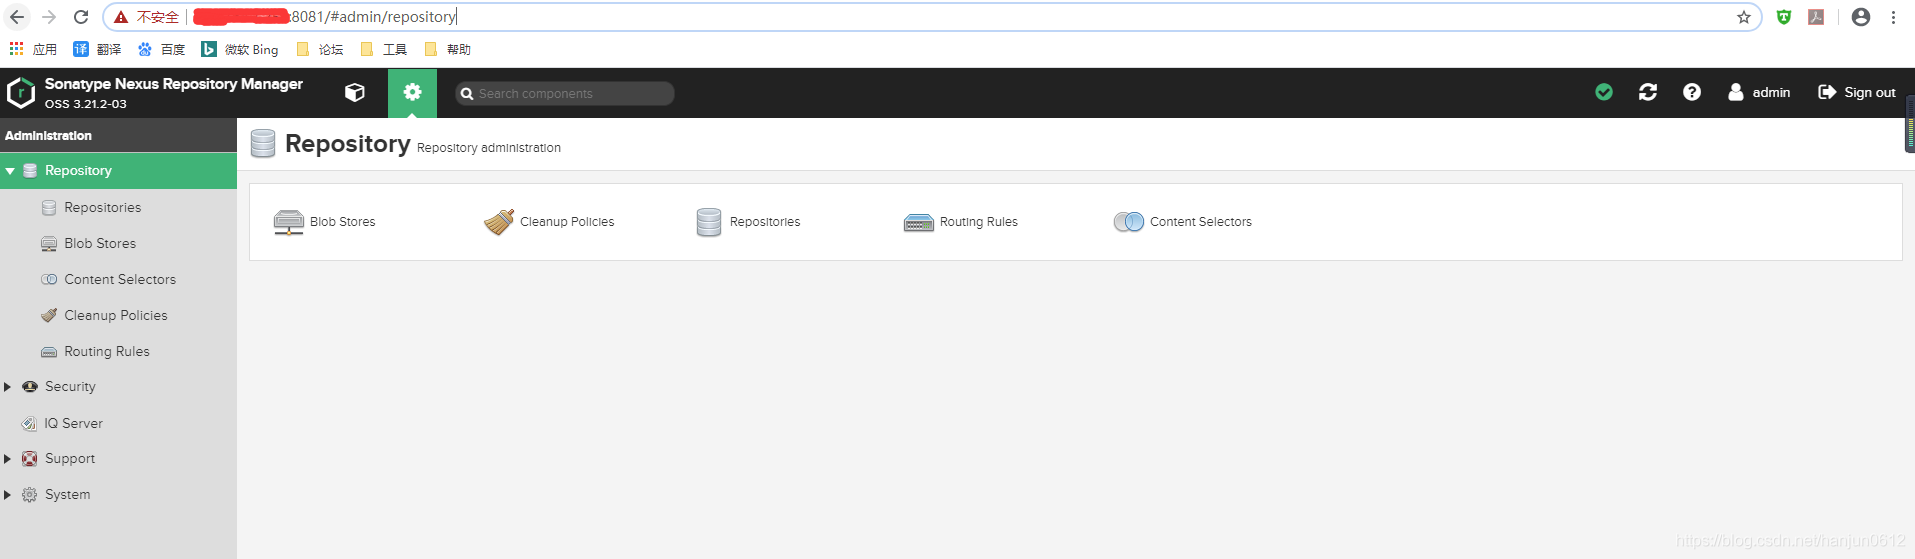
三,登录网页
刚运行nexus.exe后,可能需要等待1分钟,才能打开网页
我们点击右边的Sign in
账号:admin
密码:(存放于/sonatype-work/nexus3/admin.password)
![]()
四,配置仓库
这里先要解释一下3种仓库。
hosted:本地仓库,用与存放一些中央仓库没有的架包。
proxy:代理仓库,每次更新会先检查本地仓库,没有则到中央仓库查找。
group:可以将多种仓库组合起来。
![]()
这里,我3种仓库都配置了。(不是装逼,是我需要。。。。)
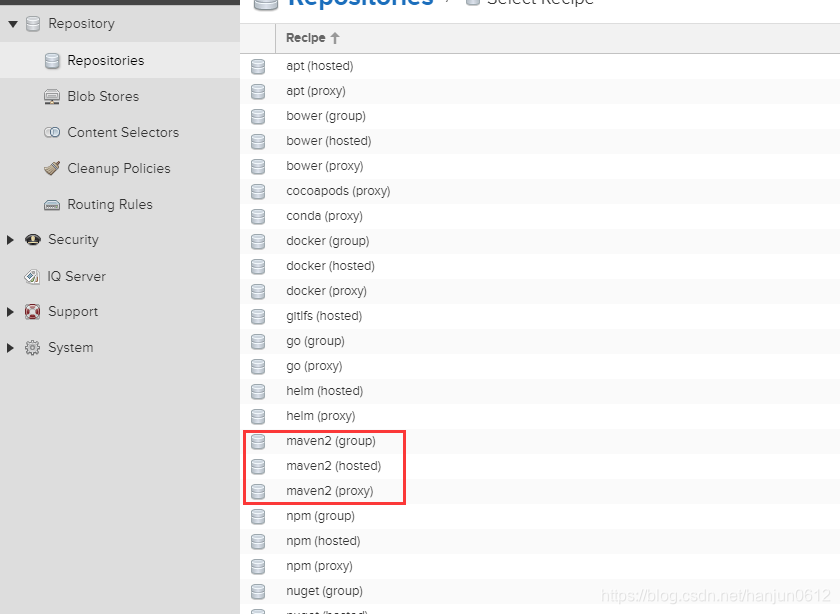
首先,Create repository

![]()
①hosted仓库
选择maven-hosted
![]()
输入名字,然后save就好了

![]()
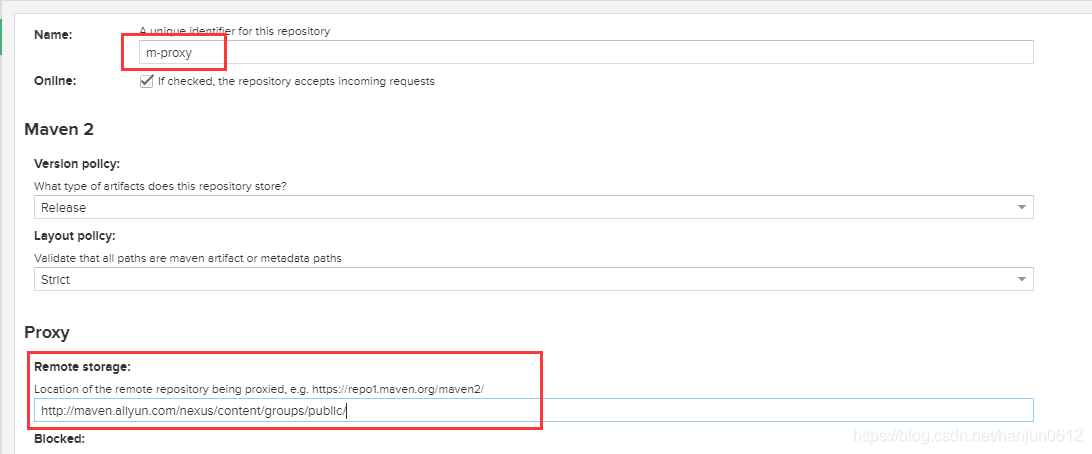
②proxy仓库
选择maven-proxy
输入名字,代理地址(aliyun),然后save
remote storage:http://maven.aliyun.com/nexus/content/groups/public/
![]()
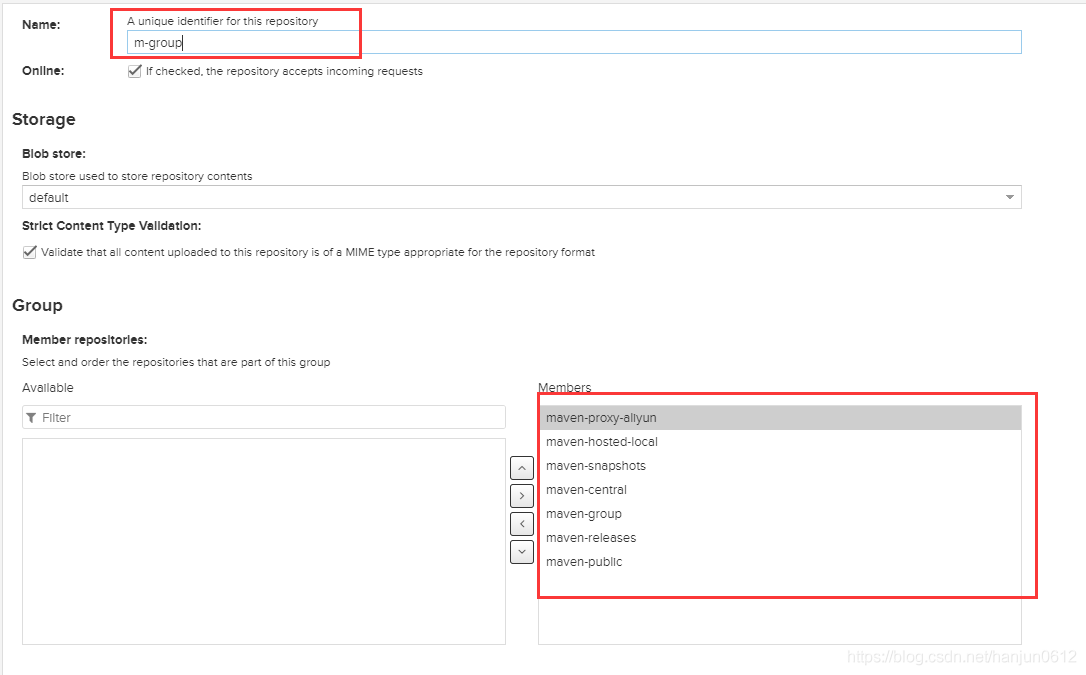
③group仓库
输入名字,然后选择组成员(注意顺序,这也是下载顺序!)
![]()
最后,我们复制group仓库地址
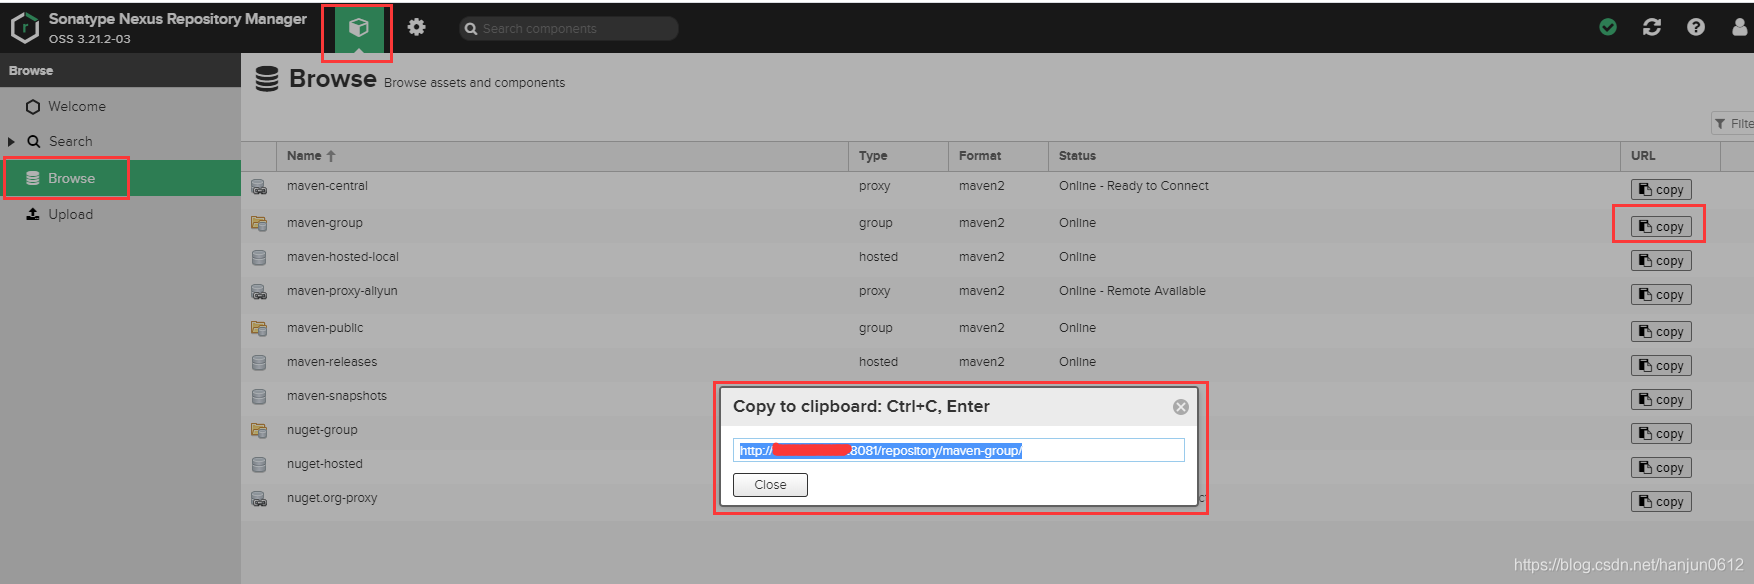
![]()
五,配置maven
找到maven的setting.xml文件
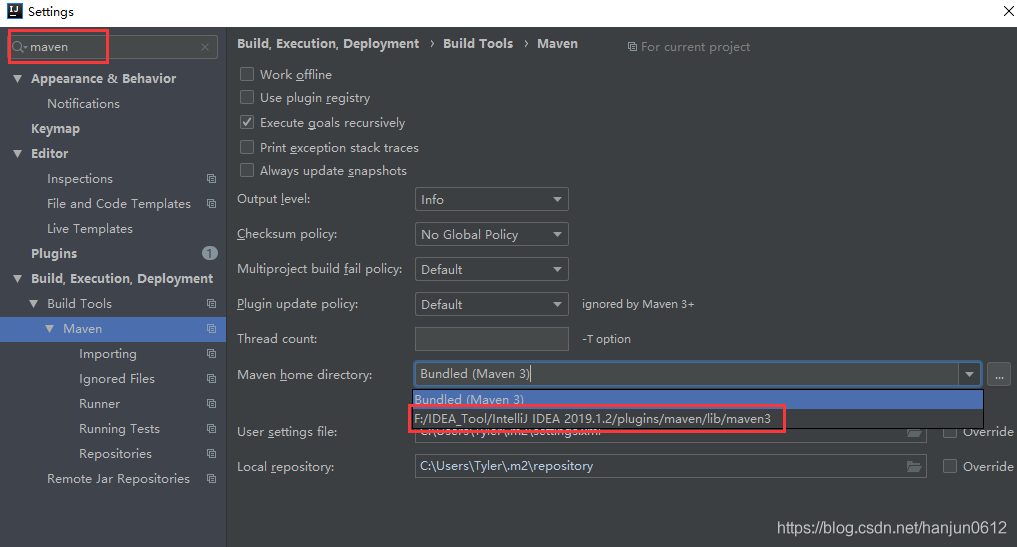
![]()
打开settings文件

![]()
① servers添加
<server>
    <id>my-nexus-releases</id>
    <username>admin</username>
    <password>admin</password>
  </server>
  <server>
    <id>my-nexus-snapshot</id>
    <username>admin</username>
    <password>admin</password>
  </server>
② mirrors添加
url就是复制的group地址
    <mirror>
    <!--This sends everything else to /public -->
        <id>nexus</id>
        <mirrorOf>*</mirrorOf>
        <url>http://localhost:8081/repository/maven-group/</url>
    </mirror>
③ profiles添加
④ settings添加
六,测试
打开项目,终端执行
mvn clean install -U
(不使用mvn clean install -U 可能报错: resolution will not be reattempted until the update interval of nexus has elapsed or updates are forced)

![]()
可以看到本地下载情况

![]()
m-proxy也下载了
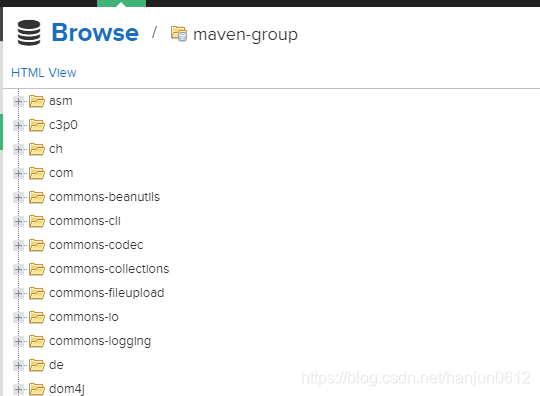
![]()
如果POM文件报错:failure to transfer..........
那么右键 maven-->Reimport
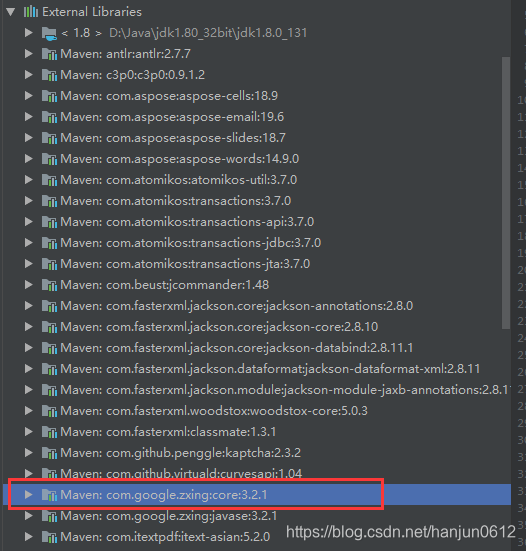
hosted的话,可以手动导入第三方库

![]()
举例上传com.google.zxing:core:3.2.1
![]()
随便填写坐标信息,但是要记得。
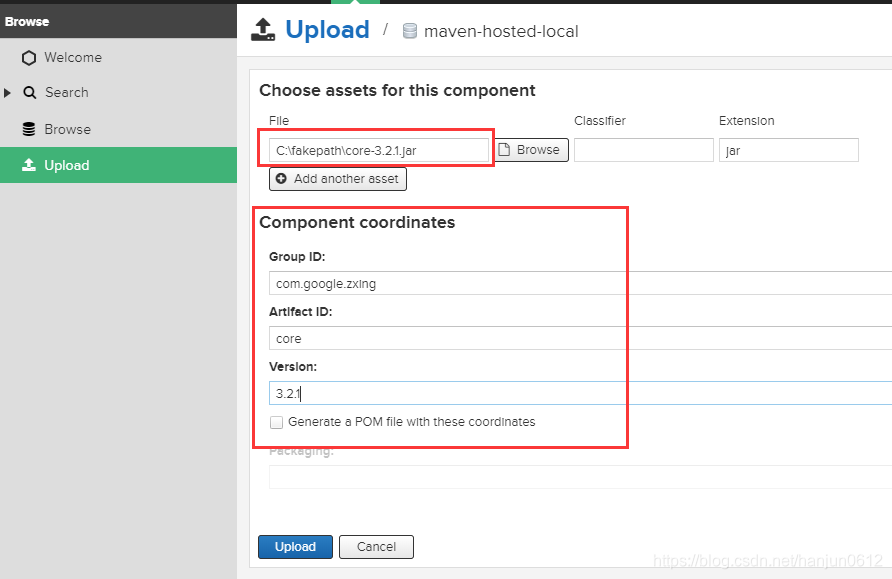
![]()
        <dependency>
            <groupId>com.google.zxing</groupId>
            <artifactId>core</artifactId>
            <version>3.2.1</version>
        </dependency>