消息队列中间件是分布式系统中重要的组件,主要解决应用耦合,异步消息,流量削锋等问题。实现高性能,高可用,可伸缩和最终一致性架构;是大型分布式系统不可缺少的中间件。目前使用较多的消息队列有ActiveMQ、RabbitMQ、Kafka、RocketMQ、MetaMQ等。spring boot提供了对JMS系统的支持;springboot很方便就可以集成这些消息中间件。
对于异步消息在实际的应用之中会有两类:
JMS:代表作就是 ActiveMQ,但是其性能不高,因为其是用 java 程序实现的。
AMQP:直接利用协议实现的消息组件,其大众代表作为RabbitMQ,高性能代表作为Kafka。
1、 新建项目,对应的pom.xml文件如下
<project xmlns="http://maven.apache.org/POM/4.0.0" xmlns:xsi="http://www.w3.org/2001/XMLSchema-instance"

xsi:schemaLocation="http://maven.apache.org/POM/4.0.0 http://maven.apache.org/xsd/maven-4.0.0.xsd">

<modelVersion>4.0.0</modelVersion>


<groupId>spring-cloud</groupId>

<artifactId>sc-activeMQ</artifactId>

<version>0.0.1-SNAPSHOT</version>

<packaging>jar</packaging>


<name>sc-activeMQ</name>

<url>http://maven.apache.org</url>


<parent>

<groupId>org.springframework.boot</groupId>

<artifactId>spring-boot-starter-parent</artifactId>

<version>2.0.4.RELEASE</version>

</parent>


<dependencyManagement>

<dependencies>

<dependency>

<groupId>org.springframework.cloud</groupId>

<artifactId>spring-cloud-dependencies</artifactId>

<version>Finchley.RELEASE</version>

<type>pom</type>

<scope>import</scope>

</dependency>


</dependencies>

</dependencyManagement>


<properties>

<project.build.sourceEncoding>UTF-8</project.build.sourceEncoding>

<maven.compiler.source>1.8</maven.compiler.source>

<maven.compiler.target>1.8</maven.compiler.target>

</properties>


<dependencies>

<dependency>

<groupId>org.springframework.boot</groupId>

<artifactId>spring-boot-starter-activemq</artifactId>

</dependency>


<dependency>

<groupId>org.apache.activemq</groupId>

<artifactId>activemq-core</artifactId>

<version>5.7.0</version>

</dependency>


<dependency>

<groupId>org.apache.activemq</groupId>

<artifactId>activemq-pool</artifactId>

</dependency>


<dependency>

<groupId>org.springframework.boot</groupId>

<artifactId>spring-boot-starter-web</artifactId>

</dependency>


<dependency>

<groupId>org.springframework.boot</groupId>

<artifactId>spring-boot-starter-test</artifactId>

<scope>test</scope>

</dependency>

</dependencies>

</project>
2、 新建springboot启动类ActiveMqApplication.java
package sc.activemq;


import org.springframework.boot.SpringApplication;

import org.springframework.boot.autoconfigure.SpringBootApplication;


@SpringBootApplication

public class ActiveMqApplication {


public static void main(String[] args) {

SpringApplication.run(ActiveMqApplication.class, args);

}


}
3、 新建配置文件application.yml
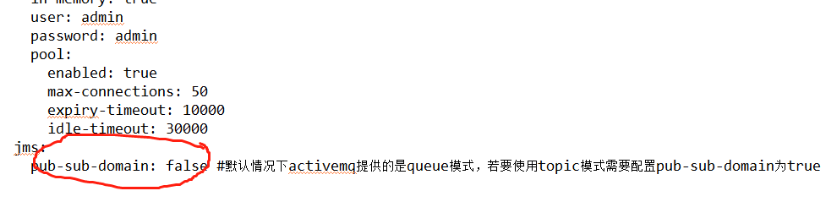
server:

  port: 9080


spring:

  appliction:

   name: sc-activemq

  activemq:

    broker-url: tcp://localhost:61616

    in-memory: true

    user: admin

    password: admin

    pool:

      enabled: true

      max-connections: 50

      expiry-timeout: 10000

      idle-timeout: 30000

  jms:

    pub-sub-domain: false #默认情况下activemq提供的是queue模式,若要使用topic模式需要配置pub-sub-domain为true
说明:默认情况下activemq提供的是queue模式,若要使用topic模式需要配置spring.jms.pub-sub-domain为true
4、 新建消费生产者
package sc.activemq.service.impl;


import javax.jms.Destination;


import org.springframework.beans.factory.annotation.Autowired;

import org.springframework.jms.core.JmsMessagingTemplate;

import org.springframework.stereotype.Service;


import sc.activemq.service.ProductService;


@Service

public class ProductServiceImpl implements ProductService {


@Autowired

private JmsMessagingTemplate jmsMessagingTemplate;


@Override

public void sendMessage(Destination destination, String message) {

jmsMessagingTemplate.convertAndSend(destination, message);

}


}
5、 新建消息消费者
队列模式:
package sc.activemq.service.consumer;


import org.springframework.jms.annotation.JmsListener;

import org.springframework.stereotype.Component;


@Component

public class ConsumerQueue {


// 使用JmsListener配置消费者监听的队列,其中text是接收到的消息

@JmsListener(destination = "jms-queue")

public void receiveQueue(String text) {

System.out.println("ConsumerQueue收到:" + text);

}

}
订阅模式:
package sc.activemq.service.consumer;


import org.springframework.jms.annotation.JmsListener;

import org.springframework.stereotype.Component;


@Component

public class ConsumerTopic {


// 使用JmsListener配置消费者监听的队列,其中text是接收到的消息

@JmsListener(destination = "jms-topic")

public void receiveQueue(String text) {

System.out.println("ConsumerTopic收到:" + text);

}

}
6、 新建测试类
package sc.activemq;


import org.apache.activemq.command.ActiveMQQueue;

import org.apache.activemq.command.ActiveMQTopic;

import org.junit.Test;

import org.junit.runner.RunWith;

import org.springframework.beans.factory.annotation.Autowired;

import org.springframework.boot.test.context.SpringBootTest;

import org.springframework.test.context.junit4.SpringRunner;


import sc.activemq.service.ProductService;


@RunWith(SpringRunner.class)

@SpringBootTest

public class ActiveMqTest {


@Autowired

private ActiveMQQueue queue;


@Autowired

private ActiveMQTopic topic;


@Autowired

private ProductService productService;


@Test

public void testJms() {

String msgQueue = "send 黄金 ";

for(int i=0; i<5; i++){

productService.sendMessage(this.queue, msgQueue+i);

}

String msgTopic = "send 白银 ";

for(int i=0; i<5; i++){

productService.sendMessage(this.topic, msgTopic+i);

}

try {

Thread.sleep(10000);

} catch (InterruptedException e) {

}

}


}
7、 进行测试
先登录ActiveMq管理平台:http://localhost:8161/
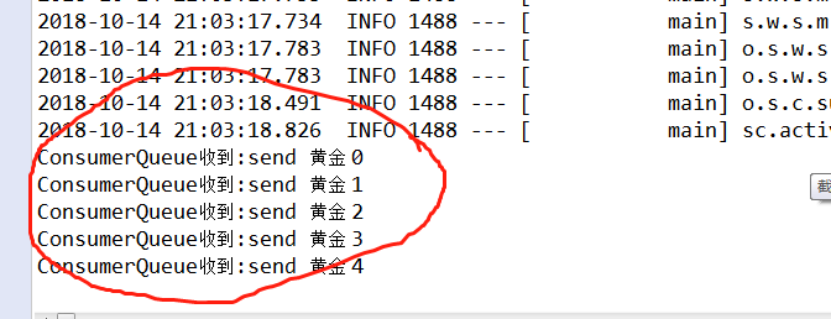
队列模式:
(1)配置spring.jms.pub-sub-domain为false
(2)注释测试类的如下代码

(3)运行测试类
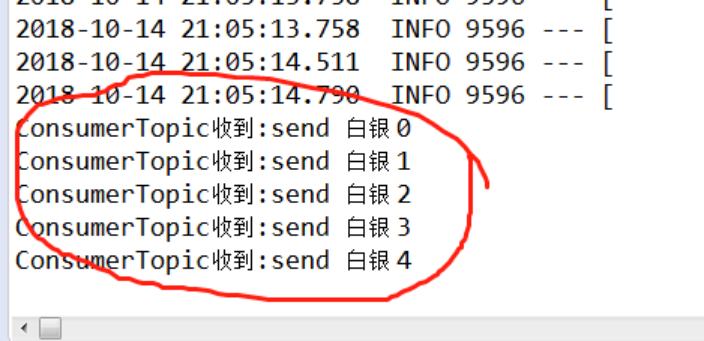
订阅模式:
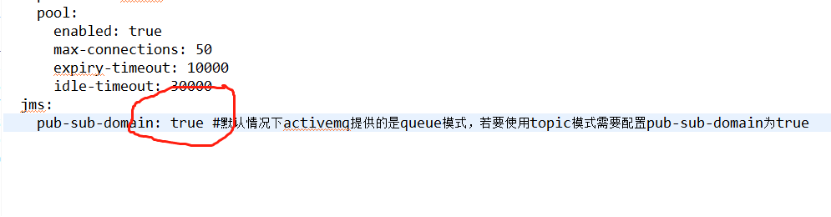
(1) 配置spring.jms.pub-sub-domain为true
(2) 注释测试类的如下代码

(3) 运行测试类
https://gitee.com/hjj520/spring-cloud-2.x