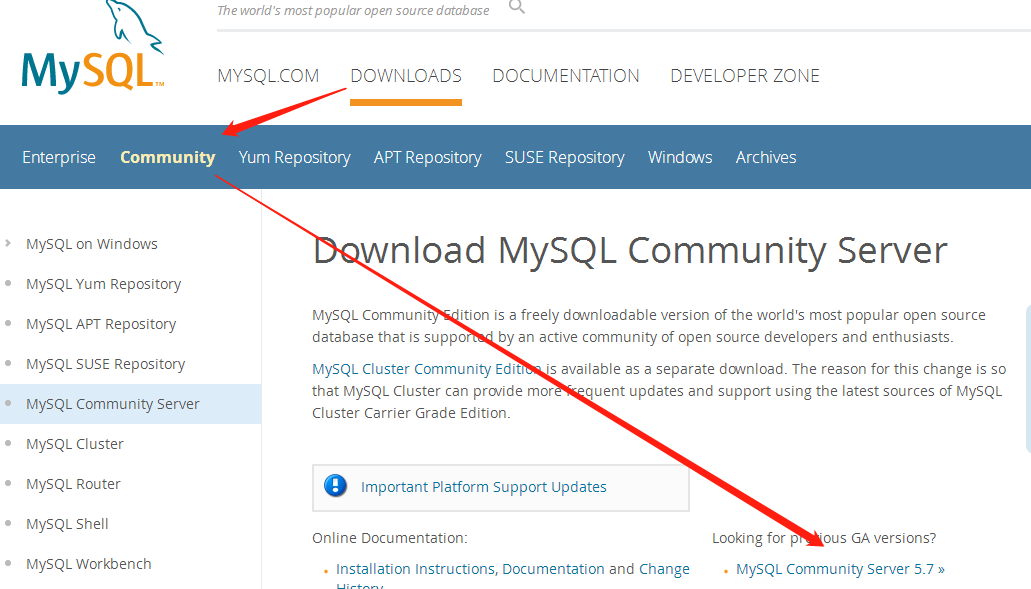
安装包下载
MySQL 的官网下载地址:http://www.mysql.com/downloads/
我安装的是5.7版本
第二步:

选择:TAR
(mysql-5.7.24-el7-x86_64.tar) 点击下载
然后点击 No thanks, just start my download. 进行下载。
检查是否安装过mysql
[root@master mysql]# rpm -qa|grep mysql
mysql-community-common-5.7.10-1.el7.x86_64
mysql-community-libs-5.7.10-1.el7.x86_64
mysql-community-server-5.7.10-1.el7.x86_64
qt-mysql-4.8.5-13.el7.x86_64
mysql-community-client-5.7.10-1.el7.x86_64
下载已经安装
[root@master mysql]# rpm -e --nodeps mysql-community-common-5.7.10-1.el7.x86_64
[root@master mysql]# rpm -e --nodeps mysql-community-common-5.7.10-1.el7.x86_64
[root@master mysql]# rpm -e --nodeps mysql-community-libs-5.7.10-1.el7.x86_64
[root@master mysql]# rpm -e --nodeps mysql-community-server-5.7.10-1.el7.x86_64
[root@master mysql]# rpm -e --nodeps qt-mysql-4.8.5-13.el7.x86_64
[root@master mysql]# rpm -e --nodeps mysql-community-client-5.7.10-1.el7.x86_64
再次查看
[root@master mysql]# rpm -qa|grep mysql
[root@master mysql]#
查看是否按照自带的mariadb数据库
[root@master mysql]# rpm -qa|grep -i mariadb
5.MySQL的server端需要Perl支持,安装一下
[root@master mysql]# yum install perl -y
检查mysql组和用户
是否存在,如无创建:
[root@master mysql]# cat /etc/group | grep mysql
[root@master mysql]# cat /etc/passwd |grep mysql
[root@master mysql]# groupadd mysql
[root@master mysql]# useradd -r -g mysql mysql
放置安装包
从官网下载mysql安装包,解压后移动到/usr/local/mysql下
[root@master mysql]# ls
bin COPYING COPYING-test data docs include lib man mysql-test README README-test share support-files
创建数据目录data
mkdir -p /usr/local/mysql/data
cd /usr/local
chown -R mysql:mysql mysql/
chmod -R 755 mysql/
安装初始化MySQL
[root@master bin]# /usr/local/mysql/mysql/bin/mysqld --initialize --user=mysql --datadir=/usr/local/mysql/data --basedir=/usr/local/mysql
2019-01-03T04:39:31.511114Z 0 [Warning] TIMESTAMP with implicit DEFAULT value is deprecated. Please use --explicit_defaults_for_timestamp server option (see documentation for more details).
2019-01-03T04:39:31.522846Z 0 [ERROR] Can't find error-message file '/usr/local/mysql/share/errmsg.sys'. Check error-message file location and 'lc-messages-dir' configuration directive.
2019-01-03T04:39:31.836656Z 0 [Warning] InnoDB: New log files created, LSN=45790
2019-01-03T04:39:31.878589Z 0 [Warning] InnoDB: Creating foreign key constraint system tables.
2019-01-03T04:39:31.936673Z 0 [Warning] No existing UUID has been found, so we assume that this is the first time that this server has been started. Generating a new UUID: 902eefb4-0f11-11e9-8e04-000c29cb0c40.
2019-01-03T04:39:31.937605Z 0 [Warning] Gtid table is not ready to be used. Table 'mysql.gtid_executed' cannot be opened.
2019-01-03T04:39:31.939061Z 1 [Note] A temporary password is generated for root@localhost: i89mHkP#VI5r
启动MySQL服务
[root@master ~]# /usr/local/mysql/support-files/mysql.server start
Starting MySQL. SUCCESS!
[root@master ~]#
做个软连接重启服务
ln -s /usr/local/mysql/support-files/mysql.server /etc/init.d/mysql
[root@master ~]# service mysql restart
Shutting down MySQL.. SUCCESS!
Starting MySQL. SUCCESS!
[root@master ~]#
做个软链接,将安装目录下的mysql 放在/usr/bin 目录下
[root@master ~]# ln -s /usr/local/mysql/bin/mysql /usr/bin
修改密码,开放远程
[root@master ~]# mysql -u root -p
Enter password:
Server version: 5.7.24
Type 'help;' or 'h' for help. Type 'c' to clear the current input statement.

mysql> alter user 'root'@'localhost' identified by 'mysql';
Query OK, 0 rows affected (0.00 sec)

mysql> use mysql;
Reading table information for completion of table and column names
You can turn off this feature to get a quicker startup with -A

Database changed
mysql> update user set user.Host='%' where user.User='root';
Query OK, 1 row affected (0.00 sec)
Rows matched: 1  Changed: 1  Warnings: 0

mysql> flush privileges;
Query OK, 0 rows affected (0.00 sec)

mysql>
测试远程连接
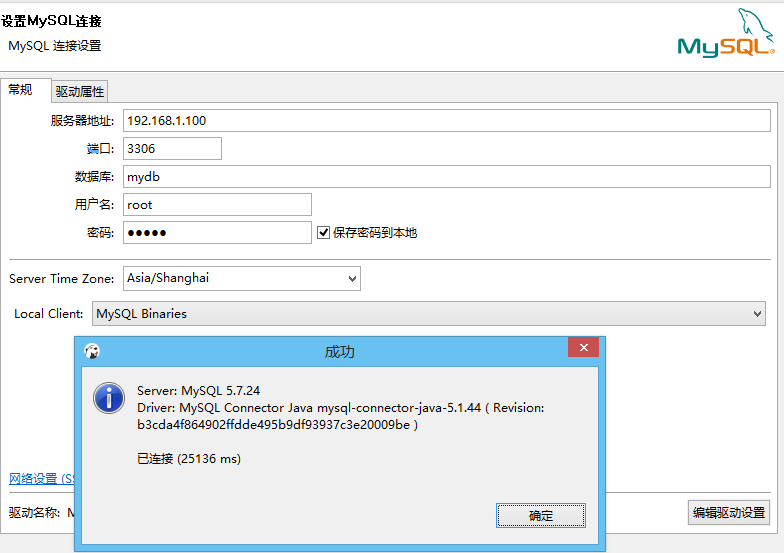
OK 完成。前台可以查询到结果。