A.版本新特性
1.需求
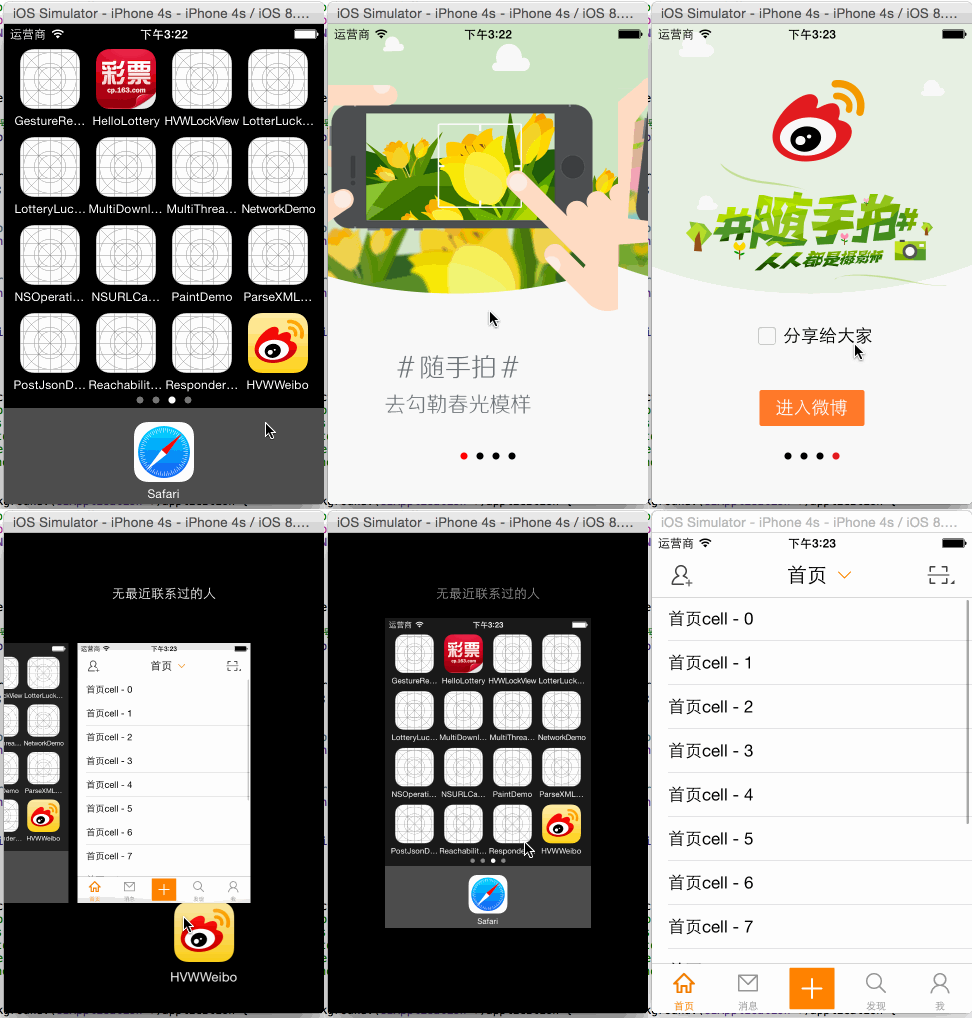
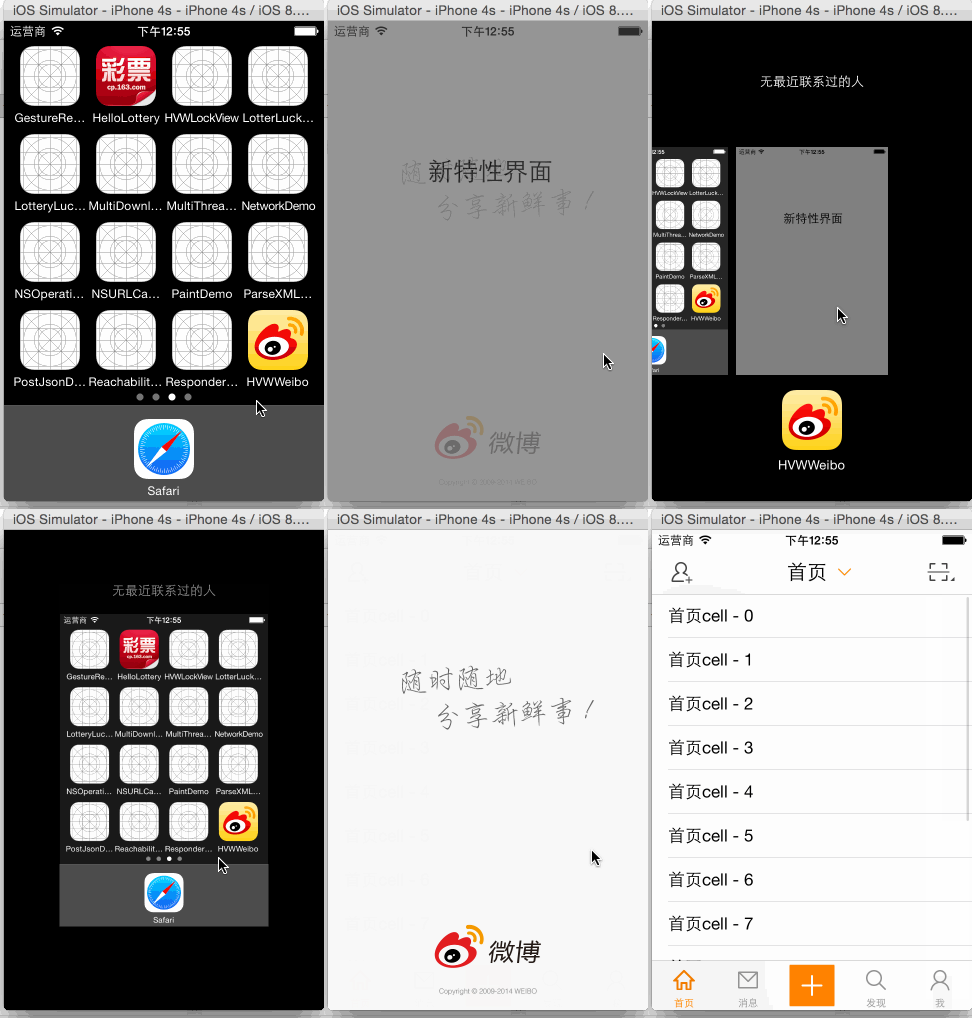
- 第一次使用新版本的时候,不直接进入app,而是展示新特性界面
2.思路
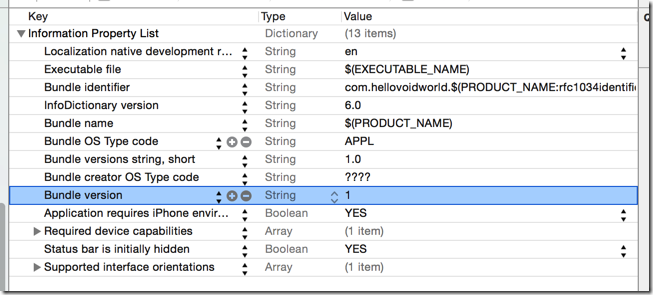
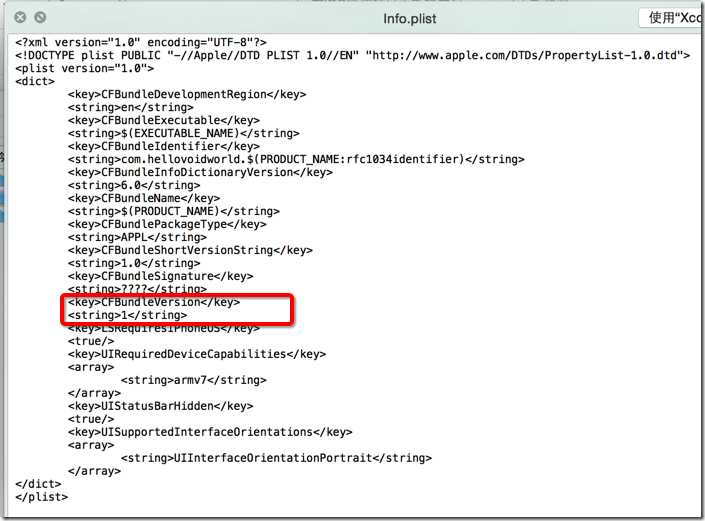
- [[NSBundle mainBundle] infoDictionary]取得当前版本号(最新版本),版本号存储在了info.plist中
- 从preference取得上一次使用的版本号
- 将讲个版本号进行对比,如果相同就是当前是最新版本,直接进入app;如果不相同,就进入新特性界面并保存最新版本号到preference
当前版本号:
当前版本号的key
3.实现
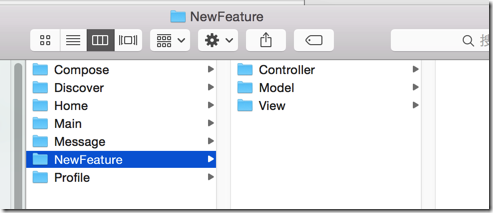
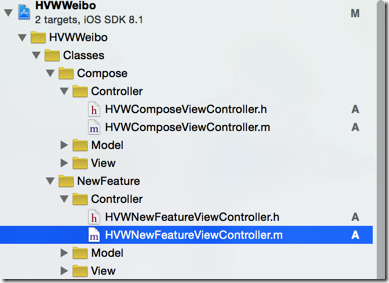
(1)创建一个新的目录来处理新特性加载
自定义一个集成UIViewController的类来处理新特性界面
(注意scrollView没有相应控制器,只能在其他view上加载)
(2)在AppDelegate中app加载完毕方法中
 1 - (BOOL)application:(UIApplication *)application didFinishLaunchingWithOptions:(NSDictionary *)launchOptions {
 2     // Override point for customization after application launch.
 3
 4     // 启动后显示状态栏
 5     UIApplication *app = [UIApplication sharedApplication];
 6     app.statusBarHidden = NO;
 7
 8     // 设置window
 9     self.window = [[UIWindow alloc] init];
10     self.window.frame = [UIScreen mainScreen].bounds;
11
12     /** 新版本特性 */
13     // app现在的版本
14     // 由于使用的时Core Foundation的东西,需要桥接
15     NSString *versionKey = (__bridge NSString*) kCFBundleVersionKey;
16     NSDictionary *infoDic = [[NSBundle mainBundle] infoDictionary];
17     NSString *currentVersion = [infoDic objectForKey:versionKey];
18
19     // 上次使用的版本
20     NSUserDefaults *defaults = [NSUserDefaults standardUserDefaults];
21     NSString *lastVersion = [defaults stringForKey:versionKey];
22
23     // 如果版本变动了,存储新的版本号并启动新版本特性图
24     if (![lastVersion isEqualToString:currentVersion]) {
25
26         // 存储
27         [defaults setObject:currentVersion forKey:versionKey];
28         [defaults synchronize];
29
30         // 开启app显示新特性
31         HVWNewFeatureViewController *newFeatureVC = [[HVWNewFeatureViewController alloc] init];
32         self.window.rootViewController = newFeatureVC;
33     } else {
34         // 创建根控制器
35         HVWTabBarViewController *tabVC = [[HVWTabBarViewController alloc] init];
36         self.window.rootViewController = tabVC;
37     }
38
39     [self.window makeKeyAndVisible];
40
41     return YES;
42 }
B.版本新特性的内容
1.需求
- 在特特性界面使用轮播方式显示若干个界面
- 最后一个界面提供一个分享功能和进入app功能
2.思路
- 在新特性控制器的view上加入一个全屏的scrollView
3.实现
  1 //
  2 //  HVWNewFeatureViewController.m
  3 //  HVWWeibo
  4 //
  5 //  Created by hellovoidworld on 15/2/3.
  6 //  Copyright (c) 2015年 hellovoidworld. All rights reserved.
  7 //
  8
  9 #import "HVWNewFeatureViewController.h"
 10 #import "HVWTabBarViewController.h"
 11
 12 #define NewFeatureCount 4
 13
 14 @interface HVWNewFeatureViewController () <UIScrollViewDelegate>
 15
 16 @property(nonatomic, strong) UIPageControl *pageControl;
 17
 18 @end
 19
 20 @implementation HVWNewFeatureViewController
 21
 22 - (void)viewDidLoad {
 23     [super viewDidLoad];
 24     // Do any additional setup after loading the view.
 25
 26     // 添加scrollView
 27     [self setupScrollView];
 28
 29     // 添加pageControl
 30     [self setupPageControl];
 31 }
 32
 33 /** 添加scrollView */
 34 - (void) setupScrollView {
 35     // 创建一个scrollView
 36     UIScrollView *scrollView = [[UIScrollView alloc] init];
 37     scrollView.frame = self.view.bounds;
 38
 39     // 添加图片
 40     for (int i=0; i<NewFeatureCount; i++) {
 41
 42         // 获取图片
 43         NSString *featureImageName = [NSString stringWithFormat:@"new_feature_%d", i+1];
 44         UIImageView *featureImageView = [[UIImageView alloc] initWithImage:[UIImage imageWithNamed:featureImageName]];
 45
 46         // 设置图片尺寸位置
 47         CGFloat featureWidth = self.view.width;
 48         CGFloat featureHeight = self.view.height;
 49         CGFloat featureX = featureImageView.width * i;
 50         CGFloat featureY = 0;
 51         featureImageView.frame = CGRectMake(featureX, featureY, featureWidth, featureHeight);
 52
 53         // 如果是最后一页,加上功能按钮
 54         if (i == (NewFeatureCount - 1)) {
 55             // 为了让最后一页的的功能按钮能够生效,必须激活交互功能
 56             featureImageView.userInteractionEnabled = YES;
 57
 58             [self addFunctionButton:featureImageView];
 59         }
 60
 61         // 添加图片到scrollView
 62         [scrollView addSubview:featureImageView];
 63     }
 64
 65     // 设置scrollView功能属性
 66     scrollView.userInteractionEnabled = YES;
 67     scrollView.scrollEnabled = YES; // 支持滚动
 68     scrollView.contentSize = CGSizeMake(self.view.width * NewFeatureCount, 0); // 只需要水平滚动
 69     scrollView.pagingEnabled = YES; // 支持分页
 70     scrollView.showsHorizontalScrollIndicator = NO; // 隐藏水平滚动条
 71
 72     // 设置背景色
 73     scrollView.backgroundColor = [UIColor colorWithRed:246/255.0 green:246/255.0 blue:246/255.0 alpha:1.0];
 74
 75     // 设置代理
 76     scrollView.delegate = self;
 77
 78     // 添加
 79     [self.view addSubview:scrollView];
 80 }
 81
 82 /** 添加pageControl */
 83 - (void) setupPageControl {
 84     // pageControl不能加在scrollView上,不然会随着内容一起滚动
 85     UIPageControl *pageControl = [[UIPageControl alloc] init];
 86     pageControl.pageIndicatorTintColor = [UIColor blackColor];
 87     pageControl.currentPageIndicatorTintColor = [UIColor redColor];
 88     pageControl.numberOfPages = NewFeatureCount;
 89
 90     // 设置位置
 91     pageControl.centerX = self.view.width * 0.5;
 92     pageControl.centerY = self.view.height * 0.9;
 93
 94
 95     self.pageControl = pageControl;
 96     [self.view addSubview:pageControl];
 97 }
 98
 99 #pragma mark - UIScrollViewDelegate
100 /** scrollView滚动代理方法,在这里控制页码指示器 */
101 - (void)scrollViewDidScroll:(UIScrollView *)scrollView {
102     // 四舍五入,让图片滚动超过中线的时候改变页码
103     self.pageControl.currentPage = scrollView.contentOffset.x / scrollView.width + 0.5;
104 }
105
106 #pragma mark - 最后一页的功能
107 /** 添加功能按钮 */
108 - (void) addFunctionButton:(UIImageView *) imageView {
109     // 添加"分享"选项按钮
110     [self addShareButton:imageView];
111
112     // 添加"进入微博"按钮
113     [self addEnterWeiboButton:imageView];
114 }
115
116 /** 分享选项按钮 */
117 - (void) addShareButton:(UIImageView *) imageView  {
118     // 创建按钮
119     UIButton *shareButton = [UIButton buttonWithType:UIButtonTypeCustom];
120
121     [shareButton setTitle:@"分享给大家" forState:UIControlStateNormal];
122
123     [shareButton setImage:[UIImage imageWithNamed:@"new_feature_share_false"] forState:UIControlStateNormal];
124     [shareButton setImage:[UIImage imageWithNamed:@"new_feature_share_true"] forState:UIControlStateSelected];
125
126
127     [shareButton addTarget:self action:@selector(shareButtonClicked:) forControlEvents:UIControlEventTouchUpInside];
128
129     [shareButton setTitleColor:[UIColor blackColor] forState:UIControlStateNormal];
130
131     // 位置尺寸
132     shareButton.size = CGSizeMake(150, 50);
133
134     // 必须先设置了size,center才真的在中心,不然就是从左上角开始!!!
135     shareButton.centerX = self.view.width * 0.5;
136     shareButton.centerY = self.view.height * 0.65;
137
138     // 设置内间距
139     shareButton.titleEdgeInsets = UIEdgeInsetsMake(0, 10.0, 0, 0);
140
141     // 添加
142     [imageView addSubview:shareButton];
143 }
144
145 /** 分享选项点击事件方法 */
146 - (void) shareButtonClicked:(UIButton *) button {
147     button.selected = !button.selected;
148 }
149
150 /** “进入微博"按钮 */
151 - (void) addEnterWeiboButton:(UIImageView *) imageView  {
152     // 创建按钮
153     UIButton *enterButton = [UIButton buttonWithType:UIButtonTypeCustom];
154     enterButton.userInteractionEnabled = YES;
155     [enterButton setBackgroundImage:[UIImage imageWithNamed:@"new_feature_finish_button"] forState:UIControlStateNormal];
156     [enterButton setBackgroundImage:[UIImage imageWithNamed:@"new_feature_finish_button_highlighted"] forState:UIControlStateHighlighted];
157     [enterButton setTitleColor:[UIColor whiteColor] forState:UIControlStateNormal];
158     [enterButton setTitle:@"进入微博" forState:UIControlStateNormal];
159
160     // 位置尺寸
161     enterButton.size = enterButton.currentBackgroundImage.size;
162     enterButton.centerX = self.view.width * 0.5;
163     enterButton.centerY = self.view.height * 0.8;
164
165     // 监听点击
166     [enterButton addTarget:self action:@selector(enterWeiboButtonClicked) forControlEvents:UIControlEventTouchUpInside];
167
168     // 添加
169     [imageView addSubview:enterButton];
170 }
171
172 /** “进入微博” 按钮点击 */
173 - (void) enterWeiboButtonClicked {
174     UIWindow *window = [UIApplication sharedApplication].keyWindow;
175     window.rootViewController = [[HVWTabBarViewController alloc] init];
176 }
177
178 @end
