一、实验目的
熟悉 Postman 的使用;熟悉如何使用 OpenDaylight 通过 Postman 下发流表。
二、实验任务
流表有软超时和硬超时的概念,分别对应流表中的 idle_timeout 和 hard_timeout。
1、idle timeout:如果值为非 0,那么在对应的时间内如果没有数据包匹配流表,时间到该流表将被删除;值为 0 不设软超时机制。
2、 hard timeout:如果值为非 0,那么在对应的时间内不论是否有数据包匹配流表,时间到流表都会被删除;值为 0 不设硬超时机制。
推荐阅读:SDNLAB 文章:OpenFlow 协议超时机制简介
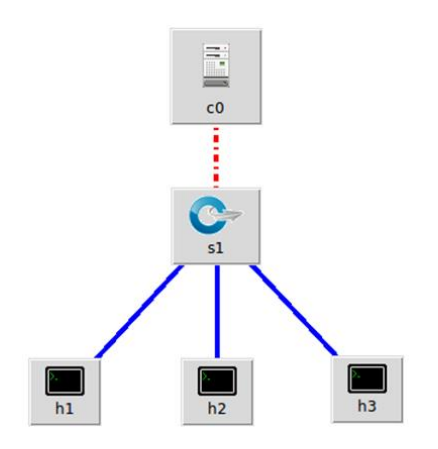
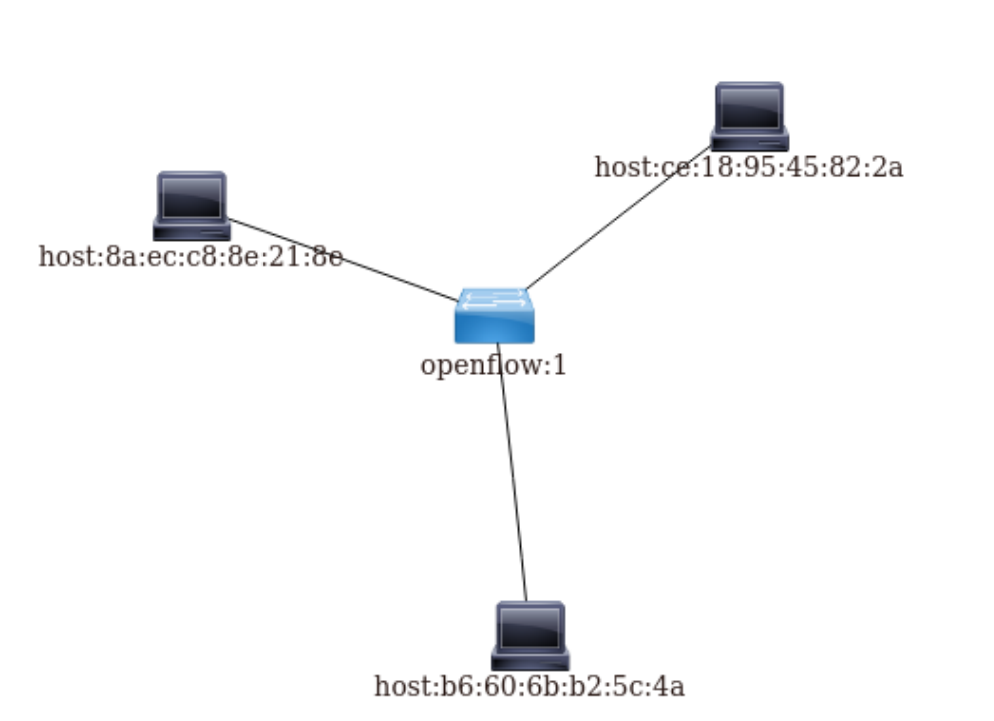
本实验通过 OpenDaylight 及 Postman 下发关于硬超时的流表,实现拓扑内主机h1 和 h3 在一定时间内的网络断开。Postman 是一个 http 请求工具,可用于 RESTAPI 的接口调试。实验拓扑如下:
三、实验步骤
1. 实验环境
安装了 Ubuntu 18.04.5 Desktop amd64 的虚拟机2. 实验过程
(1)Postman 安装
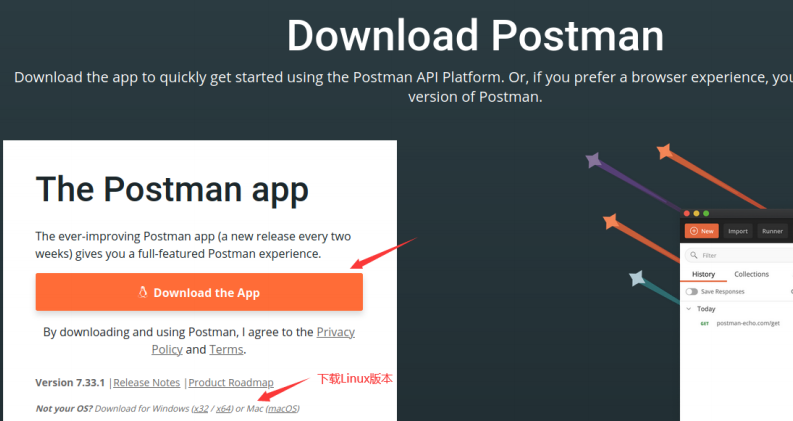
站点会监测系统版本,请下载 Linux 版本,解压到/home/ubuntu/你的用户名/目录下即可。指导书示例目录:/home/ubuntu/sdn/Postman,进入上述目录,运行Postman 文件即可

(2)清理旧数据
启动 OpenDaylight,通过 Postman 的 Delete 动作清空残留流表(如有)
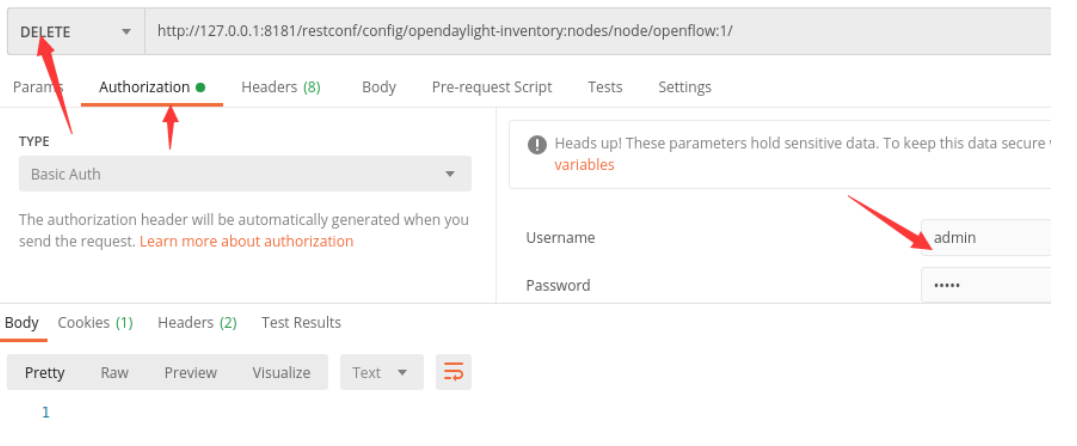
ps:这里的admin应该是自己的用户名和密码,但我忘记截图了
DELETE
http://127.0.0.1:8181/restconf/config/opendaylight-inventory:nodes/node/openflow:1/
清空 Mininet 数据
$ sudo mn-c
(3)生成拓扑并连接 OpenDaylight
$ sudo mn--topo=single,3--controller=remote,ip=127.0.0.1,port=6633-- switch ovsk,protocols=OpenFlow13
(上面的空格不要输错)
正常情况下,三台主机是互通的。

如果不通,可能控制器有旧的流表残留。
(4)使用 Postman 填入 JSON 格式的 http 请求(参考附录)
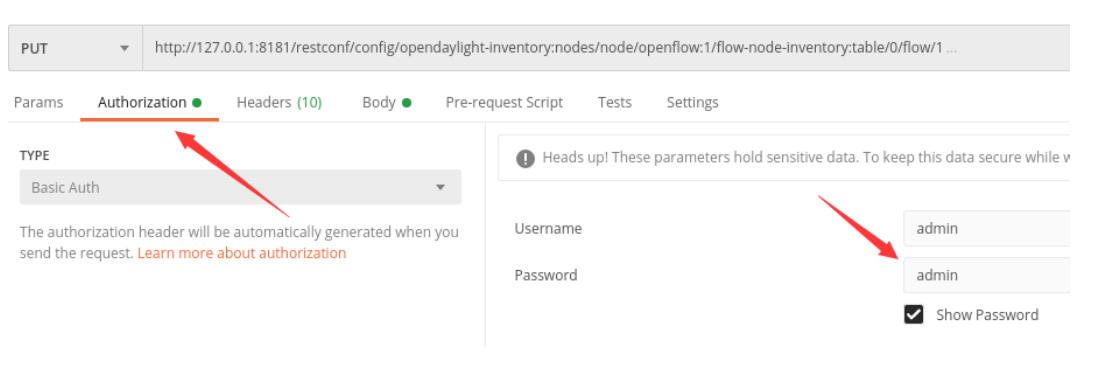
ps:这里的admin必须是用户名和密码都是admin,而不是自己的登陆名和密码
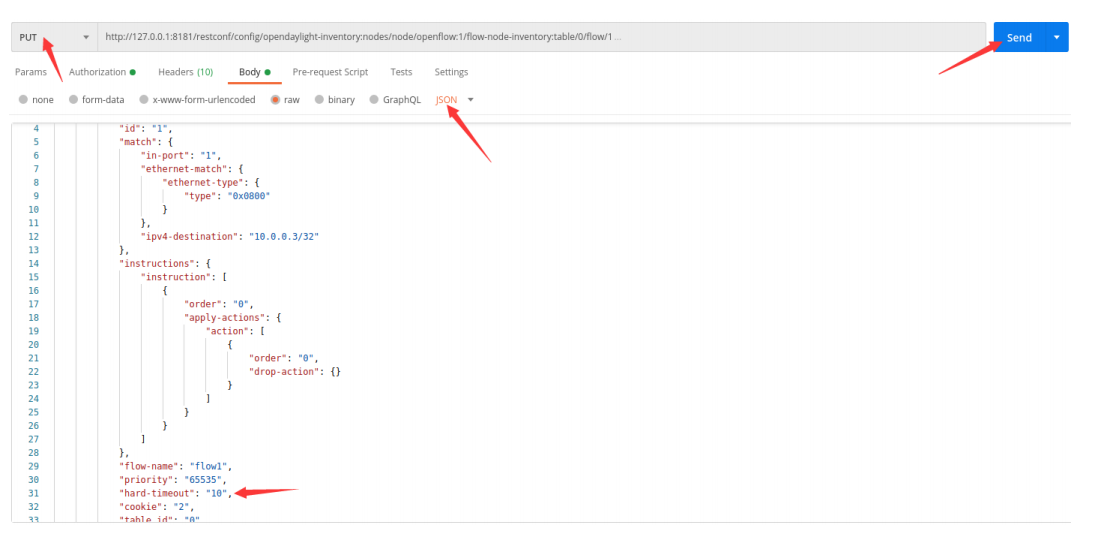
先在 Mininet CLI 中运行 h1 ping h3,再在 Postman 处选择动作 PUT,填入硬超时流表内容(见附录),可以先阅读一下流表的内容,关注 match 匹配字段以及对应的 instructions 指令中的动作 action,这里是直接 drop 数据包。为了让流表能够匹配,将优先级 priority 调到最大。点击右上角 send,发送请求。
(5)验证结果
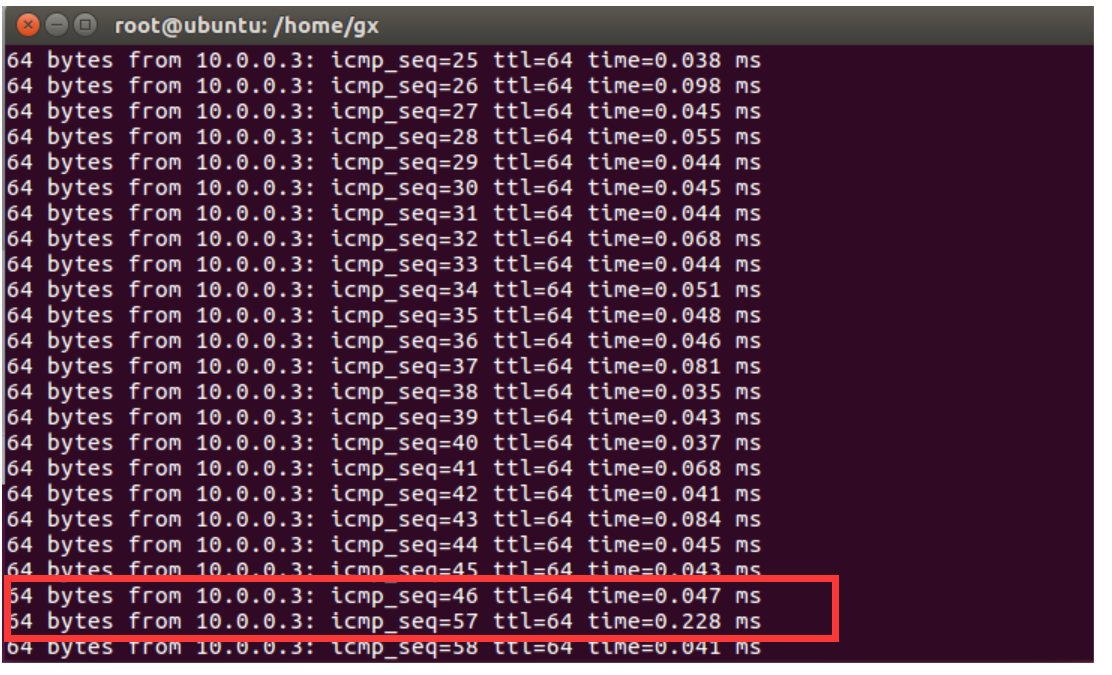
h1 ping h3 有 10 秒时间是中断的,结果符合预期。
(6)附录
JSON 格式的请求代码如下:
{
 "flow": [
 {
 "id": "1",
 "match": {
 "in-port": "1",
 "ethernet-match": {
 "ethernet-type": {
 "type": "0x0800"
 }
 },
 "ipv4-destination": "10.0.0.3/32"
 },
 "instructions": {
 "instruction": [
 {
 "order": "0",
 "apply-actions": {
 "action": [
 {
 "order": "0",
 "drop-action": {}
 }
 ]
 }
 }
 ]
 },
 "flow-name": "flow1",
 "priority": "65535",
 "hard-timeout": "10",
 "cookie": "2",
 "table_id": "0"
 }
 ] }
四、实验要求
1、实验中出现了权限denied的情况,通过su root 获得权限可以解决问题。
2、必须先在 Mininet CLI 中运行 h1 ping h3,再在 Postman 处选择动作 PUT,我第一次实验时候顺序反了导致没有结果,后面调整顺序后没有问题。